38
NOTE:
You must press the selector switch
lock button before adjusting the selector
switch. If the selector switch cannot go into
the required position, switch on your hammer
a little, then adjust the selector switch again.
• Turn the hammer or drilling action selector
switch pointing to the hammer action ”
”
position. (See F)
• You are now set up for hammer drilling into
masonry.
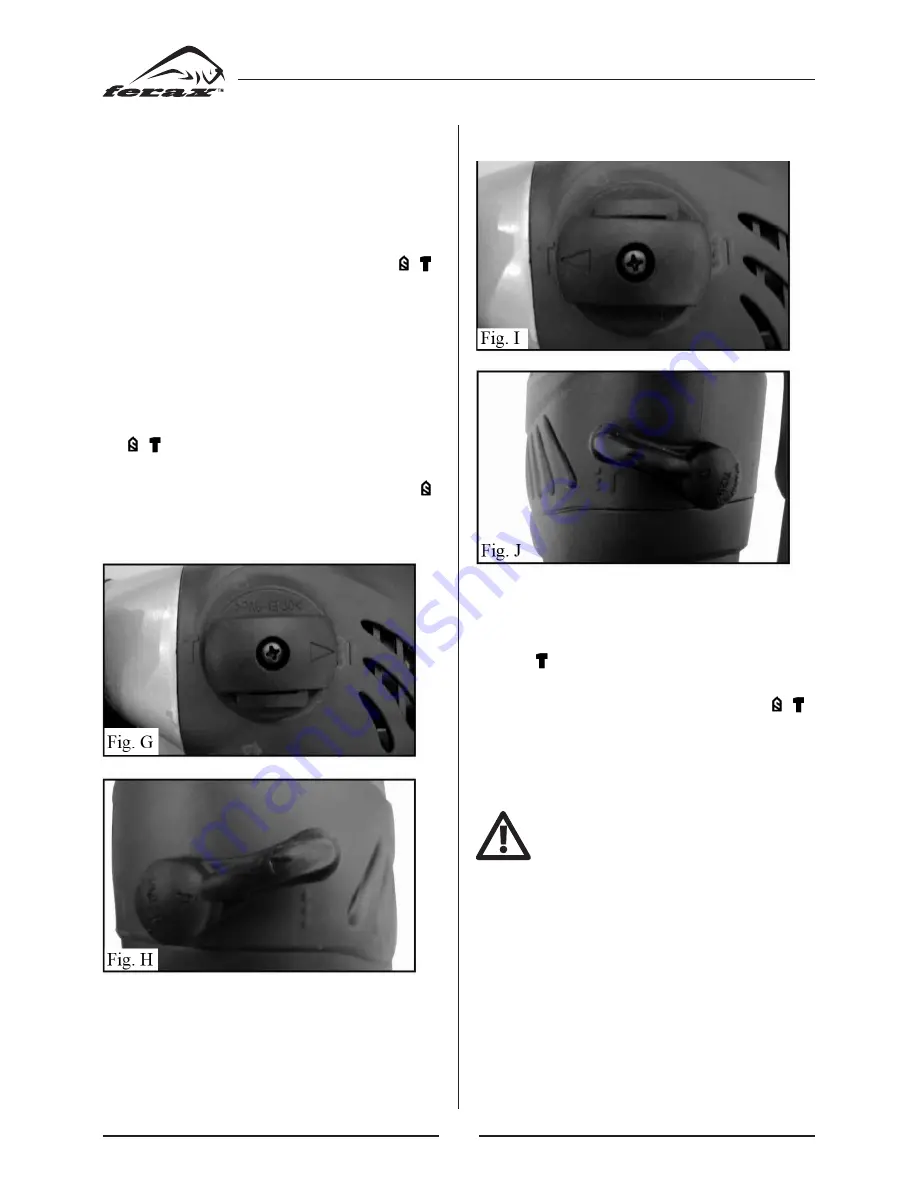
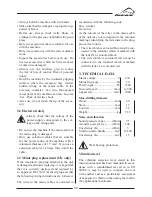
5.7 Drilling function (See G, H)
• Press the lock button (5) and rotate the selec
-
tor switch to make the triangle point to sign
”
”. (See G)
• Turn the hammer or drilling action selector
switch pointing to the drilling action ” ”
position. (See H)
• You are now set up for drilling function.
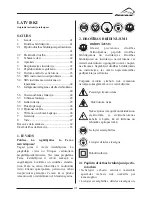
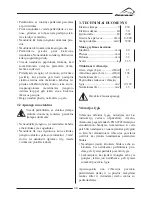
5.8 Chisel function (See l, J)
• For chipping, grooving or demolition opera
-
tion, press the lock button (5) and then rotate
the selector switch make the triangle point to
sign ” ”. (See I)
• Turn the hammer or drilling action selector
switch pointing to the hammer action ”
”
position, (see J)
• You are now set up for chisel work using
Chisel action.
WARNING:
You must make sure that the selector
switch is positively locked in chisel
mode position. If not, it could cause
a hazard.
Summary of Contents for BRH-1500
Page 1: ......
Page 2: ......
Page 65: ...62 BRH 1500 DIAGRAM 501 ...
Page 71: ......
Page 72: ......


