background image

3

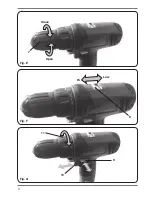
Fig. D

Fig. C

Fig. B

3

2

4

10

2

6

5

Summary of Contents for CDM1112S

Page 1: ...delle istruzioni originali 46 vers ttning av bruksanvisning i original 53 Alkuper isten ohjeiden k nn s 59 Oversatt fra orginal veiledning 65 Overs ttelse af den originale brugsanvisning 71 Eredeti h...

Page 2: ...2 Fig A 1 3 3 13 2 2 6 5 10 7 12 4 9 11 8...

Page 3: ...3 Fig D Fig C Fig B 3 2 4 10 2 6 5...

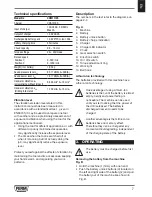
Page 4: ...4 Fig G Fig F Fig E Hi Low Close Open 10 7 11 9 8...

Page 5: ...peed Rotation left right Do not use in rain Indoor use only Class II machine Double insulation You don t need any earthed plug In case of failure the transformer is not dangerous Max temperature 400 C...

Page 6: ...n with the power tool s construction and design a Health defects resulting from vibration emission if the power tool is being used over longer period of time or not adequately managed and properly mai...

Page 7: ...significantly reduce the exposure level Protect yourself against the effects of vibration by maintaining the tool and its accessories keeping your hands warm and organizing your work patterns Descript...

Page 8: ...ch indicates the status of the charging process LED color LED status Charger status Off Off No power or no battery is inserted Green Blinking Battery charging in progress Green On Battery charging fin...

Page 9: ...usty surface as particles of dust could get into the mechanism Adjusting the torque Fig G The machine has 20 different torque settings and a special drill mode to set the power being transmitted to th...

Page 10: ...ill dust will be removed When drilling in metal Use a metal drill HSS For the best results you should cool the bit with oil Metal HSS drills can also be used drilling into plastic 4 MAINTENANCE Before...

Reviews: