FITTING THE ABRASIVE SHEETS
Attaching the abrasive
The sander feet have Velcro attachment; only use abra-
sive suitable for Velcro attachment, which is suitable for
this sander. Supplies and information on replacement
abrasive are available from the Helpline.
•
Attach abrasive by pushing the sheet in place firmly.
•
When attaching abrasive to the triangular and rota-
ting feet make sure to line up the holes so that the
dust extraction will work.
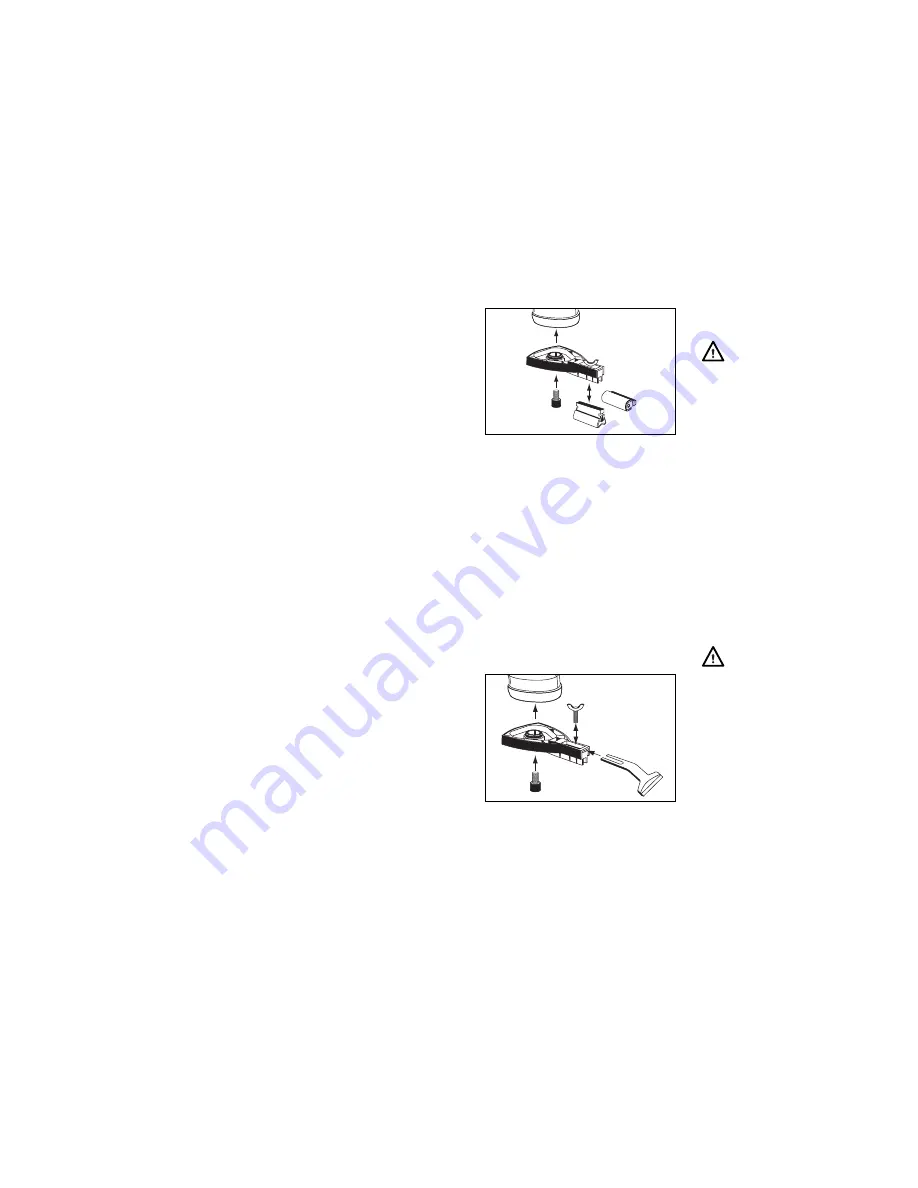
Attaching the scraper
Refer to illustration below.
•
Slide the scraper into the adaptor foot (head facing
downwards) as illustrated – wear suitable gloves, its
sharp!
•
Secure by putting the clamp block into the recess in
the adaptor foot as shown and securing with the wing
nut and lock washer.
Sharpening the scraper
•
Wear suitable gloves
•
With use the scraper will blunt, sharpen by rubbing
the bevelled edge on a medium abrasive stone. Finish
by putting the flat side on the stone and rubbing kee-
ping the flat side in contact with the stone.
USING THE COMBINATION
SANDER
OPERATION
Make sure the switch on the sander is OFF
Plug into a suitable mains supply; check the cable is
routed well away from moving parts and switch on at plug.
To switch the sander ON
Push the rocker switch, which is located on the underside
of the sander by the dust extraction port, to position "I "
To switch OFF
Push the rocker switch to position "O"
To alter the sanding speed
Rotate the speed wheel on the top of the sander (1 is
slow - 6 is fast)
Do not put heavy pressure on the machine especially at
lower speeds.
Excessive pressure can cause the motor to burn out.
DURING USE
Use gentle pressure
Excessive pressure will clog the abrasive paper and slow
the sanding action.
Regularly inspect
Regularly inspect the abrasive during use for signs of
damage or wear and replace as required
Keep the ventilation slots clear
Clean dust and debris with soft brush (switch off and
unplug first)
Use dust extraction
The dust port at rear of the machine enables the use of a
vacuum dust collection system (not supplied).
Keep your hands away from the sanding heads and
work area.
Ferm
5
8
Ferm


