background image

EN

3

Ferm

TILE CUTTER

The numbers in the text refer to the diagrams 

on page 2

 For your own safety and that of others, we 

recommend that you read this instruction 

manual carefully before using this saw. 

Keep this instruction manual and the 

documentation provided with the saw for 

future reference.

Introduction

This tool is suitable for cutting various wall and 

floor tiles with a maximum tile size of 500 x 500 x 

35 mm. The diamond wheel can be replaced by 

the customer. It is not permitted to use the tool for 

any other materials.

Contents

1.   Machine information

2.   Safety instructions

3.   Assembly

4.   Operation

5.   Service & maintenance

1. Machine information

Technical specifications

Voltage 

230 V~ 

Frequency 

50 Hz

Power consumption 

600W/S2=10 min*

IP Class  

IP20

No load speed 

2950/min

Max. depth of cut 90º 

34 mm

Max. depth of cut 45º 

18 mm

Cutting angle 

0 - 45°

Ø Cutting blade 

Ø180 x Ø22.2 x 2.2 mm

Table dimensions 

360 x 330 mm

Lpa (sound pressure level) 

92+3 dB(A)

Lwa (sound power level) 

105+3 dB(A)

Vibration 

<2.5 m/s

2

*S2= Maximum period of operation with a 

capacity of 600 W

Vibration level

The vibration emission level stated in this 

instruction manual has been measured in 

accordance with a standardised test given in EN 

61029; it may be used to compare one tool with 

another and as a preliminary assessment of 

exposure to vibration when using the tool for the 

applications mentioned

• 

using the tool for different applications, or with 

different or poorly maintainted accessories, 

may significantly increase the exposure level

• 

the times when the tool is switched off or when 

it is running but not actually doing the job, may 

signifi cantly reduce the exposure level

Protect yourself against the effects of 

vibration by maintaining the tool and its 

accessories, keeping your hands warm, and 

organizing your work patterns.

Contents of packing

1  Tile cutter

1  Water tray

1  Full-length adjustable fence

1  Set of instructions

1  Safety instructions

1   Guarantee card

Check the machine, loose parts and accessories 

for transport damage.

2. Safety instructions

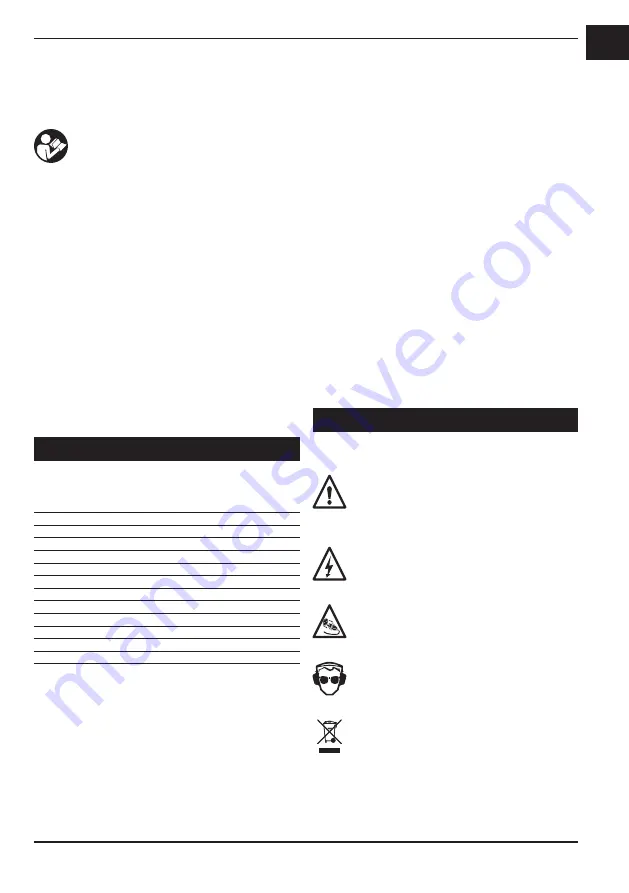
Explanation of the symbols

 Denotes risk of personal injury, loss of life 

or damage to the tool in case of non-

observance of the instructions in this 

manual.

Indicates electrical shock hazard.

Immediately unplug the plug from the 

mains electricity in the case that the cord 

gets damaged and during maintenance.

Wear ear and eye protection.

Faulty and/or discarded electrical or 

electronic apparatus have to be collected 

at the appropriate recycling locations.

Summary of Contents for TCM1010

Page 1: ...etriebsanleitung 07 Vertaling van de oorspronkelijke gebruiksaanwijzing 12 Traduction de la notice originale 16 Traducci n del manual original 21 Traduzione delle istruzioni originali 25 Eredeti haszn...

Page 2: ...2 Ferm 4 5 3 2 1 Fig 2 Fig 1 7 5 4 3 9 11 13 12 10 1 2 8...

Page 3: ...n measured in accordance with a standardised test given in EN 61029 it may be used to compare one tool with another and as a preliminary assessment of exposure to vibration when using the tool for the...

Page 4: ...qualified electrician Warning Avoid contact with the terminals on the plug when installing removing the plug to from the power supply outlet Contact will cause a severe electrical shock Replacing cabl...

Page 5: ...iliary equipment may carry a risk of injury for you and others 4 Operation Operation Fig 1 Before starting the job please ensure there is sufficient water in the water tray 4 i e the diamond blade run...

Page 6: ...es not come off use a soft cloth moistened with soapy water Never use solvents such as petrol alcohol ammonia water etc These solvents may damage the plastic parts Please clean the tool immediately af...

Page 7: ...brationsstufe Die in dieser Bedienungsanleitung angegebene Vibrationsemissionsstufe wurde mit einem standardisierten Test gem EN 61029 gemessen Sie kann verwendet werden um ein Werkzeug mit einem ande...

Page 8: ...Benutzung einer Fehlerstrom Schutzeinrichtung RCD Residual Current Device von nicht mehr als 30 mA in der Steckdose Warnung Diese Maschine muss geerdet werden Wenn sie nicht richtig geerdet ist kann...

Page 9: ...n Sie darauf dass die Abdeckung unter dem Sicherungsstift 13 sitzt Der Sicherungsstift verhindert dass die Abdeckung nach hinten f llt Einbau der verstellbaren Anschlagleiste Verbinden Sie den Knopf 7...

Page 10: ...b 1 Die Gehrung kann stufenlos zwischen 0 und 45 eingestellt werden L sen Sie die Schrauben 5 stellen Sie die Gehrung ein indem Sie den Tisch 1 nach oben klappen bis die gew nschte Neigung erreicht is...

Page 11: ...in der N he befindlicher Personen zur Folge haben k nnen Kontrollieren Sie regelm ig den Stecker und das Kabel und lassen Sie diese bei Besch digung von einer vom Hersteller benannten Reparatur werks...

Page 12: ...d is gemeten in overeenstemming met een gestandaardiseerde test volgens EN 61029 deze mag worden gebruikt om twee machines met elkaar te vergelijken en als voorlopige beoordeling van de blootstelling...

Page 13: ...e machine moet worden geaard Als de machine niet goed geaard is kan deze een elektrische schok veroorzaken Zorg ervoor dat de contactstop van de voeding geaard is Neem bij twijfel contact op met een g...

Page 14: ...oppen vast met de wijzers van de klok mee Schuif de waterbak 4 onder de tafel Installatie van de tegelzaagmachine De tegelzaagmachine mag uitsluitend als vaste installatie worden gebruikt Bevestig hem...

Page 15: ...goed vast gemonteerd is en in de juiste richting draait Om de versleten schijven te vervangen gaat u als volgt te werk Fig 2 Verwijder de stekker uit het stopcontact Neem het waterreservoir 4 Fig 1 ui...

Page 16: ...aarden de apart bijgevoegde garantiekaart MACHINE COUPER LES CARREAUX Les num ros dans le texte suivant r f rent aux illustrations des page 2 Pour votre propre s curit et celles des autres nous vous r...

Page 17: ...gnes de securite speciales Avant de commencer votre travail v rifiez que votre outil lectrique ne soit pas endommag et plus particuli rement votre meule diamant e Toutes les pi ces doivent tre convena...

Page 18: ...l outil Pour des outils fournis avec un transformateur de s paration Ne jamais utiliser l outil sans le transformateur fourni avec l outil ou du type sp cifi dans les pr sentes instructions Tout remp...

Page 19: ...table de travail Le guide biseau qui vous est fourni peut tre utilis pour pousser les carreaux travers la lame Tout particuli rement dans les premi res tapes de d coupage la carreau doit absolument re...

Page 20: ...ilisation D branchez la prise de la fiche lectrique Retirez la bacholle de la machine et videz l eau sale D vissez le dispositif anti claboussure et nettoyez le Desserrez la poign e en forme d toile p...

Page 21: ...anual de instrucciones ha sido medido seg n una prueba est ndar proporcionada en EN 61029 puede utilizarse para comparar una herramienta con otra y como valoraci n preliminar de la exposici n a las vi...

Page 22: ...ispositivo Diferencial Residual de no m s de 30 mA en el enchufe cuando utiliza esta herramienta Advertencia Esta m quina puede conectarse a tierra Esta m quina puede provocar una descarga el ctrica s...

Page 23: ...el sentido de las agujas del reloj Coloque el dep sito de agua 4 bajo la mesa Instalaci n de la cortadora de baldosas La cortadora de baldosas s lo debe usarse como una herramienta fija y debe atorni...

Page 24: ...Retire la bandeja de agua 4 Fig 1 de la m quina Afloje los pernos de fijaci n de la cubierta contra las salpicaduras y retire la cubierta contra las salpicaduras Afloje la tuerca de fijaci n de la ho...

Page 25: ...rece en este manual de instrucciones TAGLIAPIASTRELLE La numerazione nel testo si riferisce agli schemi di pagina 2 Per assicurare condizioni di lavoro sicure per s e per gli altri si raccomanda di le...

Page 26: ...i di sicurezza specifiche Prima di iniziare un lavoro controllare che l utensile elettrico e in particolare la lama non presenti danni Tutte le parti devono essere montate correttamente e devono soddi...

Page 27: ...le presenti istruzioni La sostituzione della spina o del cavo di alimentazione deve essere sempre eseguita dal produttore dell utensile o da una societ di manutenzione approvata Mantenere l acqua lont...

Page 28: ...one indicata Non tagliare materiali diversi dalle piastrelle Manutenere con cura gli utensili Mantenere gli utensili affilati e puliti per poter lavorare correttamente e in sicurezza Attenersi alle is...

Page 29: ...la Allentare la manopola a stella ribaltare la tavola e pulire l intera macchina La macchina conforme a tutte le normative di sicurezza in vigore Le riparazioni devono essere eseguite esclusivamente d...

Page 30: ...ban el rt egys ges tett tesztvizsg lattal m rt k gy az egyes szersz mokn l m rt vibr ci kibocs t si rt kek egym ssal sszehasonl that k s felhaszn lhat k a vibr ci nak val kitetts g m rt k nek el zetes...

Page 31: ...zathoz csatlakoztasson 30 mA n l nem nagyobb hiba ram v delemmel ell tott RCD v d kapcsol t Figyelmeztet s Ezt a g pet f ldelni kell Nem megfelel f ldel s eset n ram t st okozhat Gy z dj n meg arr l h...

Page 32: ...i fesz lts g feleljen meg a g p adatt bl j n felt ntetett fesz lts gnek s rammegszak t val v deni kell A g p dugasz t ne a t pk beln l fogva h zza ki a konnektorb l H t l olajt l s les t rgyakt l v dj...

Page 33: ...yen szersz mot ne felejtsen a fr ccsen sg tl n 5 Gondoz s s karbantart s A motor karbantart sa el tt gondoskodjon arr l hogy a g p ne legyen ram alatt A kompresszort gy tervezt k hogy minim lis karban...

Page 34: ...nto n vod k obsluze Uschovejte tento n vod k obsluze a p ilo enou dokumentaci pro budouc odkazy vod Toto n ad je vhodn pro ez n r zn ch obklad na st ny a podlahy s maxim ln m rozm rem 500 500 35 mm Di...

Page 35: ...ny d ly mus b t dn namontov ny a mus spl ovat v echny po adavky aby byl zaru en bezprobl mov provoz n ad V echny bezpe nostn kryty a jak koli lehce po kozen d ly mus b t zkontrolov ny abyste se p ed d...

Page 36: ...isem Dbejte na to aby se voda nedostala do bl zkosti elektrick ch sou st n ad a do bl zkosti osob v pracovn m prostoru 3 Mont Mont Obr 1 Namontujte rozp rn kl n Vy roubujte dva rouby k ov hlava 9 a um...

Page 37: ...t i nou pozornost prov d n pr ci Pou vejte zdrav rozum Nepracujte s t mto strojem nem ete li se koncentrovat nebo jste li unaveni Nastaviteln vod tko Obr 1 Toto vod tko 3 v m umo uje prov d t ezy rovn...

Page 38: ...d ny pouze autorizovan mi servisy proto e opravy prov d n nekvalifikovan mi osobami mohou zp sobit zran n u ivateli a okolo stoj c m osob m Prov d jte pravidelnou kontrolu z str ky a nap jec ho kabel...

Page 39: ...39 Ferm...

Page 40: ...40 Ferm...

Page 41: ...on Position 702891 Nut 5 702892 Flange set 6 8 TCA1004 Diamond saw blade 7 702893 Guard 9TILL11 702894 Knob 12 407102 Guide 14TILL16 407559 On off switch complete 17 407123 Mains plug with RCD switch...

Page 42: ...42 Ferm Exploded view...

Page 43: ...mentet og R det af 8 juni 2011 om begr nsning af anvendelsen af visse farlige stoffer i elektrisk og elektronisk udstyr HU Felel ss g nk teljes tudat ban kijelentj k hogy ez a term k teljes m rt kben...

Page 44: ...WWW FERM COM 1403 18 2013 Ferm B V...

Reviews: