19
VF7
INSTALLATION PROCESS
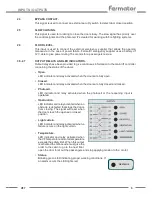
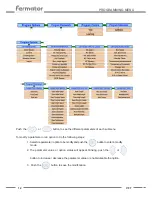
• Program the door type,
this options are located in the Programming Options menu in the VF7
Graphic Interface.
• Door model (T1, T2, T3, T4, C2, C4, C6 or C8).
• Landing door type (Semiautomatic or Automatic).
• Rotation sense (Clockwise or Counterclockwise).
•
Place the door in a middle position
in order to see the starting movement.
•
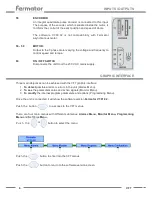
Active the Door Learning option
to start the learning cycle.
This option is located in the Programming Options menu in the VF7 Graphic Interface.
The correct steps that the door has to make are:
1. The door will close completely in slow speed until the end to detect the 0 position.
2. The door will open slowly counting the pulses from the encoder built into drive motor until
it reach the open mechanical stop. Will detect the final position.
3. The door will close after a short delay. From the information obtained the microprocessor
will calculate the acceleration and deceleration ramps and the braking torque required to
give the optimum control of the doors.
•
Door Test.
•
Active the Test option to open the door and verify the proper operation. Active again the
test option to close the door.
•
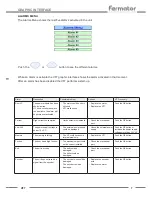
Program the VF7 control behaviour,
this options are located in the Programming Options
menu in the VF7 Graphic Interface.
•
1 Input or 2 Inputs.
•
Master or Slave.
• Connect the cables coming from the lift controller.
• Connect the inputs cables (Pins 8 to 12).
• Connect the priority inputs cables (Pins 21 to 26).
• Connect the relays outputs cables that inform the lift controller (Pins 30 to 47).
POWER FAILURES
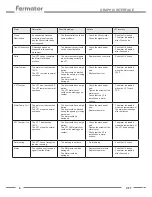
The VF7 incorporates two new security systems related to power failures:
•
Anti-banging system.
When a power failure occurs while the door is opening, closing or fully open, the new anti-banging
system brakes the PM motor to perform a slow closing and avoid the door hits at closing.
Summary of Contents for VF7
Page 26: ......

