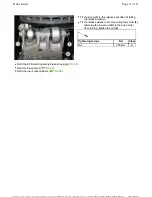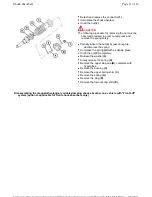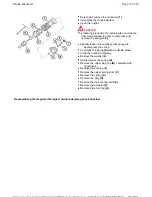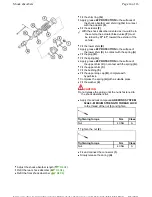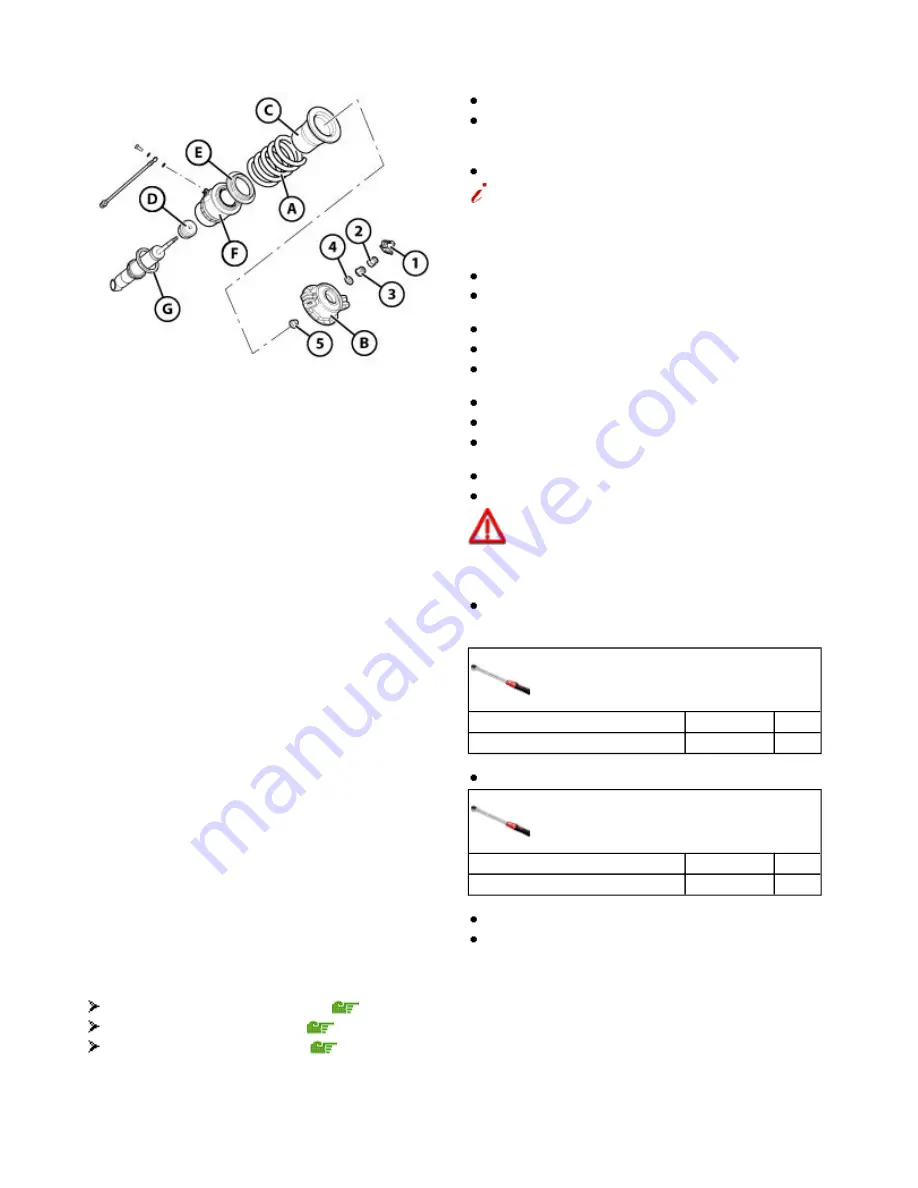
Fit the shim ring
(G)
.
Apply grease
Z2 PROTECTION
to the surfaces of
the shock absorber and shim ring
(G)
in contact
with the actuator
(F)
.
Fit the actuator
(F)
.
With the shock absorber oriented as it would be in
the vehicle, the actuator bleed valve
(F)
must
be turned by
37° ± 1°
toward the exterior of the
vehicle.
Fit the lower shim
(E)
.
Apply grease
Z2 PROTECTION
to the surface of
the lower shim
(E)
in contact with the spring
(A)
.
Fit the plug
(D)
.
Fit the spring
(A)
.
Apply grease
Z2 PROTECTION
to the surface of
the upper shim
(C)
in contact with the spring
(A)
.
Fit the upper shim
(C)
.
Fit the bushing
(5)
.
Fit the upper stop cap
(B)
, complete with
hyperblock.
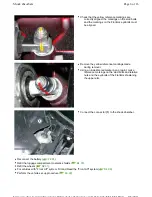
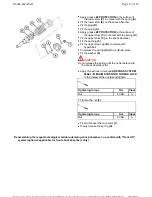
Compress the spring
(A)
with a suitable press.
Fit the washer
(4)
.
CAUTION
Do not release the spring until the nut is fastened to
the shock absorber strut.
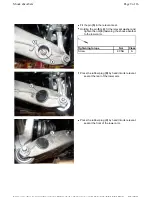
Apply thread lock compound
AREXONS SYSTEM
52A43 - MEDIUM STRENGTH THREAD LOCK
to the thread of the nut
(3)
and tighten.
Tightening torque
Nm
Class
Nut 40
Nm
A
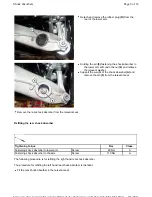
Tighten the nut
(2)
.
Tightening torque
Nm
Class
Nut 40
Nm
A
Fit and connect the connector
(1)
.
Slowly release the spring
(A)
.
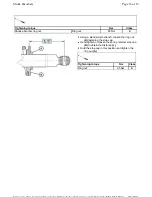
Adjust the shock absorber length (
D4.04
).
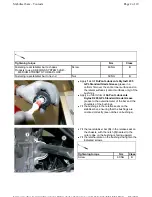
Refit the rear shock absorber (
D4.04
).
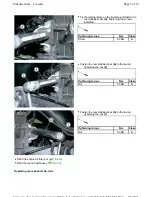
Refit the front shock absorber (
D4.04
).
Page 14 of 16
Shock absorbers
8/5/2011
https://modiscs.ferrari.it/KnowledgeOnline/index.php?action=mo&link=link::SM_SM_D40...
Summary of Contents for 458 Italia
Page 1: ......
Page 24: ...1 7 Car Bench vehicle bench Copyright 2010 ...
Page 25: ...1 7 Car Bench vehicle bench Copyright 2010 ...
Page 26: ...1 7 Car Bench vehicle bench Copyright 2010 ...
Page 27: ...1 7 Car Bench vehicle bench Copyright 2010 ...
Page 28: ...1 7 Car Bench vehicle bench Copyright 2010 ...
Page 29: ...1 7 Car Bench vehicle bench Copyright 2010 ...
Page 30: ...1 7 Car Bench vehicle bench Copyright 2010 ...
Page 31: ...1 7 Car Bench vehicle bench Copyright 2010 ...
Page 522: ...Hook 95977564 AS 107564 for lifting the gearbox Page 5 of 5 Specific tooling and equipment ...
Page 586: ...In preparation Page 6 of 6 Engine overhaul Disassembly ...
Page 620: ...Perform the Fuel tank tightness test cycle Page 4 of 4 Fuel level sensor ...
Page 967: ...Refit the wheels D2 01 Page 10 of 10 Stabiliser bars Tie rods ...
Page 1127: ...Refit the wheels D2 01 Page 8 of 8 Wheelhouse ...
Page 1167: ...Prise out and remove the plug 4 Undo the nut 5 Undo the nut 6 Page 32 of 37 Doors ...
Page 1242: ...In the LOWEST position two movements are possible Page 8 of 12 Seats ...
Page 1243: ...In the INTERMEDIATE LOW position three movements are possible Page 9 of 12 Seats ...
Page 1244: ...In the INTERMEDIATE HIGH position three movements are possible Page 10 of 12 Seats ...
Page 1549: ...Reconnect the battery F2 01 Page 5 of 5 Starter motor ...
Page 1721: ...Charge the air conditioning system F5 12 Page 5 of 5 Condenser ...
Page 1740: ...Refit Page 13 of 13 A C unit ...
Page 1764: ...FD0001 Fuel supply distribution 0 99999 Page 10 of 56 PDF ...
Page 1765: ...FD0001 Fuel supply distribution 0 99999 Page 11 of 56 PDF ...
Page 1773: ...FD0001 Fuel supply distribution 0 99999 Page 19 of 56 PDF ...
Page 1774: ...FD0001 Fuel supply distribution 0 99999 Page 20 of 56 PDF ...
Page 1781: ...FD0001 Fuel supply distribution 0 99999 Page 27 of 56 PDF ...
Page 1782: ...FD0001 Fuel supply distribution 0 99999 Page 28 of 56 PDF ...
Page 1789: ...FD0001 Fuel supply distribution 0 99999 Page 35 of 56 PDF ...
Page 1790: ...FD0001 Fuel supply distribution 0 99999 Page 36 of 56 PDF ...
Page 1797: ...FD0001 Fuel supply distribution 0 99999 Page 43 of 56 PDF ...
Page 1798: ...FD0001 Fuel supply distribution 0 99999 Page 44 of 56 PDF ...
Page 1803: ...FD0001 Fuel supply distribution 0 99999 Page 49 of 56 PDF ...
Page 1804: ...FD0001 Fuel supply distribution 0 99999 Page 50 of 56 PDF ...
Page 1809: ...FD0001 Fuel supply distribution 0 99999 Page 55 of 56 PDF ...

