E7.05
Restoring the cataphoresis coating
Restoring the cataphoresis coating
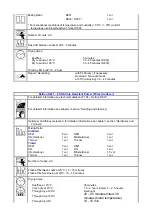
Use the following procedure in the event of damage to the cataphoresis layer, due, for example, to:
repairs to bodywork, replacement of suspension inserts, holes drilled into metal, fitment of
additional rivnuts after cataphoresis treatment and replacement of ground plates.
Whenever the cataphoresis coating layer is damaged, it is imperative that protective treatment is be applied
correctly to the damaged area as described in the following procedure.
Only mix the amount necessary to restore the coating, as once mixed, the product must be used within
1 hour.
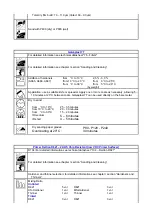
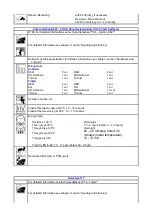
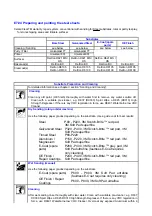
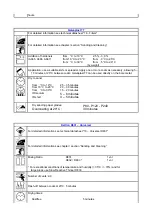
Prepare the product by mixing the two components in equal volumes - specifically,
50%
epoxy primer
PPG
Universel D831
and
50%
catalyst
PPG Universel D832
.
Clean the application area thoroughly with a clean cloth moistened with
R107/S
.
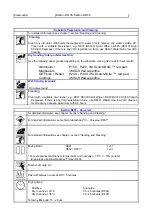
The repair treatment may be applied with a spray gun or with a normal paint brush:
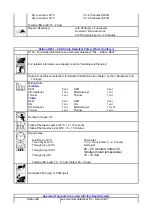
Application with spray gun
Protect the surrounding areas and nearby components against heat.
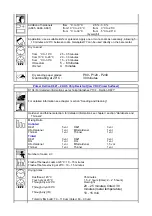
Apply 2 or 3 coats of the treatment product, waiting
5 minutes
between coats.
The total dry film thickness at the end of the application cycle must be between 15
μ
and 20
μ
.
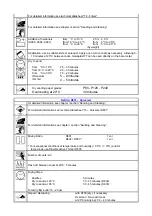
Allow to dry until dust free for
5 minutes
, or dry with a bodywork hot air gun, set to full power and held at a
distance of 20 cm from the surface, for
10 minutes
.
Application with paint brush
Protect the surrounding areas and nearby components against heat.
Apply a thin coat of product over all exposed metalwork surfaces.
Allow to dry until dust free for
5 minutes
, or dry with a bodywork hot air gun, set to full power and held at a
distance of 20 cm from the surface, for
10 minutes
.
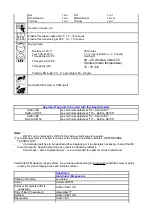
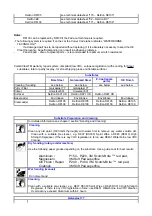
Applying filler base coat
Due to the characteristics of epoxy resin based products, a surfacer primer must also be applied over the
epoxy primer
PPG Universel D831
, which also offers scratch protection.
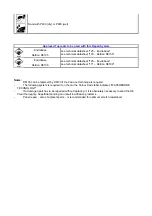
Apply
PPG UHS Greymatic D8018 (White)
,
PPG UHS Greymatic D8019 (Black)
, or
PPG UHS
Greymatic D8024 (Grey)
base coat.
The three surfacer primers differ in colour only and offer the same performance. The different colours are
for use under different coloured top coats.
For instructions regarding preparation, application and drying, see the PPG technical product sheets.
Summary of Contents for California
Page 19: ...Z Tyre type and pressure label ...
Page 20: ...04 02 Assembly number Assembly number A Assembly number label ...
Page 21: ...04 03 Chassis number Chassis number B Punched chassis number ...
Page 22: ...04 04 Engine type and number Engine type and number C Punched engine type and number ...
Page 23: ...04 05 Chassis number Chassis number D Chassis number ...
Page 24: ...04 06 Gearbox type and number Gearbox type and number E Gearbox type and number plate ...
Page 25: ...04 07 Vehicle identification Vehicle identification K VIN label Vehicle Identification Number ...
Page 28: ...04 10 Fuel Fuel I Fuel label ...
Page 29: ...04 11 Paintwork Paintwork L Paintwork label ...
Page 30: ...04 12 Emissions control Emissions control M Emissions control data label ...
Page 31: ...04 13 Airbag Airbag N Do not install child seat on passenger seat label ...
Page 32: ...04 14 Airbag Airbag O Airbag maintenance label ...
Page 33: ...04 15 Airbag Airbag P Airbag warning label ...
Page 43: ...Fluids and lubricants table Model Fluids and lubricants table Download ...
Page 71: ...Screw the cap A back on tightly ...
Page 104: ...Connect the battery F2 01 ...
Page 118: ...Vehicle Setup Parameter Check Form Model Vehicle Setup Parameter Check Form Download ...
Page 520: ...A DCT gearbox clutch oil tank and clutch oil pump B Clutch oil pipes C Clutch oil radiator ...
Page 623: ...CCM Brake Disc Wear Form Model All Models CCM Brake Disc Wear Form Download ...
Page 1070: ...A Horn button B Engine start button C Manettino ...
Page 1102: ...Perform the respective cycle with the DEIS diagnostic tester ...
Page 1144: ...Connect the battery F2 01 ...
Page 1220: ...Precautions and guidelines for using the RHT retractable hard top ...
Page 1334: ...Undo the indicated fasteners Retrieve the indicated shims Release the clip 1 ...
Page 1335: ...Remove the indicated clip Undo the indicated screw Undo the screws indicated ...
Page 1452: ...Refit the rear wheelhouses E3 05 Connect the battery F2 01 ...
Page 1453: ...F2 07 Lights Diagnosing condensation in headlamps ...
Page 1561: ...Ss Sensor signal λ Lambda ratio excess g Rich mixture M Lean mixture ...
Page 1570: ...Refit the DCT gearbox C2 03 Connect the battery F2 01 ...
Page 1656: ...G Heater evaporator H Pollen filter I Air vents M Expansion valve ...
Page 1677: ...Refit the front wheelhouses E3 05 ...
Page 1686: ...Refit the caps 1 Refit the engine compartment cosmetic shields E3 13 ...

