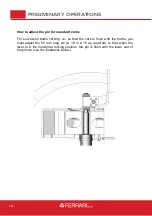
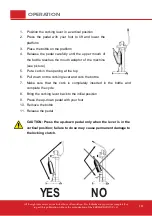
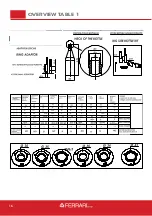
Ferrari ZEUS, Operation And Maintenance Manual
Introducing Octavo ZEUS, a revolutionary device designed to simplify your life. With its comprehensive User Manual, you can unlock the full potential of ZEUS effortlessly. Download this invaluable manual for free from our website and embark on a journey of seamless technology integration. 88.208.23.73:8080 is your go-to destination for empowering manuals.
Share
Download


Reviews:
No comments
Related manuals for ZEUS
Chef Series
Brand: MADAME COCO Pages: 11

VG 231 CA
Brand: Gaggenau Pages: 44
VG415211CA
Brand: Gaggenau Pages: 52
VI 414 610
Brand: Gaggenau Pages: 36
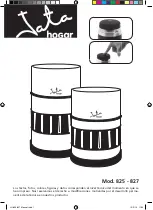
825
Brand: Jata hogar Pages: 4

96153
Brand: Harbor Freight Tools Pages: 4
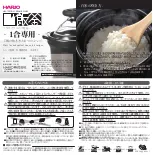
GNN-200B
Brand: Hario Pages: 4
Essentials KEW5
Brand: Kambrook Pages: 20
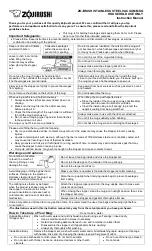
SB-ZA01E
Brand: Zojirushi Pages: 2
EPS 2 A1
Brand: Ernesto Pages: 5

FP8910
Brand: Sunbeam Pages: 34
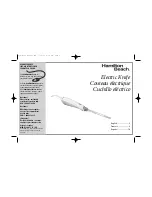
74375
Brand: Hamilton Beach Pages: 20
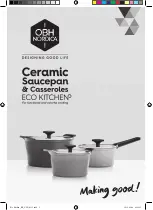
Eco Kitchen 8137
Brand: OBH Nordica Pages: 16
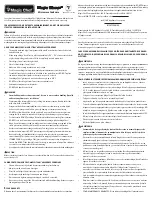
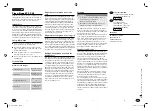
Magic Steam 4 3/4 C
Brand: Magic Chef Pages: 2
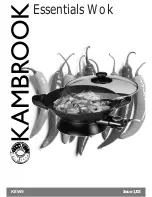
Essentials KEW5
Brand: Kambrook Pages: 14
8000035550
Brand: Krups Pages: 14
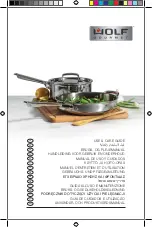
ICBWGCW100S
Brand: Wolf Gourmet Pages: 48
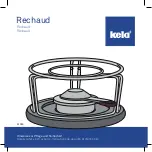
Rechaud
Brand: Kela Pages: 12


