ATLAS D ECO COND UNIT
43
EN
cod. 3541Q463 - Rev. 00 - 09/2021
•
The gas and water systems must be airtight.
•
The water pressure in the cold water system must be approx. 1 bar; otherwise, bring
it to that value.
•
The circulating pump must not be blocked.
•
The expansion tank must be filled.
•
Check the magnesium anode and replace it if necessary.
A
The boiler casing, control panel and aesthetic parts can be cleaned with a soft
and damp cloth, if necessary soaked in soapy water. Do not use any abrasive
detergents and solvents.
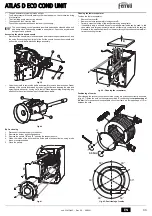
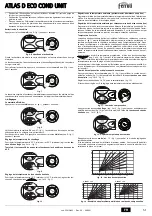
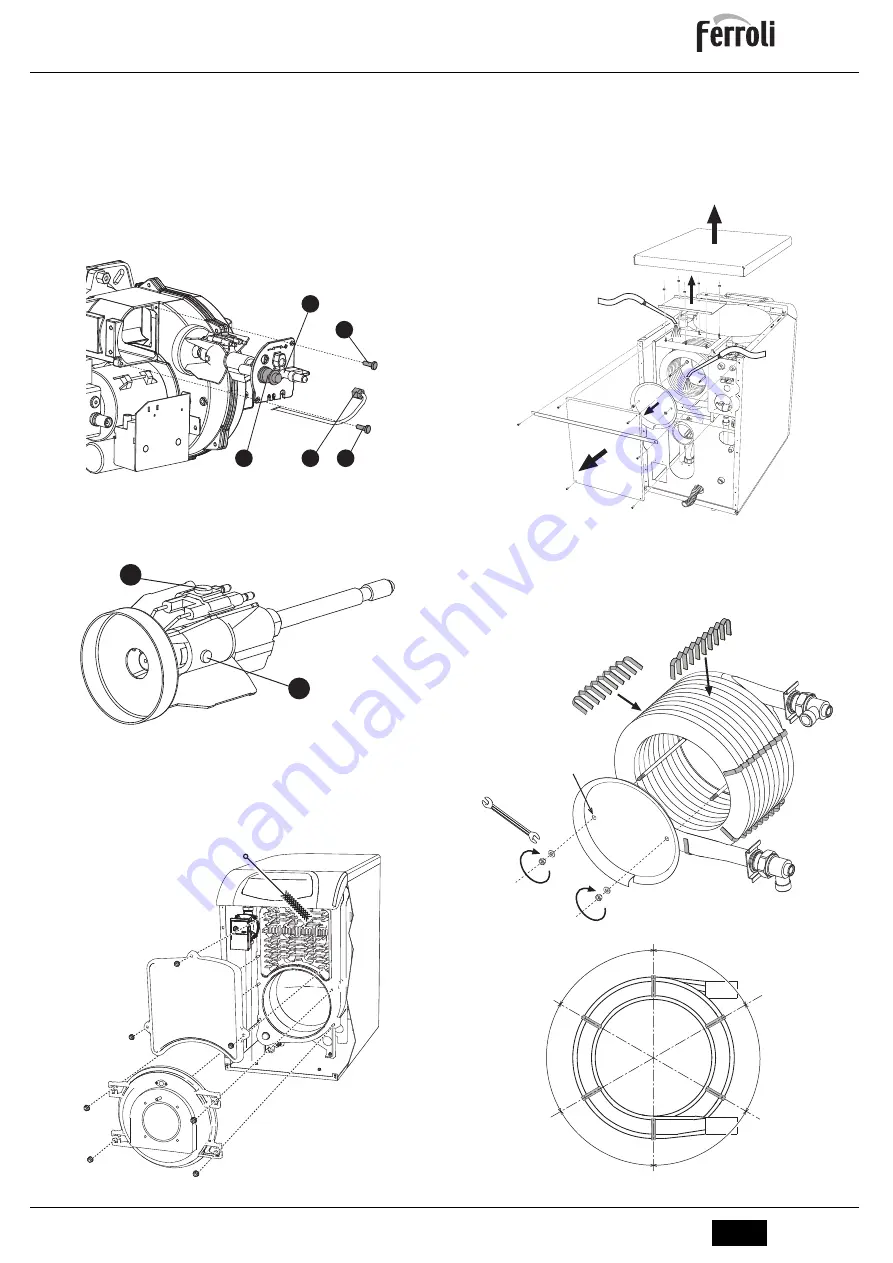
Accessing the electrode and nozzle
•
Disconnect the transformer electrode cables and remove the photoresistance
1
, and
the union
2
connecting the oil pipe to line
3
of the nozzle. Loosen the screws
4
and
pull out the nozzle-baffle-electrode flange assembly.
fig. 39
•
Undo the screw
5
to remove the baffle and screw
6
to remove the electrodes. Proper
cleaning of the nozzle is obtained by removing the filter and cleaning the slots and
spraying hole with petrol, rinsing it with fuel oil. When reassembling everything, pay
attention to the correct positioning of the electrodes-baffle.
fig. 40
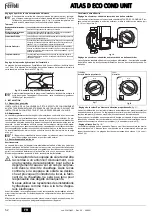
Boiler cleaning
1.
Disconnect the power supply to the boiler.
2.
Remove the burner as described above.
3.
Remove the panels
“E”
and
“F”
undoing the respective nuts.
4.
Clean the inside of the boiler and the entire path of exhaust fumes, using a tube
brush or compressed air.
5.
Close the panels.
fig. 41
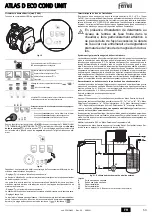
Cleaning the fume recuperator
To clean the fume recuperator:
•
Remove the cover
B
.
•
Remove the fume recuperator closing covers
C
.
•
Carefully clean the inside of the recuperator using an aspirator.
•
If particularly dirty, a suitable device for spraying water inside can be used. In this
case, make sure large amounts of water do not come into contact with the cast iron
elements in the smoke chamber. Run the water through the condensate drain
D
af-
ter disconnecting the trap.
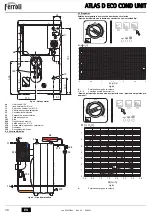
fig. 42 - Cleaning the recuperator
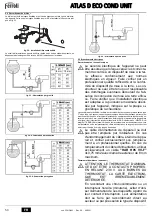
Positioning of combs
After cleaning the recovery unit make sure the combs are positioned correctly, as shown
in fig. 43. Tighten the nuts on the compressor disk "A" respecting the
torque setting of
0.6 Nm
. If a torque wrench is unavailable, check that there is a fume passage of 1 mm
between the coils.
fig. 43 - Positioning of combs
3
2
4
1
4
5
6
F
E
B
C
D
C
60°
60°
60°
60°
60°
60°
0.6 Nm
A


