(Tippbetrieb):
Output 1.
jeder
von MAN. STEP wird ein Schritt
weitergeschaltet und ausgefuhrt.
eines Schrittes:
Output MAN. STEP betatigen bis
Schritt an Schritt-
erscheint. Dann Output 0
auf 1 schieben: Ein Schritt
wird
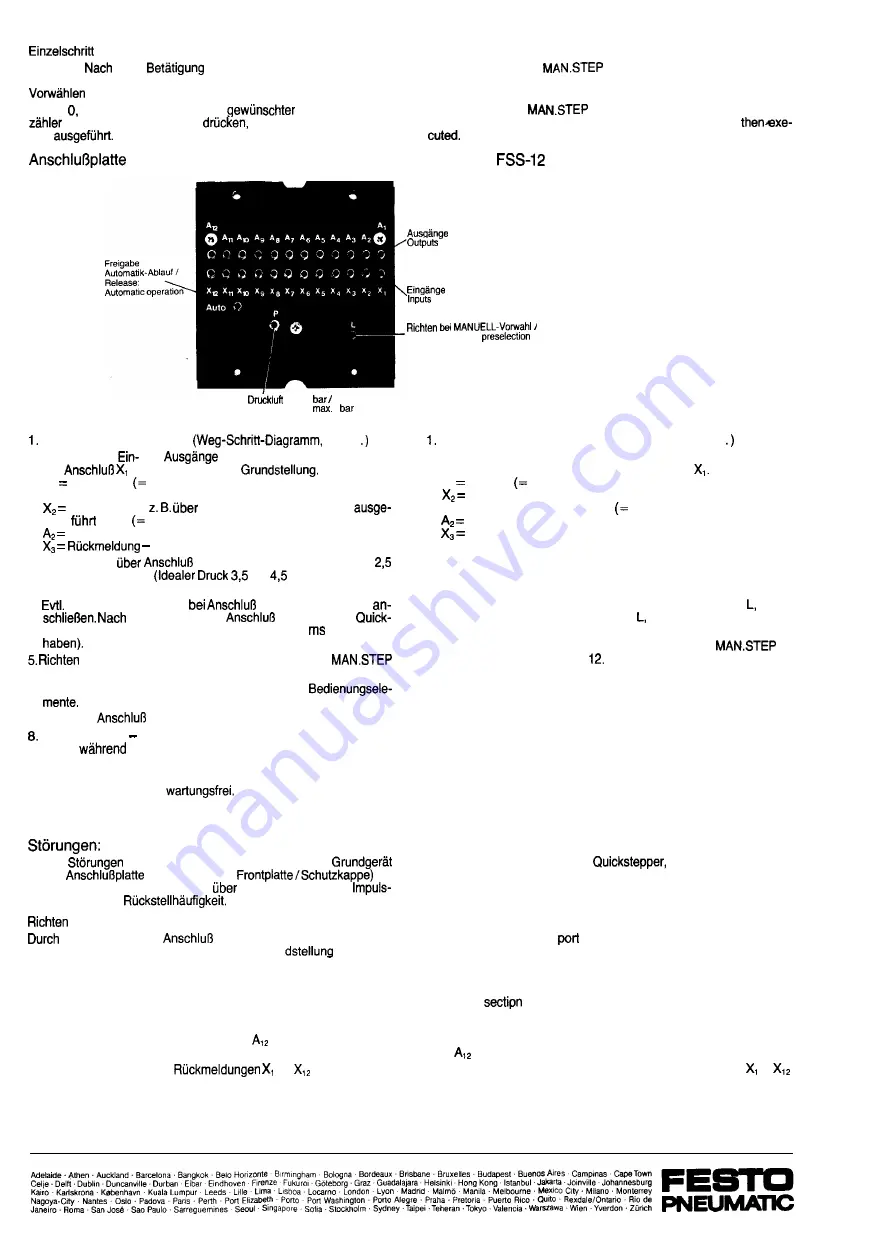
FSS-12
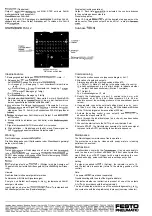
Single step (inching operation):
Output 1. Each time
is actuated, the control advances
to the next step and executes this.
Preselecting a step:
Output 0. Actuate
until the desired step appears on the
step counter. Then press output 0 and shift to 1: a step is
Sub-base
I
I
Reset with manual
lnbetriebnahme
max. 6
Compressed air
6
Bewegungsablauf festlegen
Liste..
2. Belegung der
und
Auf
geben Sie immer die
A, Ausgang 1
Bewegung 1) zum Arbeitsventil einer Steue-
rung.
Ruckmeldung
Grenztaster ob Ausgang 1
wurde Bewegung 1 fertig).
Ausgang 2
Bewegung 2 fertig.
3. Quickstepper
P Nennweite 4 mm mit Druckluft
bis 6 bar versorgen.
bis
bar, Ansteuerdruck
der nachgeschalteten Arbeitsventile beachten.)
4.
externes Richtsignal
L Nennweite 3 mm
einem Signal auf
L schaltet der
stepper auf den 12. Schritt (mu8 mindestens 200
Signaldauer
betatigen oder Schrittzahler mit Output 0 und
auf 12 stellen.
6. Einzelschritte durchtakten (zur Kontrolle) siehe
7. Signal am
AUTO Nennweite 3 mm vorsehen.
Start betatigen Quickstepper arbeitet, wenn Dauersignal an
AUTO
des automatischen Ablaufs ansteht.
Wartung:
Der Quickstepper arbeitet
Die Schutzkappe kann mit Seifenwasser oder Waschbenzin gereinigt
werden (kein Azeton).
Treten
am Quickstepper auf, so ist nur das
(ohne
und eventuelle
an
FESTO einzusenden mit Angaben
Druckluftversorgung,
Bedingungen und
ein Signal auf den
L (Richten) wird die Anzeige auf
12 gestellt und der letzte Schritt ausgefuhrt (Grun
der Steue-
rung).
Hinweis:
Das Arbeitsteil mu8 separat gerichtet werden.
Fehlersuche mit Hilfe der Signalanzeigen:
P zeigt an, ob Befehl am Ausgang A, bis
(entsprechend Schritt-
anzeige) vorhanden.
Input zeigt an, ob eine der
bis
(entsprechend
Schrittanzeige) vorhanden (Sammelanzeige).
Commissioning
Define the motion sequence (sequence diagram, list..
2. Allocation of inputs and outputs.
Always proceed to the starting position with port
A, Output 1
Motion 1) leading to the power valve of a control.
Acknowledgement, e.g. via a limit switch, to indicate whether
output 1 has been executed
Motion 1 complete).
Output 2.
Acknowledgement 2, etc..
3. Supply the Quickstepper via port P, nominal size 4 mm, with
compressed air at 2.5 to 6 bar. (Ideal pressure 3.5 to 4.5 bar,
take into account the switching pressure of the downstream power
valves).
4. If appropriate, connect an external setting signal to port nomi-
nal size 3 mm. After a signal to port the Quickstepper switches
to the 12th step (signal endurance at least 200 ms).
5. Actuate the setting control, or use output 0 and
to
advance the step counter to
6. Work through the individual steps (as a check); see description
of control elements.
7. Connect the start valve to the AUTO port, nominal size 3 mm.
8. Actuate START; the Quickstepper operates if a continuous signal
is present at the AUTO port during the automatic sequence.
Maintenance:
The Quickstepper is maintenance-free in operation.
The protective cap can be cleaned with soapy water or cleaning
petroleum (no acetone).
Malfunctions:
If malfunctions occur with the
it is only necessary to
send the basic unit (without sub-base, and front panel/protective
cap if fitted) to your FESTO agent with a note describing the com-
pressed-air supply, pulse conditions and reset frequency used.
Setting
If a signal is applied to
L (Setting), the indicator is set to 12,
and the last step is executed (return to the starting position of the
control).
Note:
The power
must be set separately.
Troubleshooting with the aid of the signal indicators:
P indicates whether an instruction is present at one of the outputs
A, to
(in accordance with the step indicator).
The input indicates whether one of the acknowledgements to
(in accordance with the step indicator) is present (common indicator).

