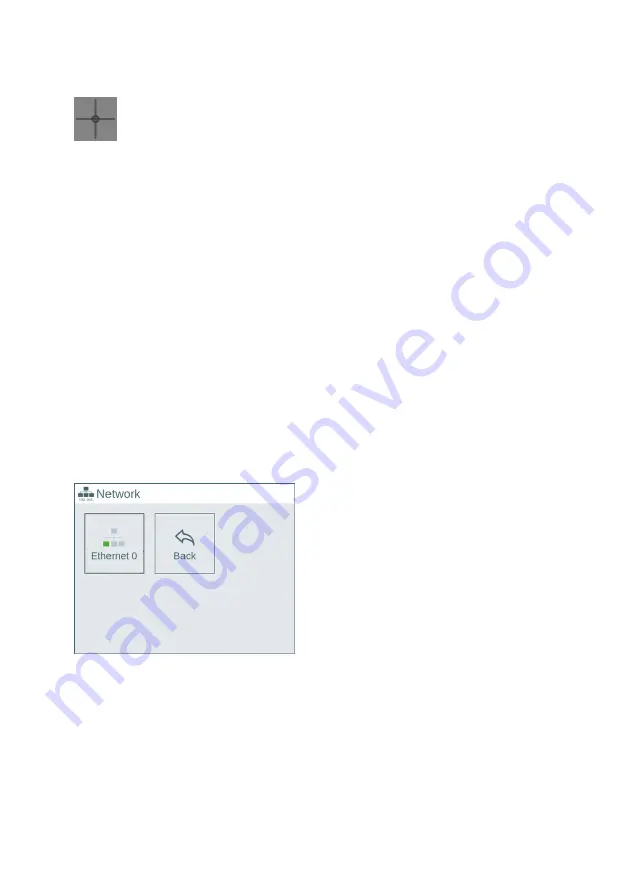
Fig. 18 Symbol for calibration
For calibration, the symbol is displayed eight times (twice in sequence in all four corners of the dis-
play). The display sequence is top left, top right, bottom left and bottom right. For each display the
centre of the symbol must be touched with the touch pen as precisely as possible. Care should be
taken to select the points only briefly. Pressing too long leads to incorrect calibration. If the centre of
the symbol is touched inaccurately, the "Miss-click detected, restarting" message is shown and calib-
ration is started again. First, "Touchscreen Calibration" appears on the touch screen and the display
of the calibration symbol four times, then "Touchscreen Verification" appears and the display of the
calibration symbol four times.
After successful calibration, the calibration window is closed and the "Display" mask appears. Calibra-
tion of the touchscreen is complete.
8.3
Licences
Press the "Licences" button to display the licence information.
Press the "OK" button to exit the window.
8.4
Network
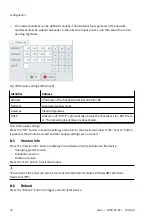
Press the "Network" button to open the network window. The network settings for available Ethernet
interfaces and the host IP address can be changed in this window.
Fig. 19 Network menu
Press the "Back" button to return to the main menu.
The following values are preset by default in the delivery status of the handheld terminal CDSA-D3-RV:
The device is set to DHCP.
Ethernet 0
Press the "Ethernet 0" button to switch to the configuration window.
The network address can be set as follows:
–
The network address can be obtained automatically via DHCP. This enables automatic integration
into an existing network without manual configuration.
Configuration
31
Festo — CDSA-D3-RV — 2020-08


