Field of View GeoSnap Basic Manual 34
A-2: GEOSNAP PPK UPGRADE STEP BY STEP WALKTHROUGH
1.
Download the GeoSnap PPK Upgrade file (.asc) provided by Field of View.
2.
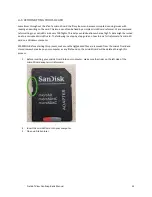
Look at the serial number found in the name of the .asc file (see below image for reference) and make
sure that it matches the serial number of the GeoSnap Basic that you are trying to upgrade. If they do not
match, please contact Field of View for further instructions.
3.
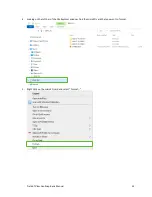
If the serial numbers do match, proceed to copy and paste the .asc file to the root directory of the
microSD card.
4.
Insert the microSD card into the GeoSnap Basic and power it on
5.
The GeoSnap will go through its normal bootup LED sequence. If the upgrade is successful, the blue and
white LEDs will start flashing and the GeoSnap will start beeping. This indicates that a new GeoSnap PPK
CONFIG file has been generated and needs to be reviewed.
6.
Power off the GeoSnap, remove the microSD card, and insert it into your computer
7.
If the subscription was successful, you will notice that the GeoSnap PPK Upgrade file (.asc) is gone and a
file called ppk_upgrade_status.txt will be present. Open the ppk_upgrade_status.txt file.
8.
Inside the ppk_upgrade_status
.txt file there will be a success message (i.e. “
This unit has successfully
been upgraded to a GeoSnap PPK.
”).
9.
Delete the ppk_upgrade_status
.txt file from the microSD card’s directory
10.
Open the CONFIG file and edit the appropriate settings for your flight. When finished, save the CONFIG
file back to the microSD card
11.
You can now safely eject the microSD card from the computer, and reinsert it back into the GeoSnap
12.
Download the GeoSnap PPK manual at
https://www.fieldofviewllc.com/downloads/geosnap-ppk
13.
Proceed with GeoSnap PPK operation

