16
5. COMMISSIONING THE
PROTONODE LER ON A
LONWORKS NETWORK
Commissioning may only be performed by the
LonWorks administrator.
Commissioning the ProtoNode
LER on a LonWorks network
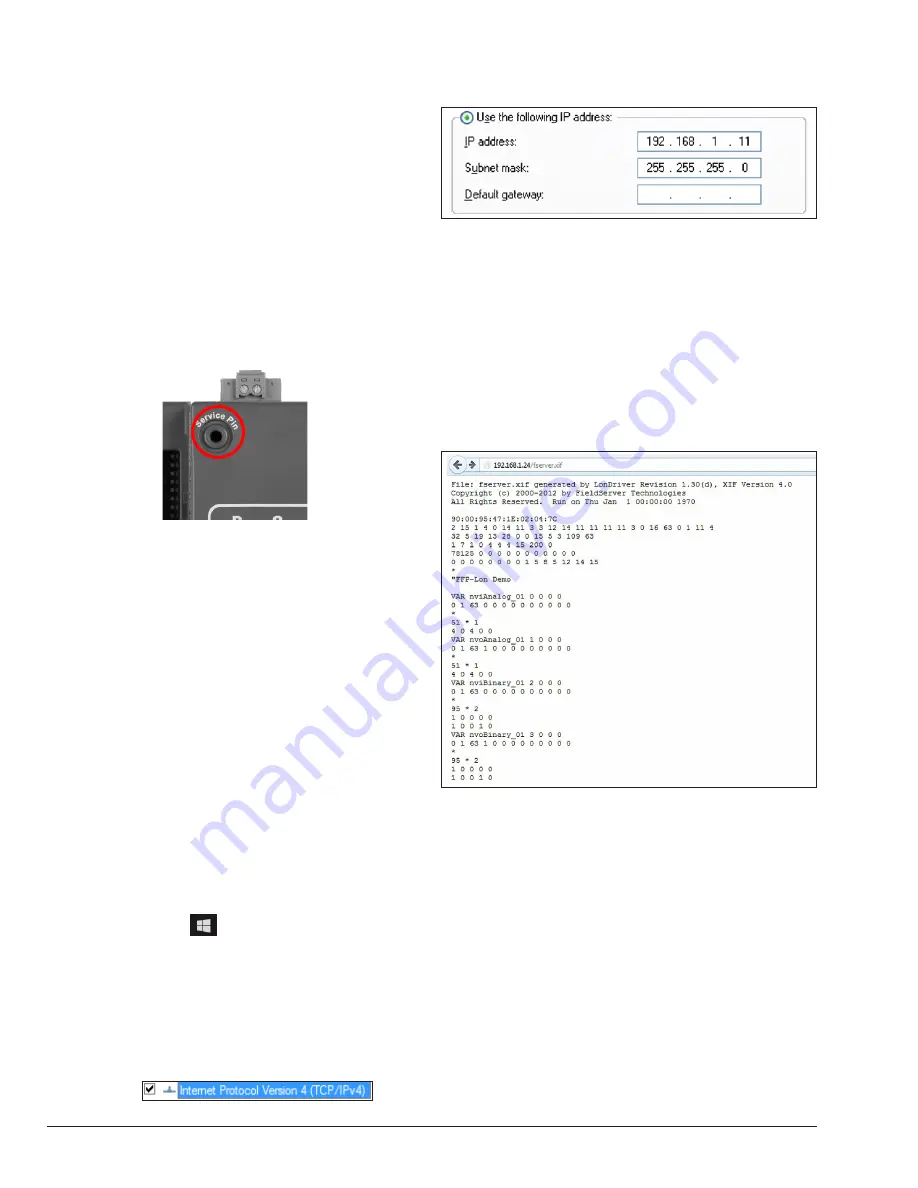
To commission the ProtoNode LER LonWorks port, insert
a small screwdriver in the commissioning hole on the face
of the LER’s enclosure to access the Service Pin. See
the illustration on the ProtoNode LER as to which way to
toggle the screw driver during commissioning.
Figure 19. ProtoNode LER Commissioning Hole Location
• If an XIF file is required, see
Figure 27
to generate
XIF.
Instructions to Upload XIF
File From the ProtoNode LER
Using FS GUI Web Server
• Connect a Cat-5 Ethernet cable (straight through or
cross-over) between the PC and ProtoNode.
• The default IP Address for the ProtoNode is
192.168.1.24, Subnet Mask is 255.255.255.0. If the
PC and ProtoNode are on different IP networks,
assign a static IP Address to the PC on the
192.168.1.xxx network.
For Windows 10:
• Find the search field in the local computer’s taskbar
(usually to the right of the windows icon and type in
“Control Panel”.
• Click “Control Panel”, click “Network and Internet”
and then click “Network and Sharing Center”.
• Click “Change adapter settings” on the left side of
the window.
• Right-click on “Local Area Connection” and select
“Properties” from the dropdown menu
• Highlight
> and
then click the Properties button.
• Select and enter a static IP Address on the same
subnet. For example.
• Click the OK button to close the Internet Protocol
window and the Close button to close the Ethernet
Properties window.
• Open a web browser and go to the following address:
[IP Address of ProtoNode]/fserver.xif.
o Example: 192.168.1.24/fserver.xif
• If the web browser prompts to save the file, save the
file onto the PC. If the web browser displays the .xif
file as a web page, save the file onto the local PC as
“fserver.xif”.
Figure 20. Sample of Fserver.XIF file being generated
.
APPROVED
UNCONTROLLED DOCUMENT IF PRINTED


