1
1-12
Installing User Software on a Windows Computer
6.
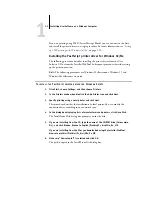
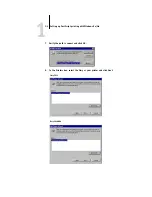
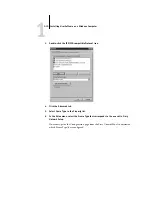
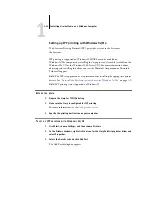
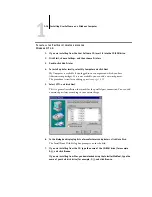
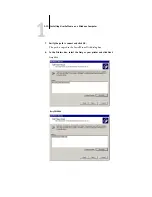
Click the printer icon for the NetWare print queue you want to use, and click OK.
7.
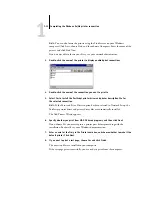
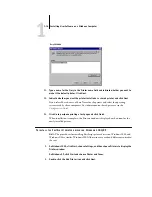
In the Add Port dialog box, verify that the network path is updated and click OK.
Your print jobs are transmitted to the specified print queue on the Novell file server.
The Fiery polls the file server, and if jobs are present, they are transmitted to the Fiery.
8.
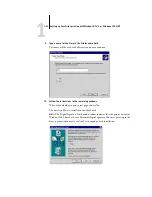
To confirm the connection, click the General tab, click Apply, and then click Print
Test Page.
If the test page prints successfully, you are ready to print from the computer.
Setting up SMB printing with Windows 9x/Me
SMB printing (also known as Windows or WINS printing) allows you to install the
PostScript printer driver and printer description files on your computer from the Fiery
using Point and Print, and print to a particular connection (Hold, Print, or Direct). To
set up SMB printing, you must have the TCP/IP protocol and Client for Microsoft
Networks installed.
Each connection (Hold, Print, or Direct) requires a new printer driver and printer
description file. Repeat the procedure
“To set up SMB printing on Windows 9x/Me”
on page 1-12. If you install more than one printer, give each a descriptive name during
printer driver installation, such as
Aero-Print
or
Aero-Hold
, so you can easily identify
printers.
B
EFORE
YOU
BEGIN
•
Configure the Fiery for SMB printing in Network Setup > Service Setup >
Windows Setup.
SMB printing is referred to as Windows Printing in Setup, on the Control Panel Map,
and on the Configuration page.
T
O
SET
UP
SMB
PRINTING
ON
W
INDOWS
9
X
/M
E
1.
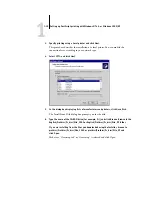
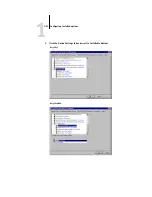
Double-click the Network Neighborhood icon to display your network environment.
2.
Browse for the printer you want to print to.
Browse for the name entered in Network Setup>Service Setup>Windows
Setup >Server Name. See the Configuration page for this information.


