1
1-29
Completing the Windows NT 4.0 or Windows 2000/XP printer connection
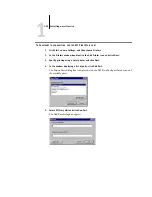
5.
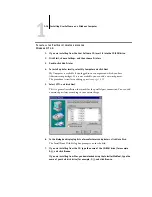
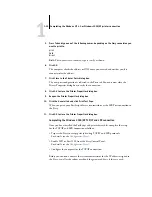
Press Tab and type one of the following names, depending on the Fiery connection you
want to print to.
print
hold
direct
N
OTE
:
This name is case-sensitive; type it
exactly
as shown.
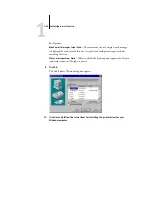
6.
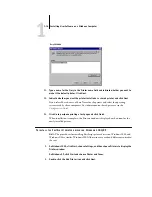
Click OK.
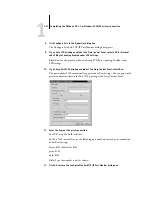
The computer checks the address or DNS name you entered and notifies you if it
cannot resolve the address.
7.
Click Close in the Printer Ports dialog box.
The new port configuration is reflected in the Ports tab. You must now close the
Printer Properties dialog box to verify the connection.
8.
Click OK to close the Printer Properties dialog box.
9.
Reopen the Printer Properties dialog box.
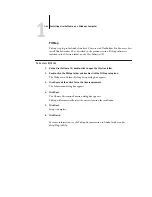
10.
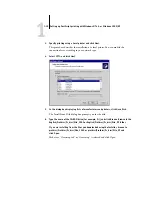
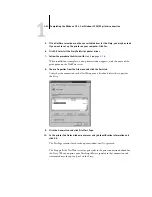
Click the General tab and click Print Test Page.
When you print, your PostScript files are transmitted over the LPR Port connection to
the Fiery.
11.
Click OK to close the Printer Properties dialog box.
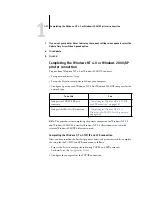
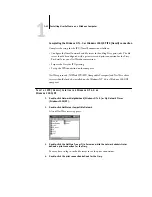
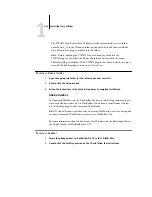
Completing the Windows 2000/XP TCP/IP and LPR connection
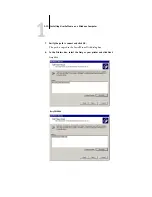
Once you have installed the PostScript and printer driver files, complete the setup
for the TCP/IP and LPR connection as follows:
• Prepare the Fiery to accept print jobs using TCP/IP and LPR protocols.
• Enable LPD or Port 9100 from the Fiery Control Panel.
• Configure the computer for the TCP/IP connection.
Before you continue, contact the system administrator for the IP address assigned to
the Fiery, as well as the subnet mask and the gateway address, if they are used.


