- 6 -
3.6 Recording
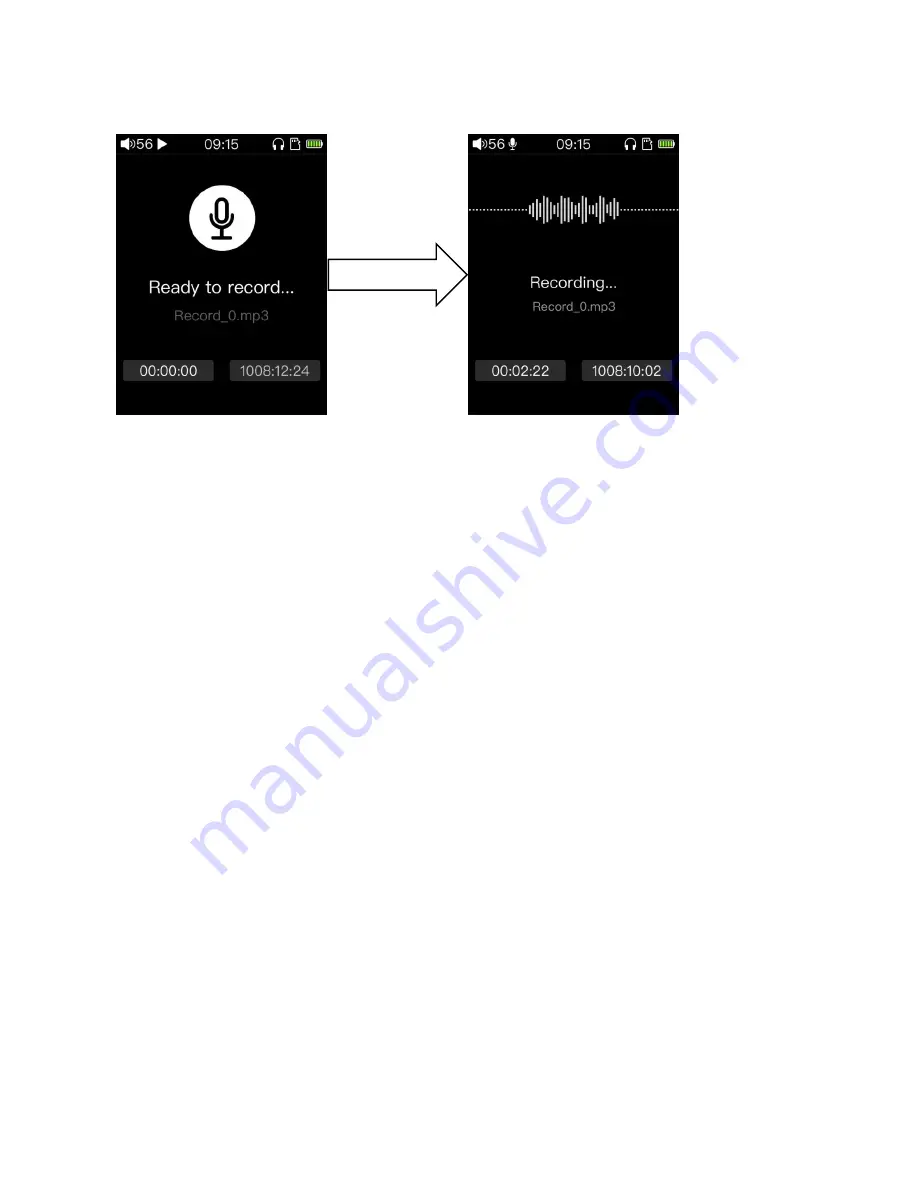
After clicking into the recording screen, the above picture will appear. At this moment, the recording does not
start. Press the confirm button shortly to start recording. As shown in the right figure above, the status bar
displays the recording icon.
The recording screen has two clocks . The left clock is displayed as the recording duration - that is, the time
that has been recorded. The right one shows the rest time of recording, based on the available capacity of the SD
card.
After the recording starts, you can pause the recording or continue recording by Shortly pressing the confirm
button (the screen on M3 will prompts).
If you don't need to record, press the back button shortly to pop up the recording stop prompt. Select “Yes”
and press OK to stop recording. Press the Back button again after recording stops, the recording save selection
will pop up, and you can save the recording file as needed. The recording file will be saved in the folder named
Record in the root directory of the SD card.
(Note: 1 Please insert the SD card before recording, and make sure that the SD card has enough available
capacity to save the recording file. If the SD card is not inserted, the recording cannot be started.
2 During the recording process, songs cannot be played at the same time, and the recording screen cannot
be exited before stopping record. When you need to play the song, please stop the recording first; if you play the
song first and then enter the recording, the playing will stop automatically after the recording is started.


