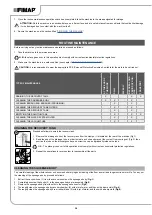
N.B.:
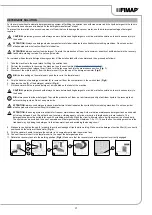
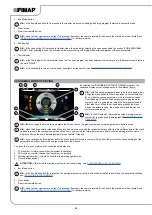
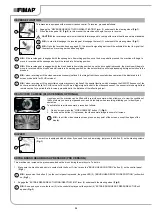
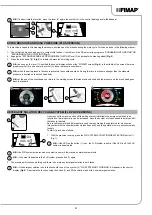
If it is necessary to turn on the low beam headlights while working, see “
WORKING HEADLIGHTS (PLUS VERSION)
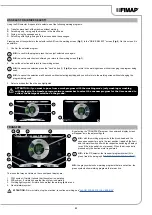
ATTENTION: The drying without scrubbing operation should only be carried out if the device was used
beforehand to carry out a scrubbing without drying operation.
ATTENTION: never switch off the machine with the squeegee in contact with the floor
SCRUBBING WITH DRYING
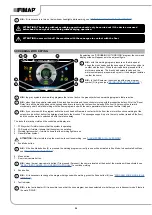
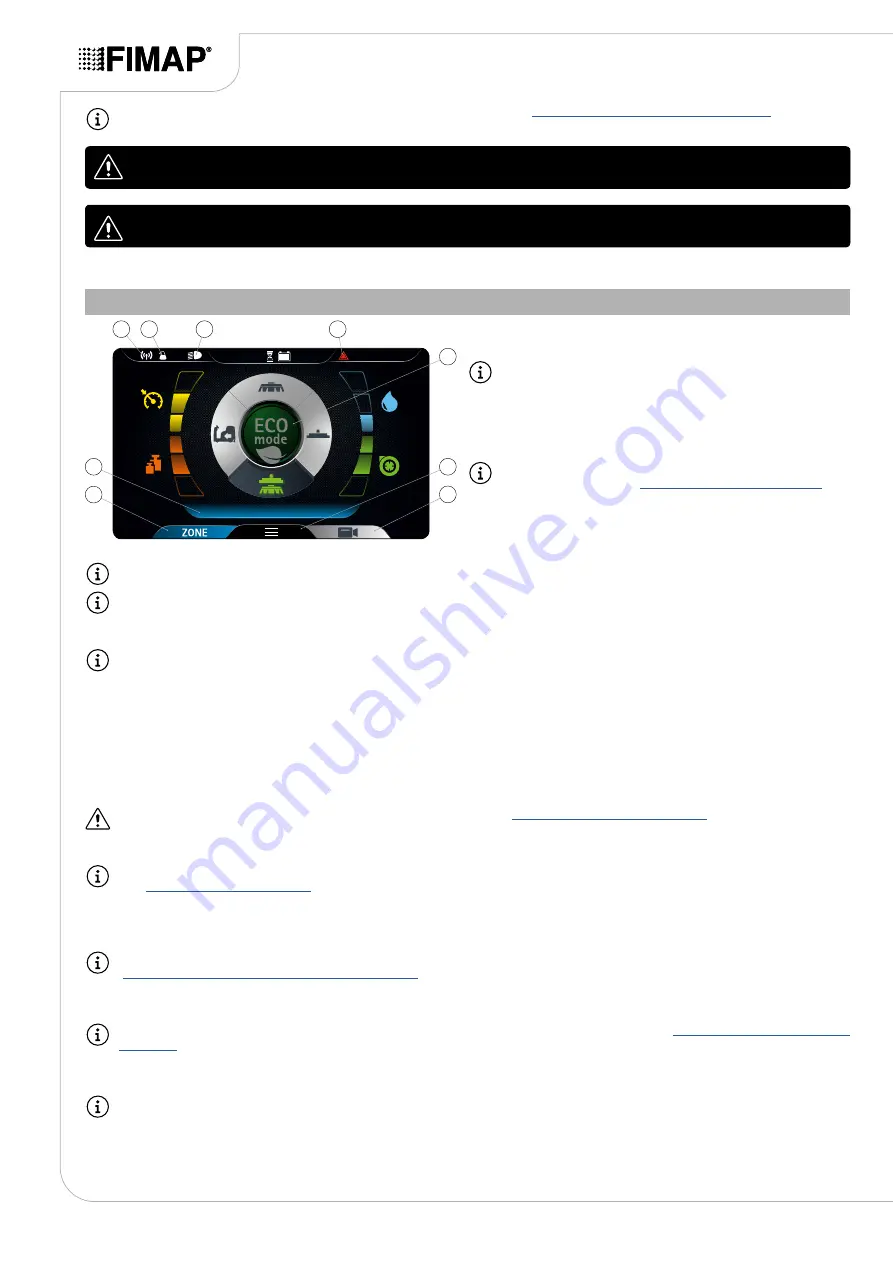
By selecting the "SCRUBBING WITH DRYING” program, the command
display screen will appear as in the adjacent figure.
N.B.:
with this working program pressure on the drive pedal
brings the brush heads and the squeegee to the work position (in
contact with the floor). When the drive pedal is pressed, all the
motors are powered. The brush head solenoid valve and the
water system pump are powered up (only if the detergent solution
is other than zero).
N.B.:
In the DS selector, the scrubbing with drying program
symbol (D) is green (see “
”).
N.B.:
the grey symbols show working programs that are not active. the green symbols show working programs that are active.
N.B.:
when the drive pedal is released all the brush head motors and the suction motor stop with the respective delays. After the “Reset
Delay”time all the brush heads and the squeegee body are taken to the rest position (raised off the floor). by pressing the forward
movement pedal it will start working with the same program and with the same parameters that were set before it stopped.
N.B.:
if you reverse with this program active the brush head will remain in contact with the floor, the motor will continue working but the
solenoid valve will not deliver the detergent solution to the brushes. The squeegee support is put in the rest position (raised off the floor)
and the suction motor is switched off with the relative delay.
The icons that may be visible on the control panel display are:
1. FFM symbol, if visible it shows that the system is operating.
2. FSS symbol, if visible it shows that the system is operating.
3. Working lights symbol, if visible it shows that the working lights are on.
4. General alarm symbol.
ATTENTION:
if this is visible, stop the machine; to continue working, see “
”.
5. Eco-Mode button.
N.B.:
if the Eco Mode button (5) is pressed, the working program currently in use will be activated in Eco Mode; to deactivate Eco Mode,
see “
”.
6. Menu button.
7. Rear view camera button.
N.B.:
when the rear view camera button (7) is pressed (if present), the camera located at the back of the machine will be activated, see
REAR VIDEO CAMERA (PLUS VERSION, OPTIONAL)
” to continue working.
8. Zone button
N.B.:
if it is necessary to change the program being used while working, press the Zone button (8) (see “
”).
9. Text indicator.
N.B.:
in the text indicator (9) it is possible to see that the zone program has been selected or whether you are in transport mode if there is
the word “DRIVE”.
OFFICE
0000.00
100%
6
7
5
9
8
1
4
2
3
26


