WEEKLY MAINTENANCE
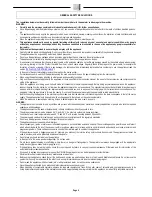
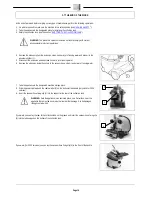
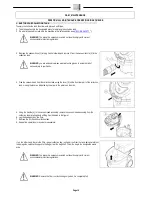
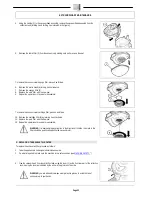
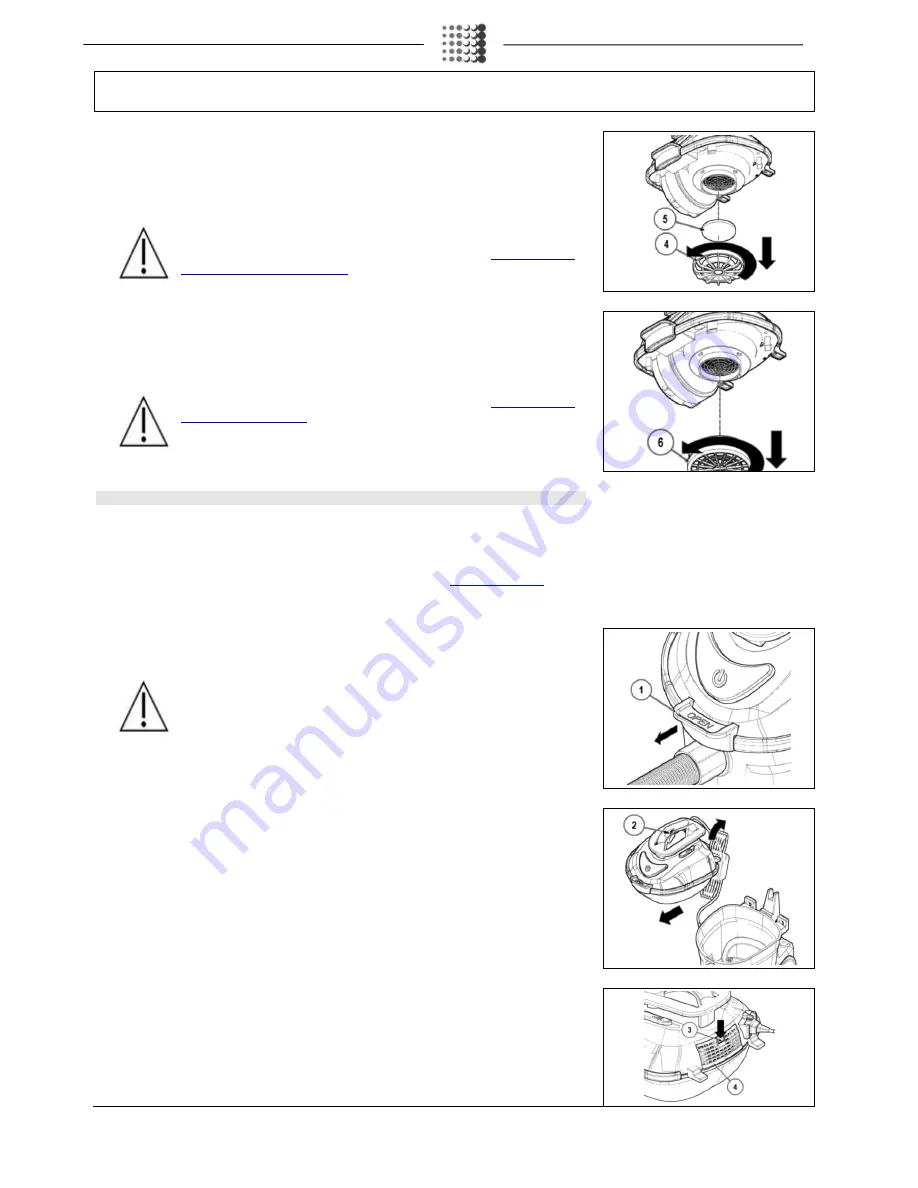
To remove the vacuum motor sponge filter, proceed as follows:
6.
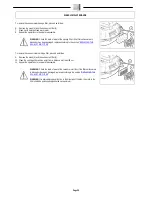
Remove the motor mesh (4) turning it anti-clockwise.
7.
Remove the sponge filter (5).
8.
Clean it with detergent and warm water.
9.
Repeat the operations in reverse to reassemble.
WARNING: Check the state of wear of the vacuum motor filter, if the filter surface area
is blocked or has been damaged, replace according to the section “
REPLACING THE
VACUUM MOTOR FABRIC FILTER
”.
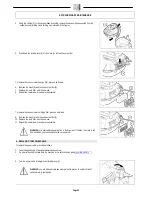
To remove the vacuum motor cartridge filter, proceed as follows:
10.
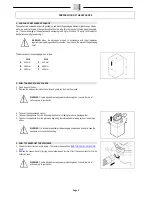
Remove the cartridge filter (6) by rotating it anticlockwise.
11.
Clean the cartridge filter with an air jet from a distance of at least 20 cm.
WARNING: Check the state of wear of the vacuum motor filter, if the filter surface area
is blocked or has been damaged, replace according to the section “
REPLACING THE
VACUUM MOTOR FILTER
”.
WARNING: It is advisable to pay attention to the direction of filtration, the mesh in the
filter should be opposite the vacuum motor.
4.
CLEANING THE EXHAUST AIR FILTER
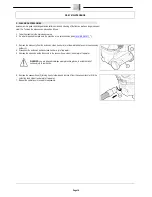
Carefully cleaning the exhaust air filter of the vacuum motor prolongs the life of the appliance. To clean
the exhaust air filter, proceed as follows:
1.
Take the appliance to its designated maintenance area.
2.
Do what is required to make sure the machine is in a safe condition (see
MACHINE SAFETY
’”).
3.
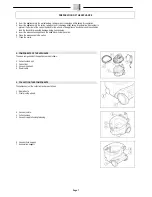
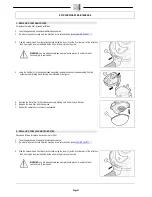
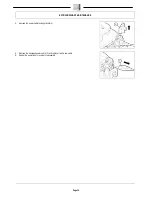
Free the vacuum head from the collection tank, using the lever (1) on the front rear part of the collection
tank, moving the lever as indicated by the arrow in the picture on the side.
WARNING: you are advised to always wear protective gloves, to avoid the risk of
serious injury to your hands.
4.
Using the handle (2), in the vacuum head assembly, remove the vacuum head assembly from the
collection tank (rotating it and shifting it as indicated in the figure).
5.
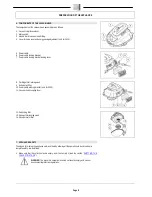
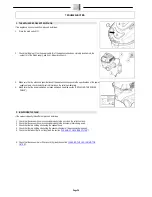
Push down the locking lever (3) of the mesh (4) of the exhaust air filter.
Page 19

