15
MACHINE PREPARATION
10.
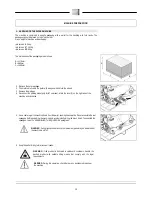
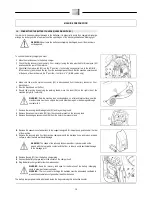
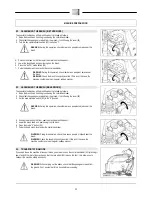
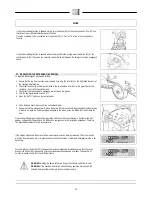
Remove the vacuum cover and attach to the support designed for this purpose, positioned at the rear
of the machine.
11.
Remove the recovery tank from the machine, taking care with the drainage hose, and rest on a raised
surface in order to avoid accidental damage.
WARNING: The shape of the recovery tanks means that it can be rested on the
ground with the rear part in contact with the floor, in order to avoid accidental damage
to the drainage joint.
12.
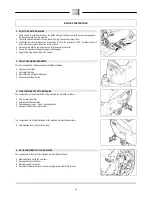
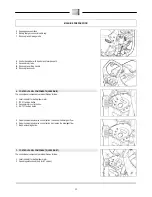
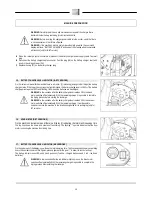
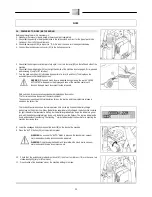
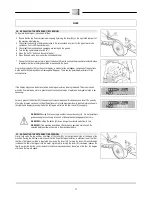
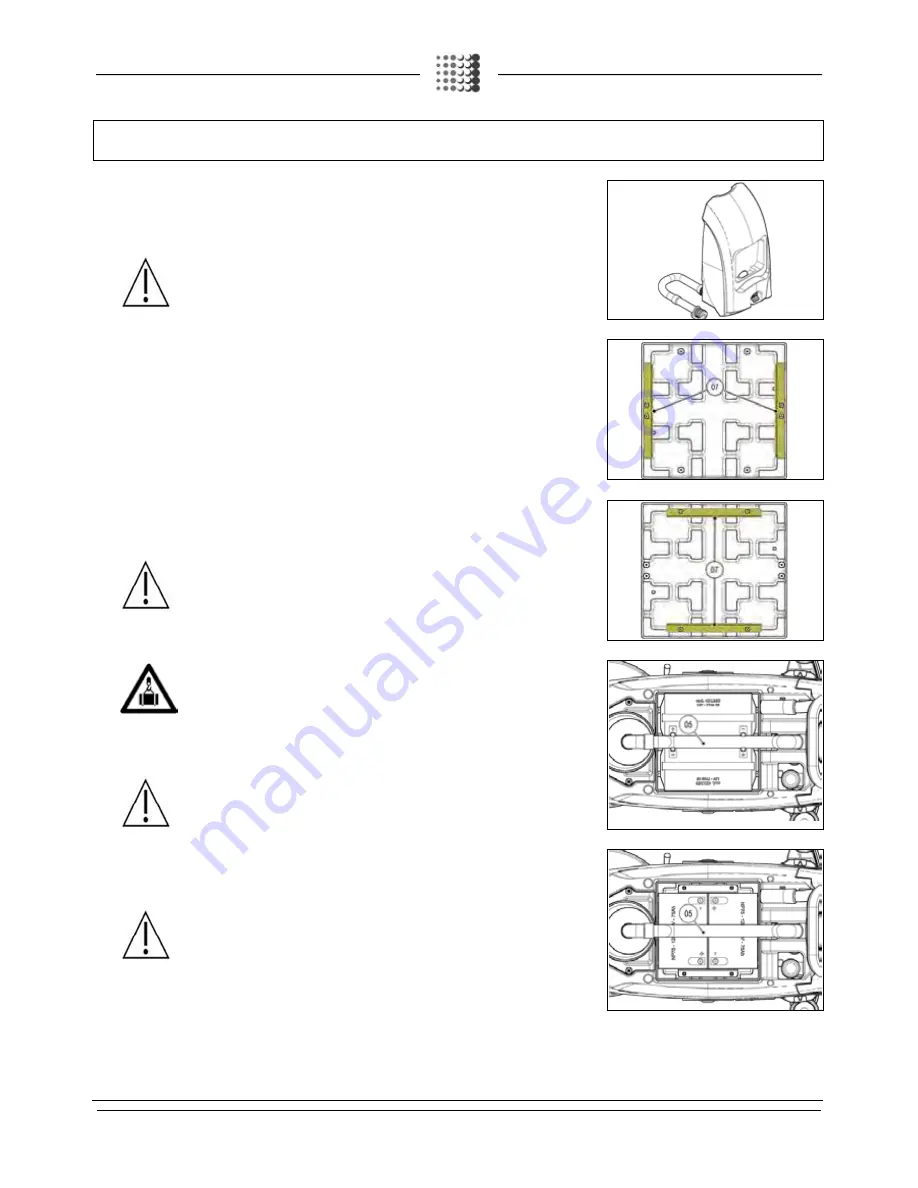
Using the correct tool, attach the battery locking blades (07) to the flat base of the batteries.
In the image to the side, the position of the blades for 12V 77Ah batteries is shown (battery size: 259
mm x 168 mm x H208mm each with a weight of 27 kg).
In the image to the side, the position of the blades for 12V 75Ah batteries is shown (battery size: 259
mm x 168 mm x H208mm each with a weight of 25 kg).
WARNING: Before installing the battery, clean the battery compartment with a damp
cloth. Check that the connectors on the cables supplied are functioning correctly.
WARNING: Check that the characteristics of the battery that you are looking to use
are appropriate for the type of work to be performed. Check the battery charge and
the condition of the contacts on the battery.
WARNING: You are advised to only lift and move the batteries with lifting and
transportation means suitable for the specific weight and size
WARNING: The lifting hooks must not damage the blocks, connectors or cables.
13.
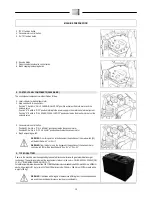
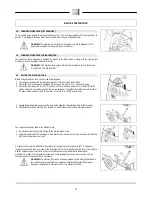
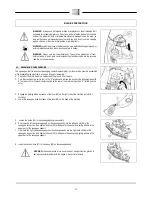
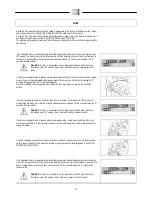
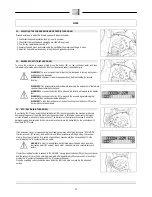
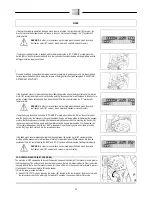
Place the batteries in the correct compartments, positioning the “+” and “-“ poles opposite each other,
taking care not to table the vacuum motor tube (05).
In the image to the side, the position of the battery blades is shown for 12V 77Ah batteries.
WARNING: Before inserting the batteries into the machine, remember to cover the
terminals with a little grease to protect them against external corrosion.
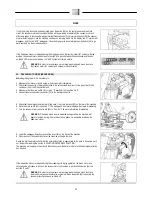
In the image to the side, the position of 12V 75Ah batteries is shown. Place the batteries into the correct
compartment, positioning the "+" and "-" poles opposite each other as shown in the diagram, taking care
not to damage the vacuum motor tube (05).
WARNING: Before inserting the batteries into the machine, remember to cover the
terminals with a little grease to protect them against external corrosion.


