PREPARATION OF THE APPLIANCE
5.
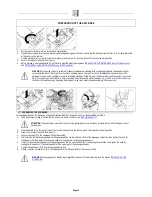
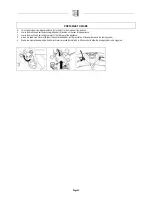
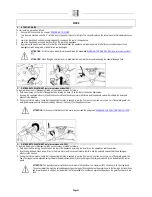
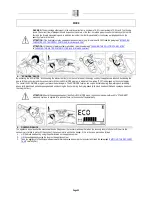
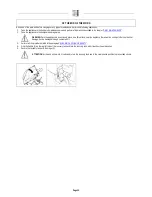
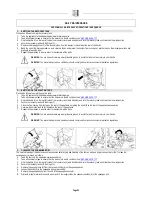
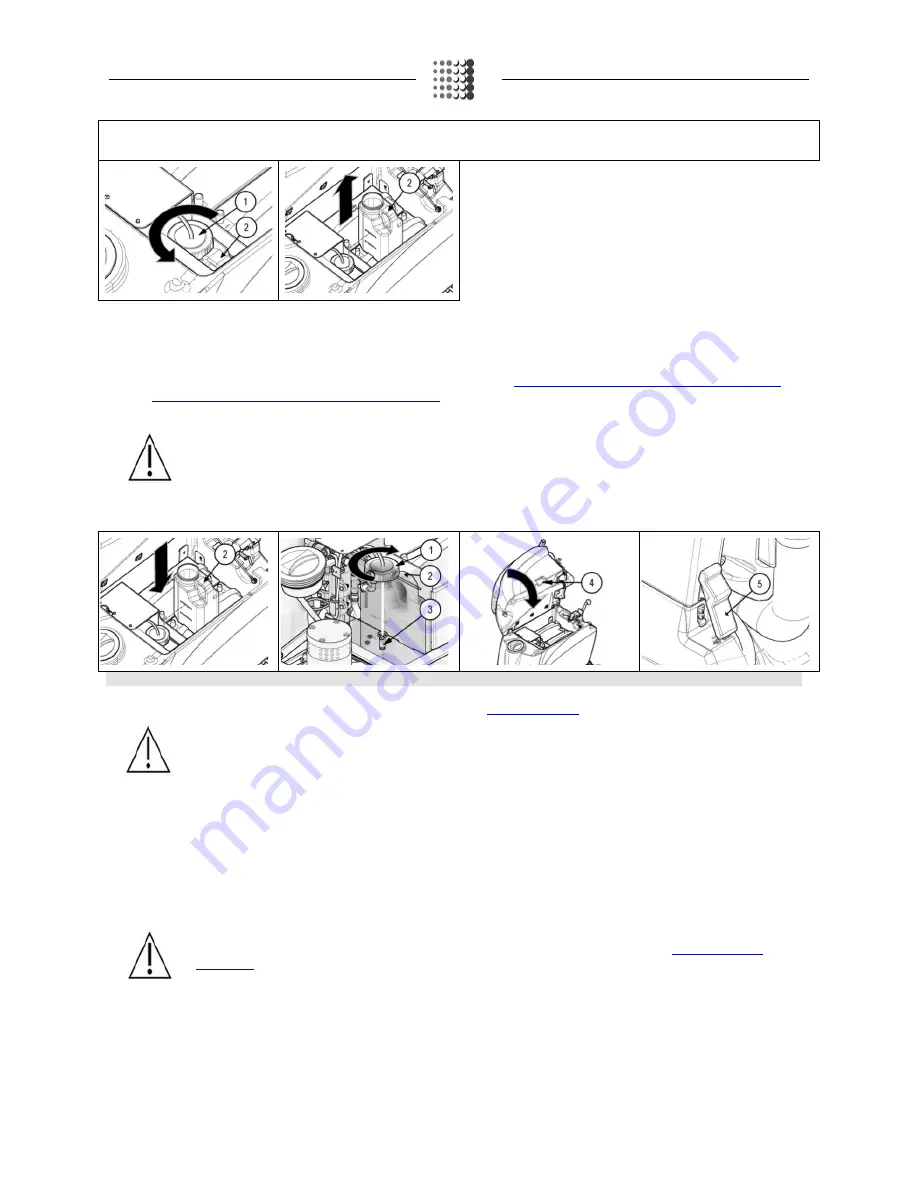
Put the canister (2) back into the solution tank compartment.
6.
Tighten the screw cap (1) properly to prevent liquid leakage during operation, and ensure that the detergent suction filter (3) is correctly positioned
at the bottom of the canister.
7.
Grip the handle (4) on the rear left side of the recovery tank and turn the recovery tank until it reaches the work position.
8.
Secure the recovery tank with the hinge (5).
9.
Before starting to use the appliance for the first time, carefully read the paragraphs “
REGULATING THE DETERGENT (only for FSS systems)
”
and “
TRIGGERING THE DOSING SYSTEM (only for FSS systems)
”.
WARNING: The dosing system is suitable for frequent maintenance cleaning. Acid or alkaline detergents can be used with pH
values between 4 and 10 and that do not contain: oxidising agents, chlorine or bromine, formaldehyde, mineral solvents. The
detergents used must be suitable for use with scrubbing machines. Wash the circuit with water after use if the system is not used
daily. The system can be excluded. In case of sporadic use of detergents with pH between 1-3 or 11-14, use the floor scrubbing
machine in the traditional way by adding the detergent in the clean water tank and excluding the dosing circuit.
17.
ASSEMBLING THE SQUEEGEE
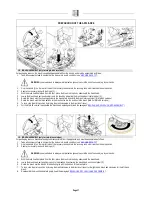
For packaging reasons, the squeegee is supplied disassembled from the device, and must be assembled as follows:
1.
Take all necessary steps to ensure that the device is in a safe condition (see “
MACHINE SAFETY
”)
2.
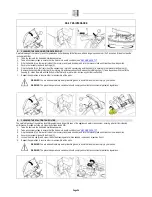
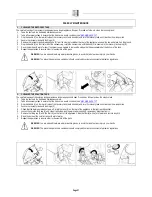
Grip the handle (1) on the rear left side of the recovery tank and turn the recovery tank until it reaches the work position.
3.
Secure the recovery tank with the hinge (2).
4.
Loosen the knobs (3) in the squeegee body pre-assembly.
5.
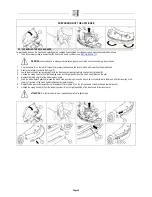
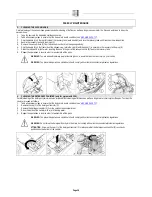
First insert the left-hand squeegee pin on the squeegee body into the left-hand slit (4) of the squeegee connection, then tighten the knob (3),
making sure that the washer (5) and spring adhere to the upper part of the squeegee support.
6.
Insert the right-hand squeegee pin on the squeegee body into the right-hand slit (6) of the squeegee connection, then tighten the knob (3),
making sure the washer (7) and spring adhere to the upper part of the squeegee support.
7.
Tighten the handwheel (3) to lock the squeegee into place.
8.
Finally, insert the vacuum hose (8) of the squeegee into the relative joint (9) of the vacuum nozzle.
WARNING: The squeegee has already been regulated, however if it needs adjusting, read the section “
REGULATING THE
SQUEEGEE
”.
ATTENTION: these operations must be carried out using protective gloves to avoid any possible contact with the edges or tips of
metal objects.
Page 16


