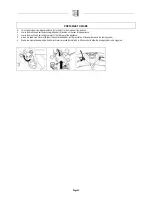
PREPARATION OF THE APPLIANCE
20.
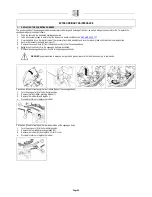
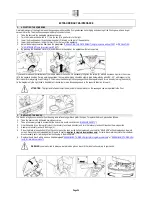
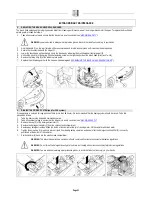
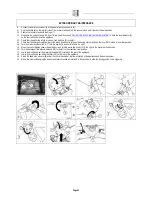
ASSEMBLING THE SPLASH GUARD
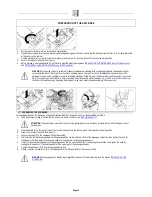
For packaging reasons, the brush head splash guard is supplied disassembled from the device, and must be assembled as follows:
1.
Take all necessary steps to ensure that the device is in a safe condition (see “
MACHINE SAFETY
”).
2.
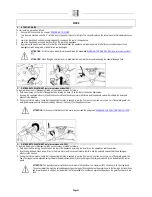
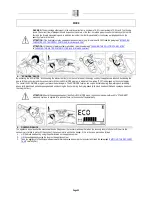
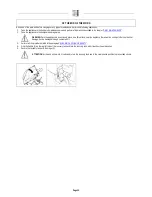
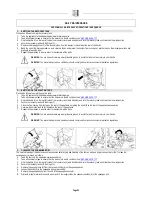
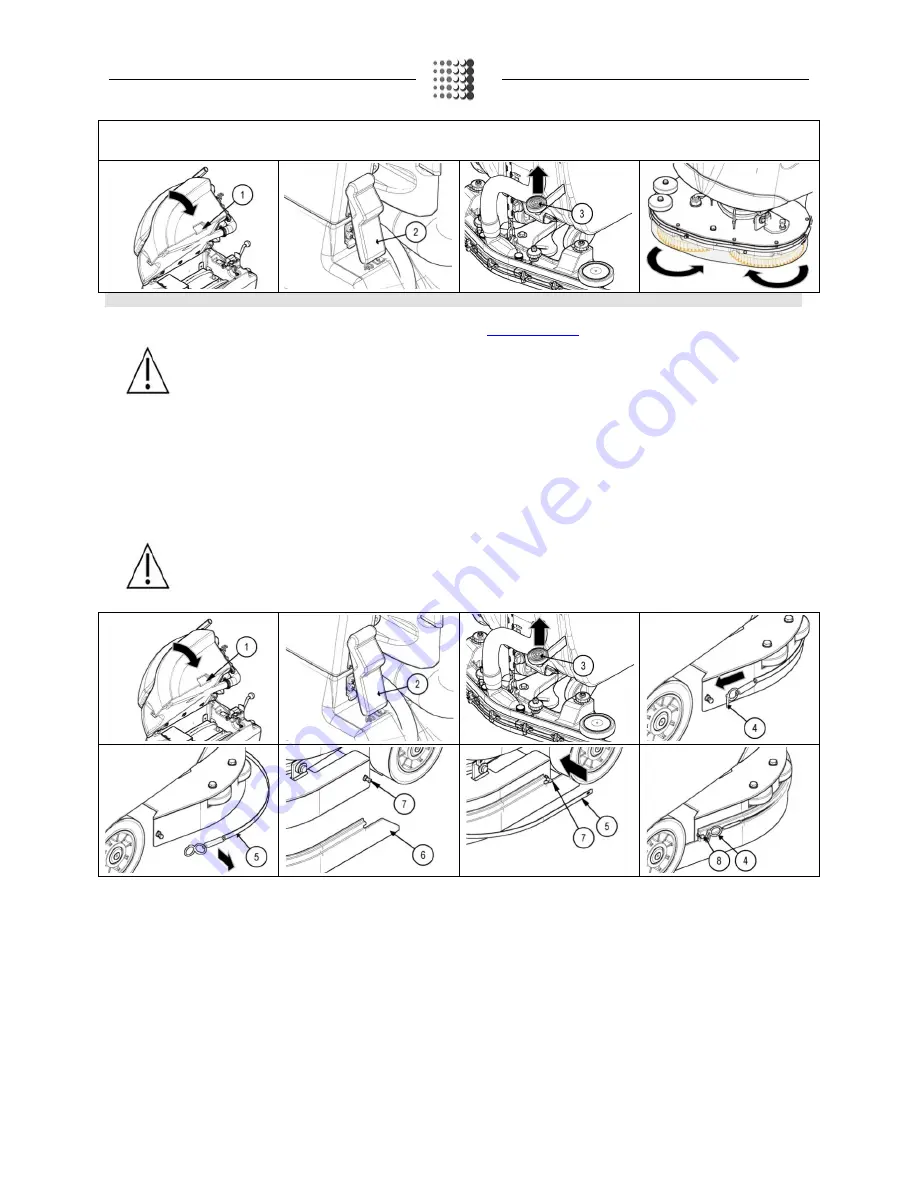
Grip the handle (1) on the rear left side of the recovery tank and turn the recovery tank until it reaches the work position.
3.
Secure the recovery tank with the hinge (2).
4.
Lower the brush head unit positioning it onto the brushes by activating the brush head unit control pedal (3).
5.
Unhook the spring hook (4) from the fastening screw on the right-hand side of the brush head (direction of work).
6.
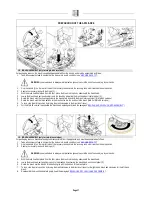
Remove the fixing strip (5) of the rubber splash guard.
7.
Wind the rubber splash guard (6) around the brush head, positioning it is such a way so as it is symmetrical to the brush, after first inserting it into
the pin (7) located on the brush head's left-hand side (work direction).
8.
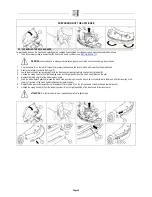
Reposition the previously removed strip (5) and insert it into the pin (7) on the left-hand side of the brush head (work direction).
9.
Unhook the spring's hook (4) from the fastening screw (8) on the right-hand side of the brush head (direction of work).
WARNING: you are advised to always wear protective gloves, to avoid the risk of serious injury to your hands.
ATTENTION: For the twin-disc version, repeat the operation for both strips.
Page 18


