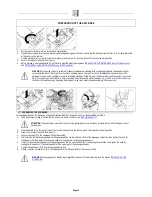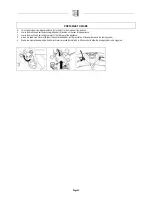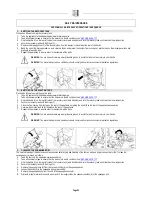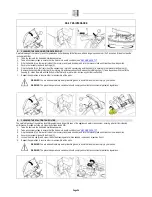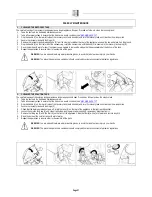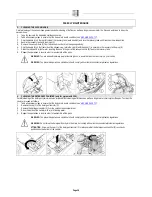
EXTRAORDINARY MAINTENANCE
2.
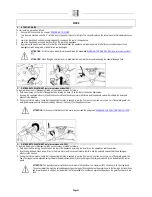
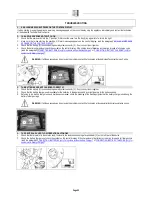
ADJUSTING THE SQUEEGEE
Careful adjustment of the height between the squeegee rubber and the floor guarantees better drying and cleaning of the flooring as well as a longer
vacuum motor life. To adjust the squeegee rubber, proceed as follows:
1.
Take the device to the dedicated maintenance area.
2.
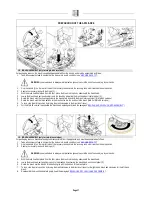
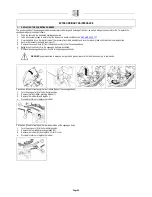
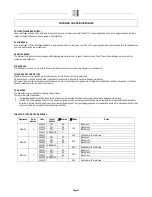
Turn the main machine switch to "I", turn the key (1) a quarter turn to the right.
3.
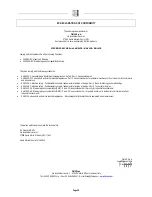
Lower the brush head unit by actioning the pedal (2) located on the rear of the appliance.
4.
Lower the brush head unit using the lever (3) on the rear of the appliance.
5.
Adjust the detergent solution flow (read the paragraphs "
REGULATING THE DETERGENT (only for systems without FSS)
” or “
REGULATING
THE DETERGENT (only for systems with FSS)
”)
6.
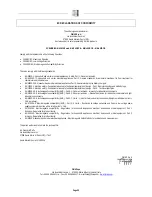
By pressing the dead man's levers (4) under the control handlebar, the appliance will start to operate.
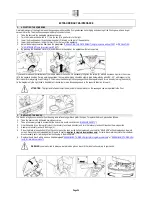
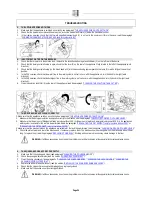
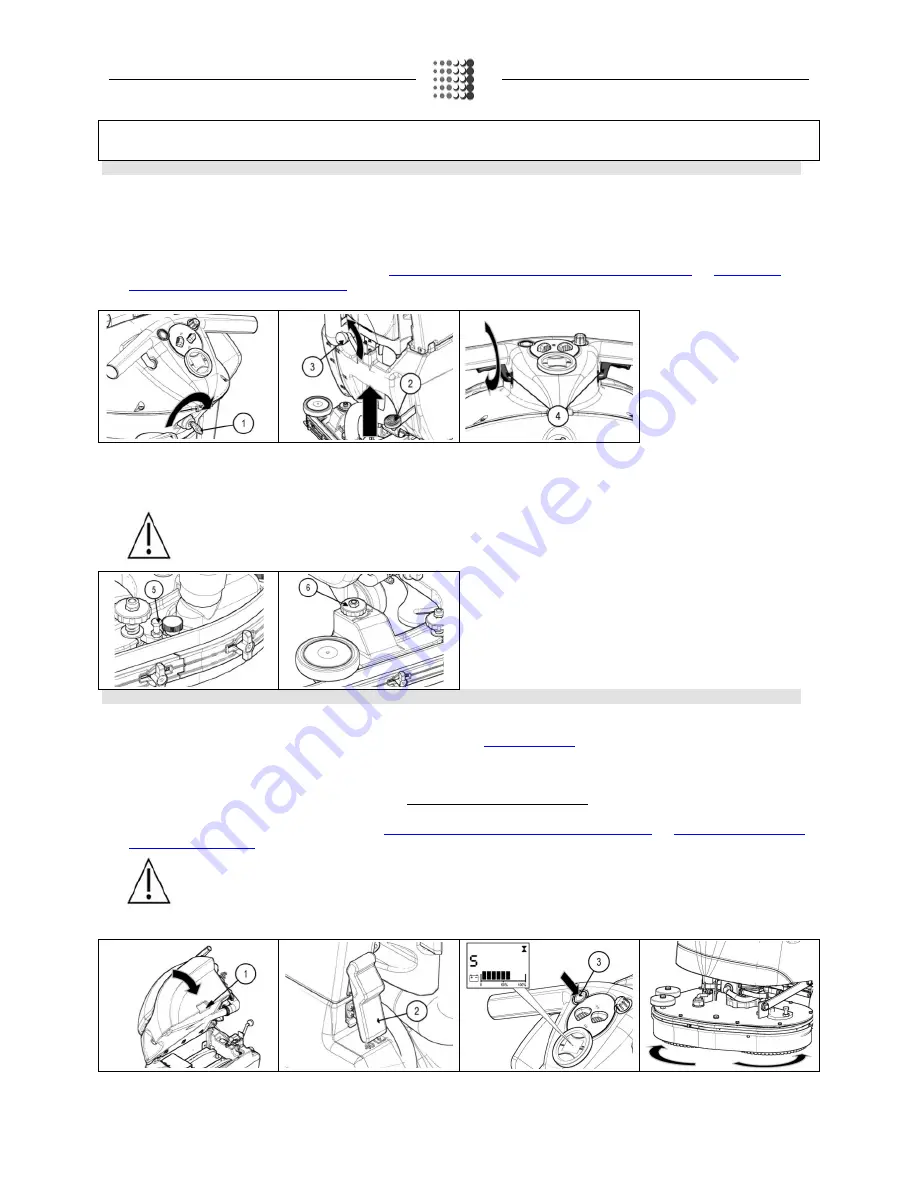
If you need to increase the inclination of the rubber blade in the centre, it is necessary to tighten the screw (5), while to decrease it just turn the screw
(5) in the opposite direction. During working operation, the rear rubber blade should be slightly tilted backwards by about 30°- 45° with respect to the
floor in a uniform way along its whole length. This means that the height of the squeegee should be regulated, and this is done by turning the knob (6)
(in the diagram only the right knob is depicted) anti-clockwise to raise the squeegee and in the opposite direction to lower it.
ATTENTION: The right and left wheels must be adjusted to the same level, so the squeegee can work parallel to the floor.
3.
REPLACING THE BRUSH
The brush's integrity ensures better floor cleaning, as well as a longer brush motor life span. To replace the brush, proceed as follows:
1.
Take the device to the dedicated maintenance area.
2.
Take all necessary steps to ensure that the device is in a safe condition see “
MACHINE SAFETY
”).
3.
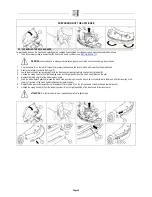
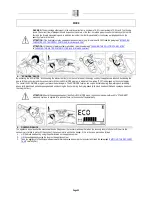
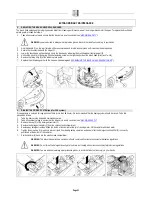
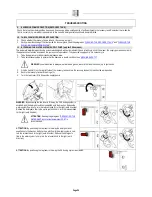
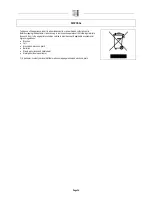
Grip the handle (1) on the rear left side of the recovery tank (work direction) and turn the recovery tank until it reaches the work position.
4.
Secure the recovery tank with the hinge (2).
5.
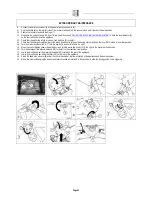
Press the brush release button (3) on the control panel. As soon as the button is pressed, you the letter "RELEASE" will be displayed on the work
screen. Press the brush release button (3) again to confirm (applies to single-disc machines only). For twin-disc machines, rotate the individual
brush manually until it is dislodged from its housing in the brush plate.
6.
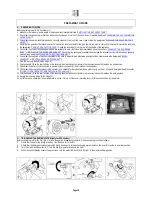
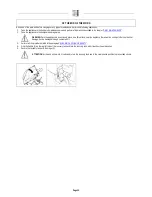
Replace the old brush with a new one (read paragraph“
ASSEMBLING THE BRUSH (only for single-disc versions)
” or “
ASSEMBLING THE BRUSH
(only for twin-disc versions)
”).
WARNING: you are advised to always wear protective gloves, to avoid the risk of serious injury to your hands.
Page 30

