11
ESP
AÑOL
FRANÇAIS
DEUTSCH
ENGLISH
IT
ALIANO
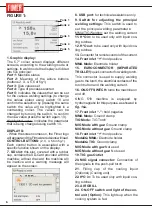
ADJUSTMENTS AND SETTINGS:
Button 9 controls the current and the
machine power.
Button 10 adjusts the welding settings on the
screen:
Wire speed:
Used to set the speed of the
welding wire.
Soft-start:
Used to modify the speed at
which the wire approaches in order to obtain
a soft arc ignition; high values correspond to
low approach speeds.
Inductance:
Used to modify the speed of
variation of the welding current to obtain a
harder arc (low values) or softer arc (high
values).
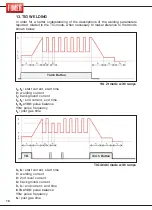
2t-4t-4bilevel:
Used to set the operating
mode to 2 times or 4 times.
2t:
In 2 time operating mode the machine
welds for the entire time the torch button is
held down.
4t:
In 4 time operating mode pressing the
torch button once starts the weld and pres-
sing it a second time ends the weld.
Spot welding:
Used to set (if other than 0)
the maximum duration of the weld.
Pause:
Used to set (if other than 0) the dura-
tion of the pause between two successive
spot welds.
Pre gas time:
Used to set the time for deli-
very of gas before striking the electric arc.
Post gas time:
Used to set the time of gas
delivery after the welding current has stop-
ped.
Burnback:
Used to vary the burnback time
of the wire at the end of the weld.
Hot start:
Used to set the ignition current in
order to obtain a soft ignition; generally used
together with the Soft-start parameter.
Water pump:
Used to switch on (ON) or
switch off (OFF) the water pump unit if pre-
sent.
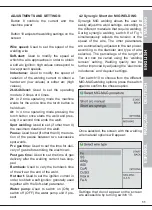
4.2 Synergic Short Arc MIG WELDING
Synergic MIG welding allows the user to
easily adjust the weld settings, according to
the different materials that require welding.
During synergic welding, switch 9 of Fig 1
simultaneously adjusts the tension or the
speed of the wire. The other parameters
are automatically adjusted to the set power,
according to the diameter and type of wire
selected. The percentage of the length of
the arc can be varied using the ‘welding
tension’ setting. Welding quality can be
further improved by adjusting the ‘electronic
inductance’ and ‘deposit’ settings.
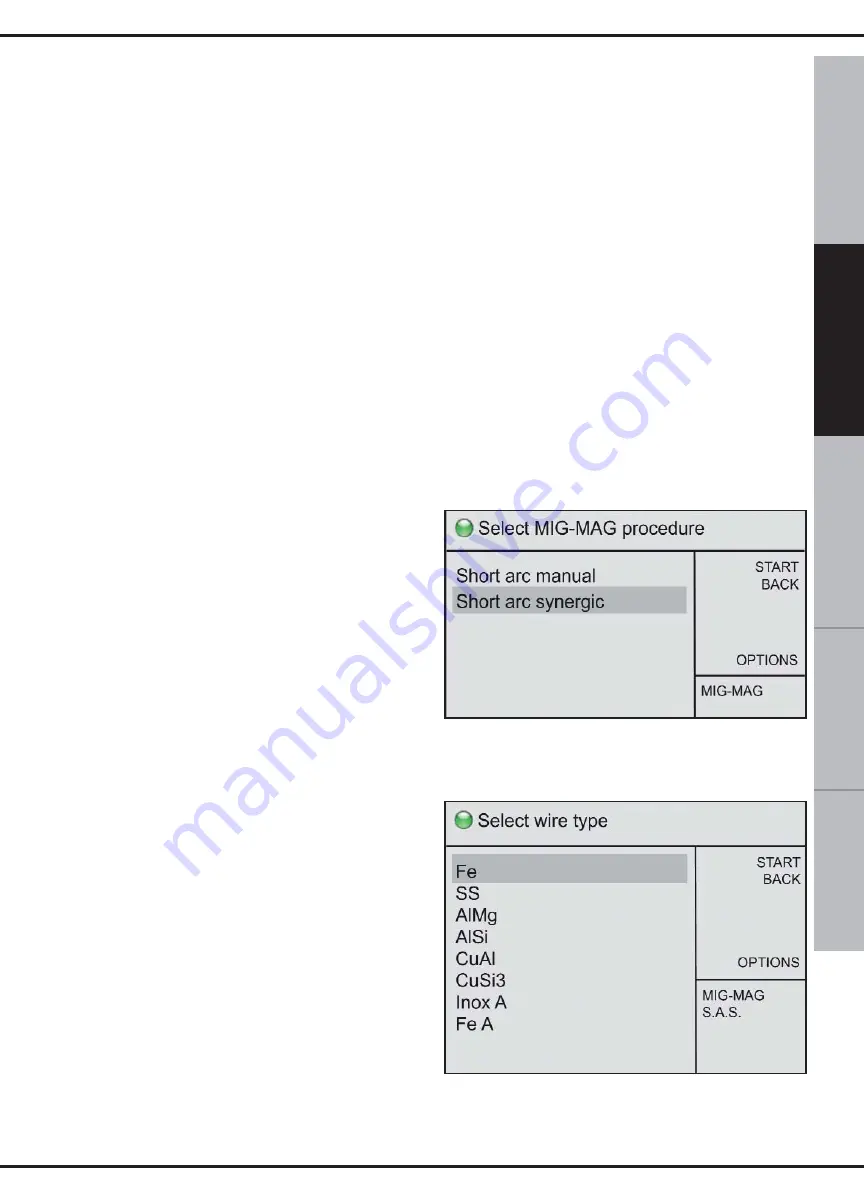
Turn switch 10 to choose from the different
MIG-MAG welding options; press the switch
again to confirm the chosen option.
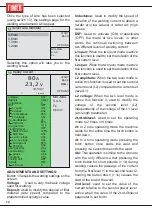
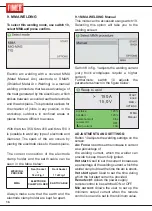
Once selected, the screen with the welding
wire material options will appear:
Settings that do not appear on the screen
are accessible by turning switch 10.
Summary of Contents for King 350
Page 4: ...TARGA DATI NOMINAL DATA LEISTUNGSCHILDER PLAQUE DONÉES PLACA DE CARACTERÌSTICAS ...
Page 39: ...3 ...
Page 40: ...4 ...
Page 71: ...3 ...
Page 72: ...4 ...
Page 103: ...3 ...
Page 104: ...4 ...
Page 135: ...3 ...
Page 136: ...4 ...
Page 165: ...NOTE ...
Page 166: ...NOTE ...
Page 168: ......

