MIG-MAG WELDING
18
5
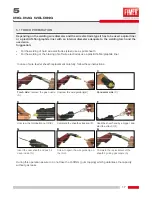
5.2 TORCH AND EARTH CABLE INSTALLATION
•
Insert the central connector into the main connection of the welding torch and screw in with hexagon nut
•
Insert the earth cable connector into welding current grip “-“ (MIG/MAG) “+” (no gas wire) and fix it.
•
Insert welding current wire and select the polarity in welding current grip “+” (MIG/MAG) “-“ (no gas wire)
5.3 WIRE SPOOL HOUSING
•
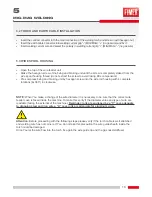
Open the top of the wire feeder unit
•
Stake the hexagon screw of the fixing and braking unit until the screw is completely staked from the
wire spool housing thread (do not extract the screw to avoid losing little components)
•
Pre-compress fixing and braking unit by hexagon screw into the wire roll housing with 4 complete
rotations (4x360°) in clockwise.
NOTE:
When You make a change of the wire diameter it is necessary to be sure that the correct wire
feeder cave is faced inside the machine. To make this verify if the diameter value and type of wire are
readable (facing the external of the machine).
Reminder: rolls are equipped by a “V” cave adequate
to dragging steel and iron wires. “U” cave rolls are adequate for aluminum wires.
Attention:
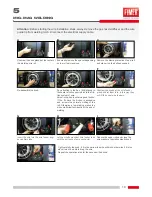
Before proceeding with the following steps please verify if the torch cable is well stretched
and welding wire has not corners. If You do not take this precaution the wire guide sheath inside the
torch could be damaged.
Once You let the wire flow into the torch, fix again the wire guide tip and the gas nozzle/diffuser
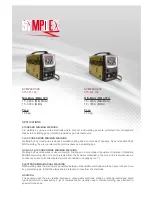
Summary of Contents for SYMPLEX 320
Page 1: ...SYMPLEX 320 SYMPLEX 420 Ed 2014_11_11 INSTRUCTION MANUAL 910 100 512GB REV00 ...
Page 5: ...SYMPLEX 320 SYMPLEX 420 ...
Page 32: ...32 11 NOTE ...
Page 33: ...33 11 NOTE ...
Page 34: ...34 11 NOTE ...

