background image

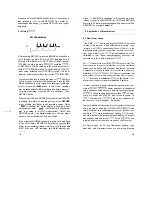
 Meter shuts OFF after 10 minutes if no pushbutton is

pressed, even if it is making a measurement. To disable the
auto power off, press the ON OFF pushbutton 
is displayed), when if 

 press the ON OFF pushbutton

again, the Meter 

 OFF.

When you want   use this Meter in manual range, press the

RANGE pushbutton, then this Meter is in manual range.
Press RANGE pushbutton for 2 seconds   return   Au-

toranging mode.

This 

 auto power off feature is disabled when you

are using the RECORD mode.

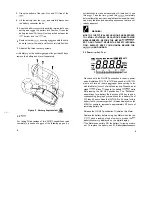
5.4 Measuring AC 

Amperes

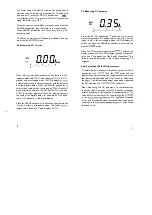
When this 

 has been powered up, it defaults in the AC

amperes mode with 

 measurement 

 (AC 

played) and autoranging mode (AUTO displayed), 
automatically selects the proper range for both the bar scale
and the digital display. Press the RANGE pushbutton 
select a fixed scale instead of autoranging. 

 that 

press alternates between the 40A and 400A 

 and

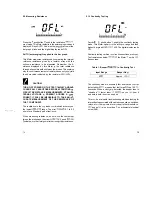
AUTO is no longer displayed. When the reading   beyond
the limits of the digital display, for example, 40A on a 40A
scale, OFL appears 

 the digital display.

Press the RANGE pushbutton for 2 seconds and then release
in 

   return   autoranging mode. This Meter 

ledges wrth a beep 

 and displays AUTO.

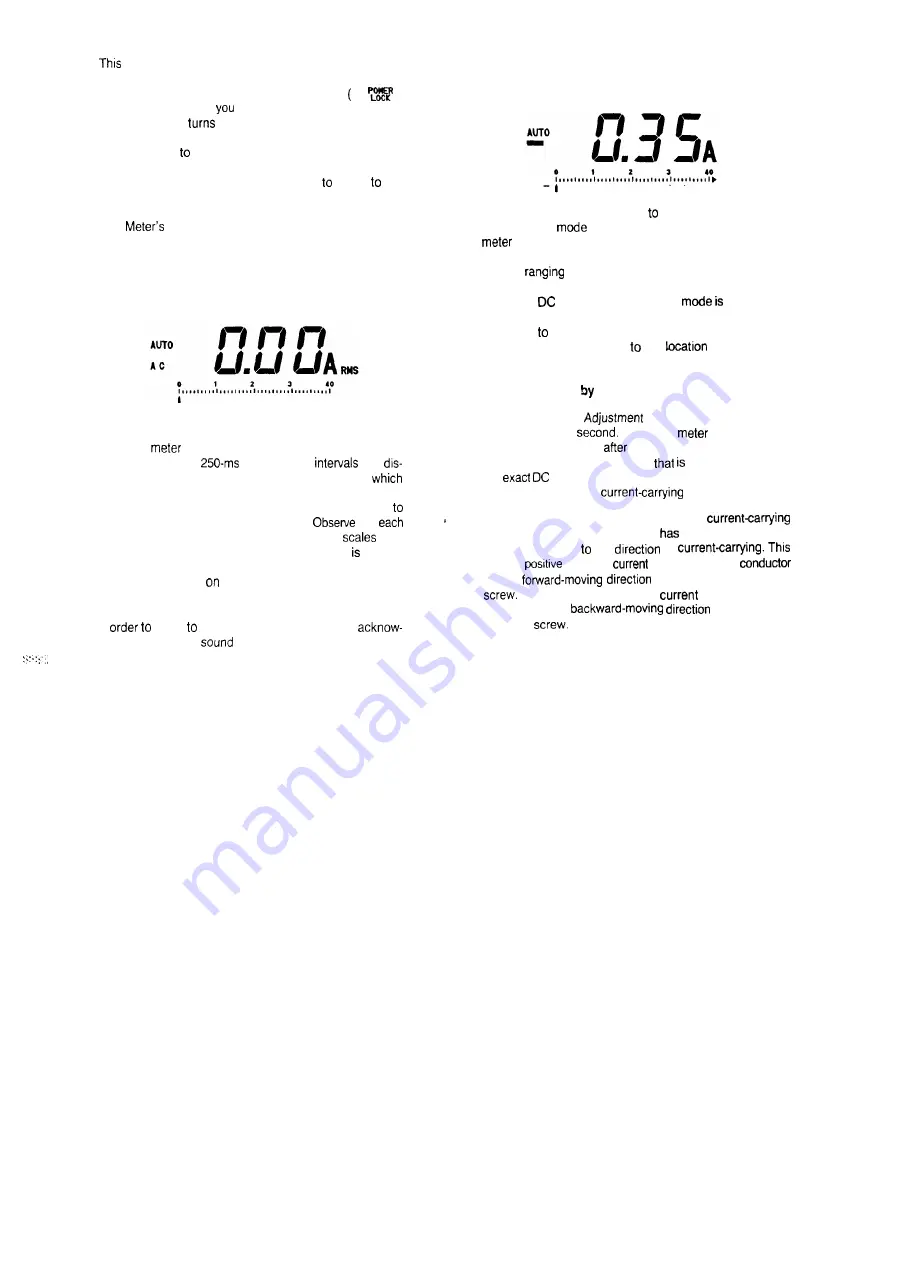
5.5 Measuring DC Amperes

Press the AC DC pushbutton 

 select the DC amperes

measurement 

 (AC disappeard on the LCD), but the

 is still in the autoranging mode (AUTO displayed),

unless you press the RANGE pushbutton to enter into the
manual 

 mode.

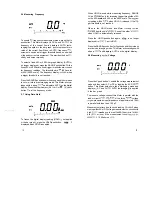
When the 

 amperes measurement 

   entered, the

display reads 

non-Zero DC amperes (positive or negative)

value due   the presence of the Earth’s Magnetism. This
value is variable according 

 the 

 measuring DC

amperes.

Zero Adjustment 

 the Microprocessor

To initiate the Zero 

 procedure, press the HOLD

pushbutton for 2 

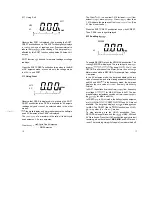
 Then, the 

 beeps and the

display reads Zero just 

 the microprocessor memorized

the right preceding display value 

   used for calculating

the 


 amperes measurement value when measuring

the DC amperes of a 

 conductor.

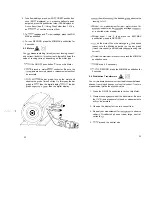
When measuring the DC amperes of a 
conductor, the DC amperes value 

 a positive or negative

polarity according   the 

 of 


value is 

 when the 

 flows through the 

in the 


 of a right-hand threaded

 And it is negative when the 

 flows through the

conductor in the 


 of 

right-hand

threaded 

10

11

Summary of Contents for FINEST 135

Page 1: ... _ y e l 1 FINEST 135 TRUE RMS CLAMP ON METER 735 CLAMP METER SOFT AC 1994 FINE INSTRUMENTS CORPORATION All rights reserved Litho in Korea ...

Page 2: ...lso be recorded in the CREST mode n Zero adjustment by the microprocessor when measunng DC amperes 2 Clamp on Meter Safety In this manual the word DANGER identifies a severe or immediately accessible personal hazard thattanCausedeath or injury the word WARNING identifies a personal hazard about a condition or procedure that could Cause death or injury the word CAUTION identifies an equipment hazar...

Page 3: ...st Input Terminal 2 V Selects Volts measurement mode COM Common Terminal Hz Selects frequency measurement mode A Selects amperes measurement mode MIN MAX Selects RECORD mode and displays recorded MAX MIN and AVG SOFT CREST Select SOFT for a running 3 second average or CREST for half cycle peak amperes AC DC Selects AC or DC mode LEVER Opens and closes clamp jaws 0 RECORD Displayed blinking when MA...

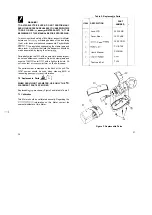
Page 4: ...te negative digital displays AUTO Displayed when autoranging controls bar graph scale 0 to 40A scale or 0 to 400A scale and controls Position of decimal Point on digital display POWER LOCK Displayed when the Auto Power off mode of the meter has been disabled BEEPER Beeps for pushbutton Operation or current overload OFL Overflow Indication 4 Alignment Marks 1 MARK MARK CONDUCTOR MARK HAND GUARD Fig...

Page 5: ...YPICAL APPLICATIONS ARE EXPOSED TO LETHAL VOLTAGES BE CAUTIOUS WHEN TAKING MEASUREMENTS BEFORE THE METER IS CONNECT ED TO ANY CIRCUIT REVIEW THE SAFETY INFORMA TION ALWAYS KEEP YOUR HANDS BEHIND THE METER HAND GUARD 5 3 Power Up Self Test Press and hold the ON OFF pushbutton in Order to power up and initiate self test This meter beeps and all LCD seg ments will turn on some Segments have nothing t...

Page 6: ...nging mode This Meter acknow ledges wrth a beep Sound and displays AUTO 5 5 Measuring DC Amperes Press the AC DC pushbutton to select the DC amperes measurement mode AC disappeard on the LCD but the meter is still in the autoranging mode AUTO displayed unless you press the RANGE pushbutton to enter into the manual ranging mode When the DC amperes measurement mode is entered the display reads a non...

Page 7: ...scale The frequen cy reading will be O OHz when HOLD is released if the trig ger threshold is not reached When in the HOLD mode this Meter function tan be changed from the held function to one of the other functions when HOLD is automatically released Press the HOLD pushbutton again CT I I is no longer displayed in Order to exit HOLD Press the RANGE pushbutton for 2 seconds and then release in Ord...

Page 8: ...tan diminish accuracy on y y i the lowest 400 ohm range The error is usually 0 1 to 0 2 ohms for a Standard pair of test leads Press the l j pushbutton to enable the continuity testing mode This Meter defaults in the 400 ohm range and then highest bar graph scaleShows 400 The digital display reads OFL Continuity testing verifies that circuit connections are intact Test resistances below 35R Cause ...

Page 9: ...ushbutton once to exit CREST Then PEAK is no longer displayed 5 13 Enabling Record AC RECORD nnn UL L A s 0 1 2 3 40 A I I I I I l I I I t To enable RECORD press the MIN MAX pushbutton The blinkingRECORD is displayed The recording of a new max imum or minimum IS Indicatedby beep Sounds We tan use RECORD in all modes of this Meter but we tan not Change Meter modes while in RECORD for example from v...

Page 10: ...because this Meter is not recording values And if you cycle through the MAX MIN and AVG readings this Meter displays just M B 18 6 Applications of Measurement 6 1 Non Linear Loads True RMS current flow is very impot tant because it directly relates to the amount of heat dissipated in wiring trans formers and System connections Most ammeters in the market measure average current flow not true rms c...

Page 11: ...stem containing harmonic current flow 1 2 The AC neutral wires must be of suff icient gauge to allow for harmonic current flow The distribution transformer must have additional cooling to continue Operation at its rated capacity if it is not harmonie rated This is becausethe harmonic current flow in the secondary neutral wire is circulating in the delta connected primary winding after it is reflec...

Page 12: ...an the digital display 1 L 4 4 When the motor reaches the desired Speed observe the running curren 5 Repeat your measurement for each motor Phase Un balancedcurrent may be caused by a voltage imbalance or a shorted motor winding 6 Repeat Steps 1 thru 3 then press the MIN MAX pushbutton to enable RECORD 7 Turn on the motor When the motor gets to the desired Speed note the blinking upper bar on the ...

Page 13: ...controllers The output current frequency is usedto calculate the rotatingSpeedof the motor while input current frequency is used to measure the frequency of the power line The frequency of the output current is important because the voltage frequency is often meaningless for the calculations of motor controller Speed 24 1 2 3 i 5 6 Press the ON OFF pushbutton to turn on this Meter Clamp around an ...

Page 14: ...s or solvents Open the clamp jaws and wipe the magnetic pole pieces with a lightly oiled cloth DO not allow rust or corrosion to form on the pole pieces The serial number is stamped on the back of the unit The serial number should be used when ordering Parts or requesting servicekalibration information 7 2 Replaceable Parts A m WHEN SERVICING THIS METER USE ONLY THE RE PLACEMENT PARTS SPECIFIED Re...

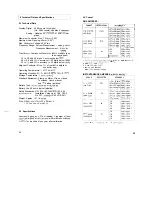
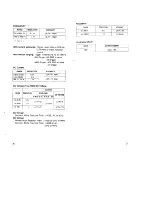
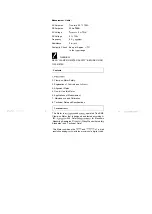
Page 15: ...amn greater than 40 hours on meter power up 2 RMS Utn Max ADD 10 comts 3 1A and above 30Hr 45Hr C AVG only 2 SA and above RMS MtnlMax Add 2 of readlng INSTANTANEOUS AMPERES CREST MODE1 RANGE Battery Type NEDA 1604A 9V or 6LF22 9V Battery Life 80 hours typical alkaline Safety Standards UL 1244 IEC 348 1010 IEC 664 Appropriate Parts Installation Category Ill CSA C22 2 No 231 ANSIIISA S82 VDE 0411 We...

Page 16: ......

Page 17: ...rols and Indicators 4 Alignment Marks 5 How to Use this Meter 6 Applications of Measurement 7 Maintenance and Calibration 8 Technical Data and Specifications y 1 Introduction I This Meter is a handheld and battery operated True RMS i j iil f Clamp on Meter that is designed and tested according to IEC Publication 348 Safety Requirements for Electronic Measuring Apparatus Protection Class II and oth...

Reviews: