background image

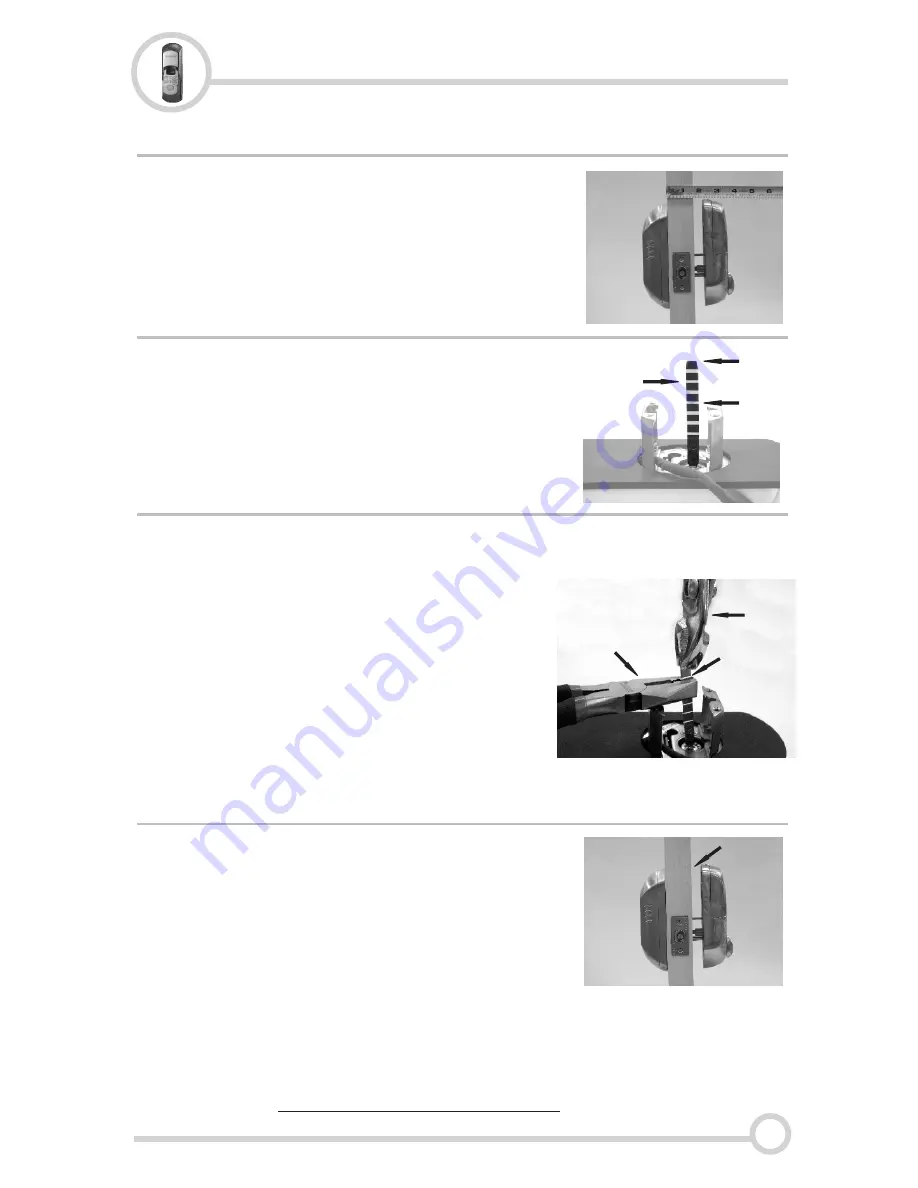
Measure the thickness of the door. The 
BioBolt often requires the tailpiece that 
turns the deadbolt be the trimmed to the 
appropriate length for the thickness of the 
door.

Adjusting the Tailpiece for the Proper Door Thickness

Identify the amount of the tailpiece that will 
need to be trimmed based on the following:

!

2 1/4” - 2 ½”

= Use Full Tailpiece (A)

!

1 3/4” - 2 1/8” = Trim 2 Notches (B)

!

1 3/8” - 1 5/8” = Trim 4 Notches (C)

A

C

B

With two pairs of plyers, use one pair (A) to 
hold the tailpiece just below necessary 
notch (B).  
Using the second pair of plyers (C), grab 
the upper portion of the tailpiece and slightly 
bend the top portion of the tailpiece being 
careful NOT TO MOVE THE BOTTOM PAIR 
OF PLYERS (A)!! 
Continue to slightly bend the tailpiece 

back 

and forth

 until the top potion of the tailpiece 

breaks off at the desired notch (B).

A

B

C

2

Before proceeding with final installation:


Fit the front and back lock bodies together on 
the door to ensure the tailpiece does not hinder 
the flush placement of both bodies to the door.  
If there is ANY gap due to the length of the 
tailpiece (A), remove one more notch from the 
tailpiece and repeat this step until the front and 
back lock bodies join without any gap.

WARNING: Forcing the front and back lock 

bodies together may damage the internal 

motor drive VOIDING THE WARRANTY!!

A

DO NOT FORCE FRONT 

AND BACK LOCK 

BODIES TOGETHER!

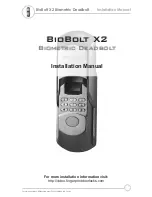
BioBolt X2 Biometric Deadbolt

Installation Manual

Summary of Contents for BioBolt X2

Page 1: ...olt X2 Biometric Deadbolt Installation Manual For more installation information visit http video fingerprintdoorlocks com Intelligent Biometric Controls Inc BioBolt X2 Biometric Deadbolt Installation Manual ...
Page 2: ...dard US Preparation for Lock Installation With the bolt extended A locate the stamped UP in the top back corner of the bolt B Insert the bolt into the prepared hole on the door being sure that the UP arrow is pointed upwards Now ensure that the cross slot C is centered vertically x axis of the hole B C A Using the supplied screws attach the bolt to the door 1 BioBolt X2 Biometric Deadbolt Installa...

Page 3: ... top portion of the tailpiece being careful NOT TO MOVE THE BOTTOM PAIR OF PLYERS A Continue to slightly bend the tailpiece back and forth until the top potion of the tailpiece breaks off at the desired notch B A B C 2 Before proceeding with final installation Fit the front and back lock bodies together on the door to ensure the tailpiece does not hinder the flush placement of both bodies to the d...

Page 4: ...th the front lock body held against the door with the tailpiece aligned vertically A verify that the Motor Drive Coupler D is also aligned vertically Now connect the Control Cable B to the corresponding Control Connector C on the back lock body A B A A B C E D 3 Align the front and back lock bodies so they are straight on the door Insert the two bolts in the corresponding holes and try to thread t...

Reviews: