
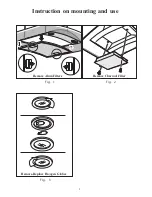

Use:
Two systems are available
Exhaust mode
Vapors are extracted outside through an exhausting pipe
that is affixed to the connection ring above the hood.
Diameter of the exhausting pipe must be equal to that of
the connection ring.
In the horizontal runs the duct must be slightly slanted
(about 10°) and directed upwards to vent the air easily from
the room to the outside.
Attention!
If the hood is supplied with carbon filter, then it must
be removed.
Filter version (K)
The air is filtered through a carbon filter (for its installation
see paragraph "Carbon filter") and recirculated into the
room through the grating of the chimney.
Attention!
If the hood is not supplied with carbon filter, then
it must be ordered and mounted.
This version is used when there is no exhaust duct for
venting outdoors or when it is impossible to install one.
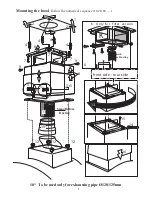
Installation
When installed, the distance between hood and burners
must be not less than 65 cm. above electric burners or 75
cm. above gas or mixed-fuel burners.
The exhausting pipe is not supplied and must be purchased
apart.The manufacturer only recommends the use of a
smooth bore ducting as this does not restrict the flow of air
within the ducting.
Electric connection
Before completing any connection, make sure the house
voltage corresponds with the voltage indicated on the label
affixed inside the hood
It is advisable to call a qualified electrican make the
connection
Appliance fitted with plug: Connect it to a socket
conforms with current regulations.
If you intend to connect it directly to the electric mains,
remove the plug and fit an approved bipolar switch with
a minimum contact opening of no less than 3mm.
If the plug is not accessible once it has been inserted in
the socket, it will however be necessary to fit an approved
bipolar switch with a minimum contact opening of no less
than 3mm.
Appliance without plug
: Fit an approved plug or an
approved bipolar switch with a minimum contact opening
of not less than 3mm.
The manufacturers are not liable for any problems caused
by the user’s failure to observer the above instructions.
Using the hood
— The hood is provided with a motor with several
speeds. For the best performance, we recommend
using the low speeds in normal conditions and the high
speeds in particular cases of strong odor and vapor
concentration.
— We recommend starting up the hood a few minutes
before cooking and keeping it running until all the
odors have been eliminated.
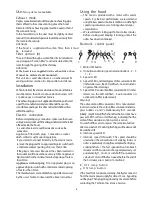
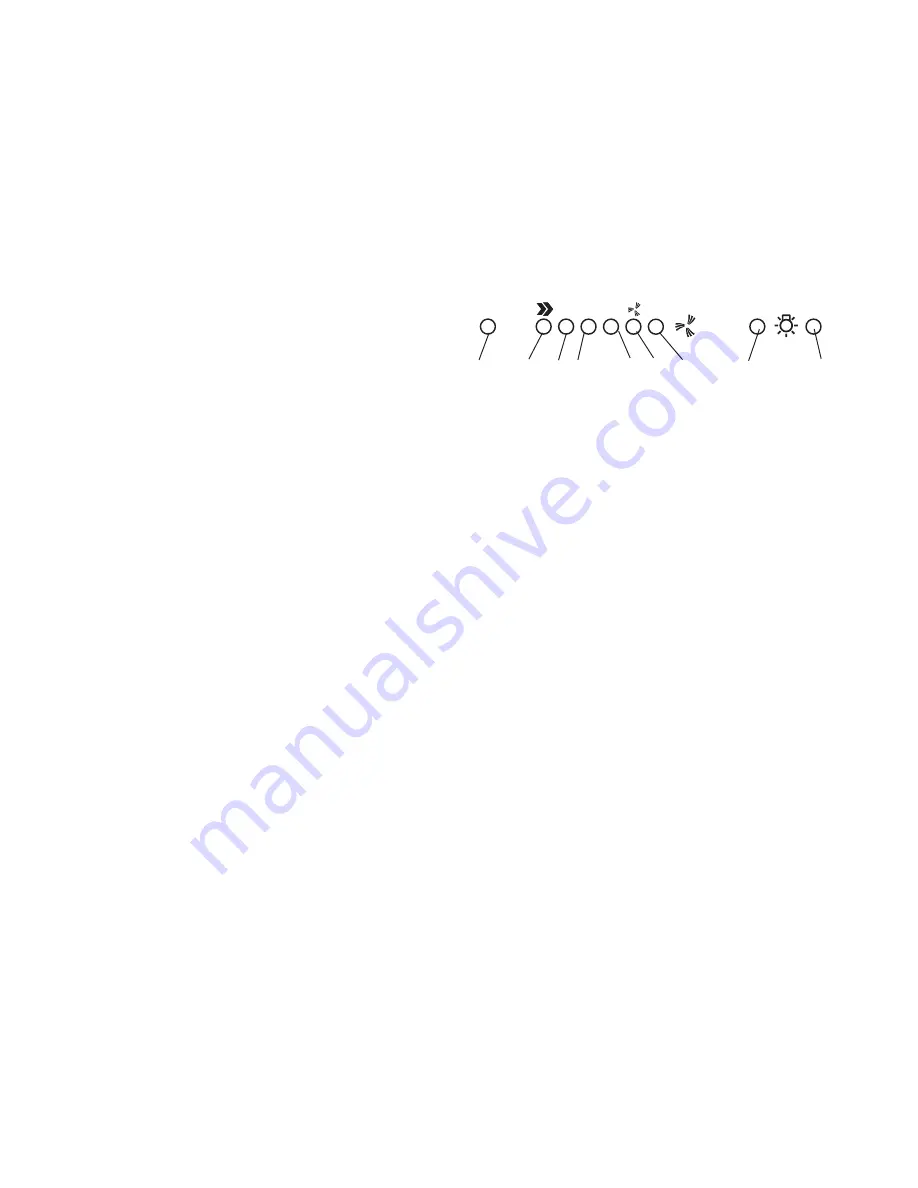
Electronic control panel
1- Motor OFF button
2- On button and motor speed selection button 1 - 2 - 3
- 1 - 2 - . . . .
3- Speed 1 LED
4- Speed 2 LED and metal grease filter saturation LED
(in this latter case, the LED will flash - See instructions
on grease filter cleaning).
5- Speed 3 LED and carbon filter saturation LED (in this
latter case, the LED will flash - See instructions on
active carbon filter replacement).
Warning!
The active carbon filter saturation LED is not activated.
In order to activate the carbon filter saturation indicator,
press buttons 2 and 7 simultaneously for 3 seconds.
Initially, only LED 4 will flash, then after the 3 seconds have
passed, LED 5 will also start flashing, indicating that the
carbon filter saturation control system is active.
To switch off the system, repress the same two buttons:
after 3 seconds LED 5 will stop flashing and the device will
be switched off.
6 - Intensive speed LED
7 - Intensive speed ON switch: This speed should be
used when the concentration of cooking fumes or
odors is particularly strong (for example when frying,
cooking fish etc.). The fast speed will run for about 5
minutes and then return to the speed previously set
automatically (1, 2 or 3), or switch off if no speed was
selected. To turn off the fast speed, before the end of
the 5 minutes, press button 1 or button 2.
8
-
OF F lamp button
9
-
ON lamp button
If the hood fails to operate correctly, briefly disconnect it
from the mains power supply for almost 5 sec. by pulling
out the plug. Then plug it in again and try once more before
contacting the Technical Assistance Service.
1 2 3
O
O
I
F C
1
2 3 4
5 6 7
8
9
4
which


