11
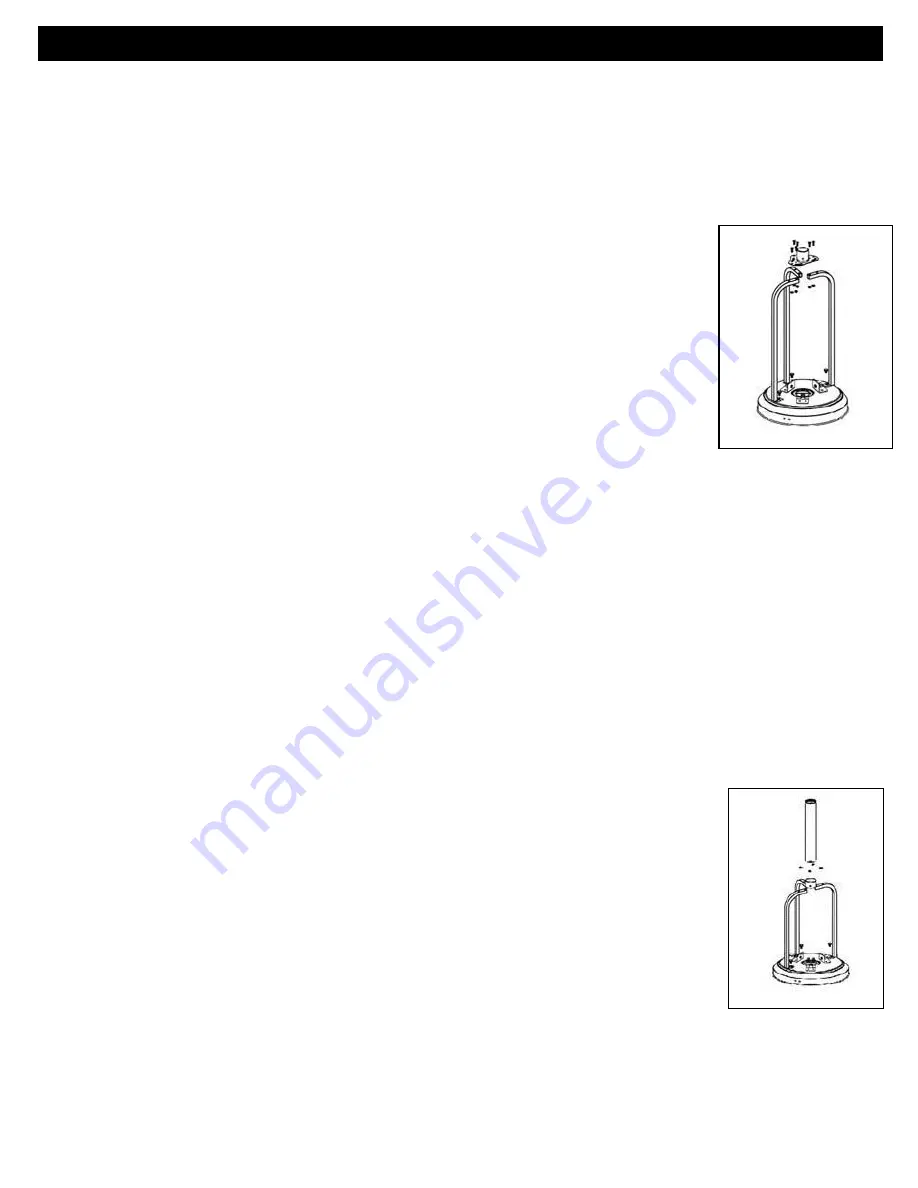
Step 6: Install post support bracket to the top of the 3 leg supports
Hardware Used:
A: Qt 6) M6x30 Bolt
B: Qt 6) M6 Flat Washer
C: Qt 6) M6 Nut
M: Qt 6) M6 Lock Washer
a)
Place the Post Support Bracket (7) on top of the 3 assembled Support Legs
and align the holes in the Post Support with the holes in the Support Legs.
b)
Place an M6 Flat Washer (B) on each of the 6 M6x30 Bolts (A) and then insert
each bolt through the top of the holes in the post support bracket and through
the holes in the top of each leg support.
c)
Place an M6 Lock Washer (M) and an M6 nut (C) on the end of each bolt, and
finger-tighten until all 6 bolts/nuts are snug.
d)
After making sure that the bottom of the support legs are aligned on the Base
without any torque/twist or stress in any of the legs, proceed to evenly tighten
all 6 Bolts/Nuts on the post support assembly with a wrench.
e)
Once the 6 Bolts/Nuts on the post support assembly are tightly secured proceed
to then use a wrench to evenly tighten each of the 3 leg support bolts to the base.
Step 7: Attach and secure the bottom section of the 2-pc post to the post support
Hardware Used:
D: Qt 4) M6x10 Bolt
M: Qt 4) M6 Lock Washer
Attach the lower section of the 2-pc post assembly (4) to the Post Support bracket (7) using 4) M6x10 Bolts (D)
and 4) M6 Lock Washers (M)
a)
Slide the bottom section of the 2-pc post assembly over the post support and line
up the 4 holes in the bottom of the post with the 4 holes in the post support.
(Note: The bottom section of the 2-pc post is the section
without
the
attached label)
b)
Place an M6 Lock washer (M) on each of the 4) M6x10 Bolts (D). Insert the bolts
through the holes in the Post into the 4 pre-threaded holes in the Post Support
and tighten with a wrench.
ASSEMBLY
Summary of Contents for PH01-S XL Series
Page 3: ...3 SAFETY INFORMATION ...
Page 4: ...4 SAFETY INFORMATION ...


