background image

Contact us for assistance:  (866) 985-7877  |  www.wtliving.com 


      11

OPERATING

WHEN HEATER IS ON:

Emitter screen will become bright red due to intense heat. The color is more 

visible at night. Burner will display tongues of blue flame. These flames should 
not be yellow or produce thick black smoke, indicating an obstruction of airflow 

through the burner.

OPERATION PRESSURE CHECKED

If the flame is very small, this is because the supply pressure is not enough.

TO RE-lIGHT:

1. Turn the control knob to “OFF” position.
2. Wait five minutes before attempting to relight.

3. Repeat steps beginning with step 2 on page 10.

bEFORE lEAvING HEATER UNATTENDED:

1. Turn the control knob to “OFF” position and 

turn LPG cylinder to  “OFF” position.

2. Never leave the patio heater unattended 

while in use.

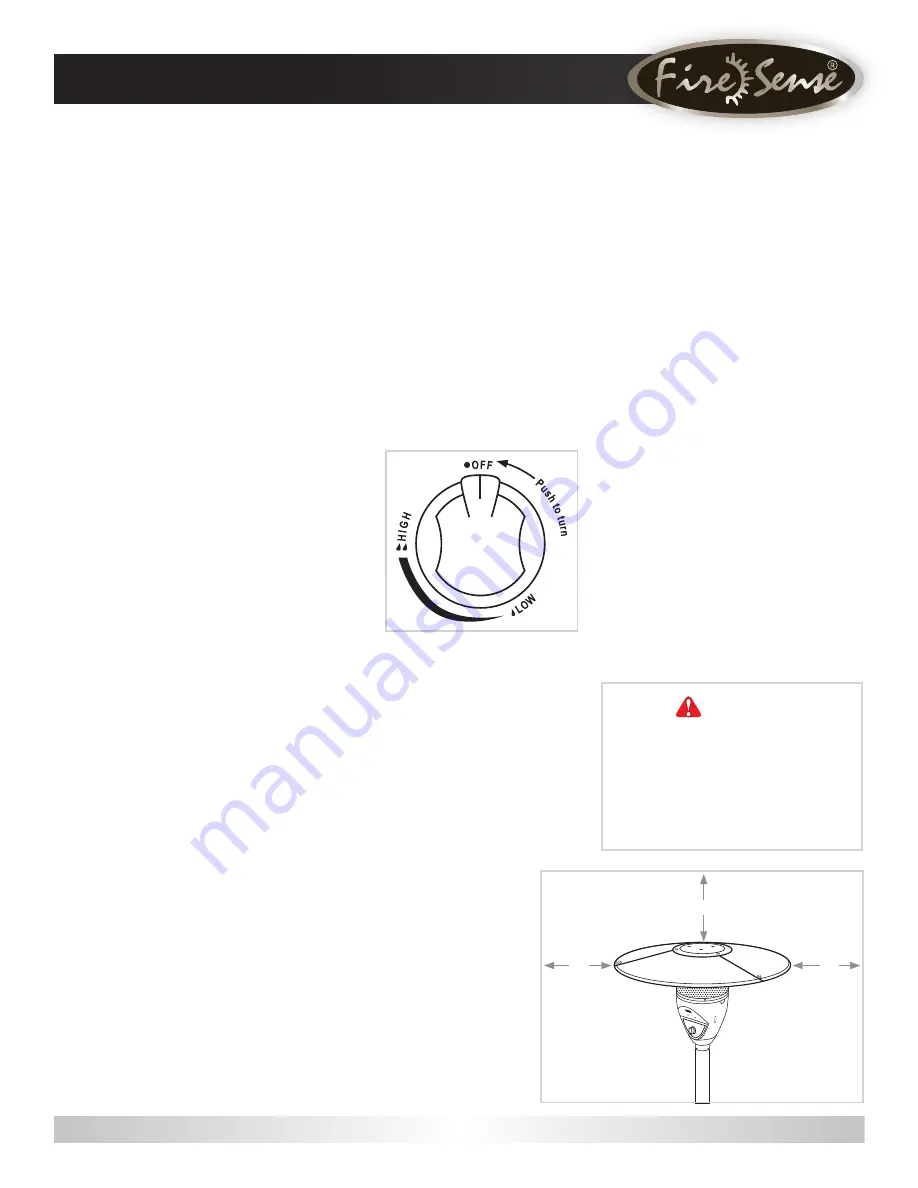
SHUT DOWN INSTRUCTIONS

1. Push in and turn control knob clockwise to 

“OFF” position.

2. Turn LPG cylinder valve clockwise to “OFF” position when heater is not in use.

Note: After use, some discoloration of the emitter screen is normal.

lOCATION OF HEATER FOR USE

This heater is primarily used for the heating of outdoor patios, decks, spas, 
and open working areas. Always make sure that adequate fresh air ventilation 

is provided. Follow the spacing tolerances shown in Figure 1. The minimum 
clearances, shown in Figure 1 must be maintained at all times.

The installation must conform to local codes or in the absence of local 

codes, with the standard for the storage and handling of liquid petroleum 

gases, ANS/NFPA 58-1986. or most recent addition. (For Canada, with 
the current CAN1-B149).

The heater must be placed on level firm ground.

Never operate in an explosive atmosphere. Keep away from areas 

where gasoline or other flammable liquids or vapors are stored or used.

 WARNING

Heater will be hot after use. Handle with 
extreme care.

When certain material or items are left 
above, beside, or under this heater while in 
use, they will be subject to radiant heat and 
could be seriously damaged.

CAUTION: 

Avoid inhaling fumes 

emitted from the heater’s first use. 
Smoke and odor from the burning of 

oils used in manufacturing will appear. 

Both smoke and odor will dissipate 

after approximately 30 minutes. 

The heater should NOT produce thick 
black smoke.

Note: The burner may be noisy 
when initially turned on. To eliminate 

excessive noise from the burner, turn 
the control knob to the “LOW” position, 
then turn the knob to the level of 

heat desired.

IN THE EvENT OF GAS lEAKAGE

1. Turn the control knob to “OFF” 

position.

2. Turn LP cylinder to “OFF” position.

3. Wait 5 minutes to allow gas to 

dissipate.

4. If odor continues, immediately call 

gas supplier.

50”

50”

50”

Figure 1

Pus

h to

 tu

rn

H

IG


        OFF

Summary of Contents for PH03-S

Page 1: ...Monday Friday FOR YOUR SAFETY If you smell gas 1 Shut off gas to the appliance 2 Extinguish any open flame 3 If odor continues immediately call gas supplier FOR YOUR SAFETY Do not store or use gasoli...

Page 2: ...are 9 a m 6 p m EST Monday Friday This manual contains important information about the assembly operation and maintenance of this patio heater General safety information is presented on page 3 and is...

Page 3: ...ht popping noises is normal when the burner is extinguished after using The propane hose with regulator assembly shall be located out of pathways where people may trip over it or in areas where the ho...

Page 4: ...Waterbox pre assembled to Base 3 Wheel Assembly 1 Medium Bolt Pre assembled in Base Qty 3 Large Bolt Bracket Pre assembled for Base Qty 3 Large Washer Qty 6 Small Bolt Qty 4 Tall Bolt Small Nut Qty 6...

Page 5: ...lts have been inserted Hardware Used 3x Large Bolt Bracket 6x Small Bolt Small Washer Small Nut PREPARATION Before beginning assembly of this appliance make sure all parts are present Compare all part...

Page 6: ...plastic cap back on top 5Locate Wheel Assembly and 2 Medium Bolts and Flange Nuts Turn Base so that holes for attachment of Wheel Assembly are facing you Align holes in Wheel Assembly with holes on B...

Page 7: ...d bolts have been inserted Hardware Used 6x Tall Bolt and Small Nut 8Attach the Lower Post to the Post Support by using 4 Small Bolts Hand tighten initially then tighten with the Wrench when all bolts...

Page 8: ...Reflector Stud 12Remove the 4 pre assembled screws and lock washers from the base of the Head Assembly and set aside Route the Gas Hose down into Upper Lower Posts and align the 4 small holes on the...

Page 9: ...ector assembly onto the Reflector Studs and slide 3 Large Flat Washers over the Reflector Studs and onto the Reflector Assembly Secure with 3 Wing Nuts Once you have tightened the Wing Nuts return the...

Page 10: ...lame ignites You should hear a rapid series of sparks when pressing the igniter button After the burner ignites you can release the RED igniter button but you MUST continue to press inward on the Cont...

Page 11: ...shown in Figure 1 The minimum clearances shown in Figure 1 must be maintained at all times The installation must conform to local codes or in the absence of local codes with the standard for the stora...

Page 12: ...of flame Heater does not reach the desired temperature Heater glow is excessively uneven Heater makes popping noises 3 Spiders and insects can nest in burner or orifices This dangerous condition can...

Page 13: ...hter to manually light Gas pressure low with valve open full Replace cylinder or regulator New cylinder or 1st ignition Purge air from lines Cylinder valve on no gas flow Replace hose regulator assemb...

Page 14: ...for the Sales of Goods shall not apply to this limited warranty or the sale of products covered by this limited warranty THERE ARE NO EXPRESS WARRANTIES EXCEPT AS LISTED ABOVE PURCHASER ASSUMES ALL R...

Reviews: