7
HOW TO INSTALL
YOUR DETECTOR
NOTE:
This apparatus should be installed
by a competent person who feels able to
install it according to the instructions.
Firstly write the installation date on
your detector in the area provided.
We
recommend that your detector is installed on
the wall.
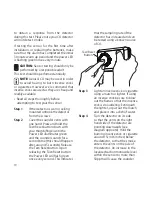
To mount on a wall or ceiling:
Please ensure that you use the screws
provided, as they were chosen specifically for
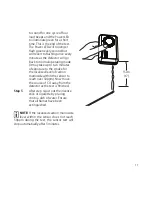
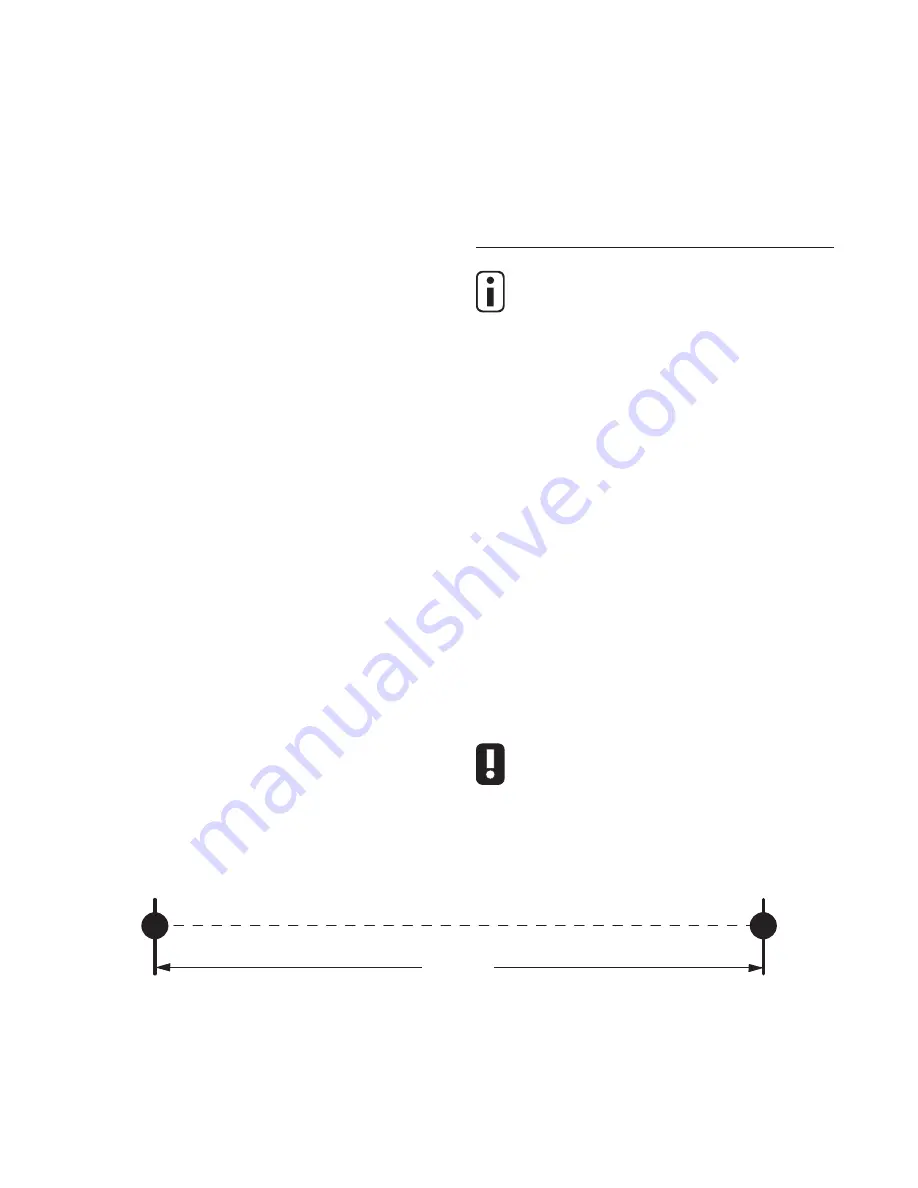
use with this product. Use template below
for guidance on marking hole positions. Drill
holes into the wall. Insert the plastic wall
plugs. Screw in the screws. Ensure screws are
protruding from the wall by 3mm to allow
detector to slot onto screws.
To place on a shelf:
The base of the detector has been designed
to allow it to stand freely on a shelf.
WARNING:
When placing on a shelf,
please follow the recommendations for
positioning as described on page 5 & 6.
90mm
Drill hole spacing
from the combustion appliance(s) should
also contain an alarm, located in accordance
with previous advice in this section.
It is not always possible to find an optimum
location for an apparatus, for example, a
small caravan may not have suitable vertical
surfaces available. Nevertheless, when
fitting an apparatus in such situations, the
two most important considerations when
selecting an appropriate location are:
•
Not mounting the apparatus directly
above a source of heat or steam; and
•
Mounting the apparatus at a distance
of 1 – 3 m from the nearest edge of the
potential source.
Summary of Contents for CO-9B
Page 22: ...20 NOTES ...
Page 23: ......


