REV. 8-9-19 Page 5
AWS Sanctuary 2 & 3 Fire Features
PREPARING A LOCATION FOR FIRE FEATURE
HIGH ELEVATION INSTALLATION
This appliance is listed for elevations from 0-4500 feet in Canada and the U.S. If elevation exceeds 4500 feet it may be
necessary to decrease the input rating by changing the existing burner orifice to a smaller size. Input should be reduced
4% for each 1000 feet beyond the 4500 feet above sea level. Check with your local gas utility for assistance in
determining the proper orifice in your location. In some cases the heating value may already be reduced and downsizing
the orifice may not be necessary. Refer to NFPA 54 Table E.1.1(d) for high altitude orifice sizing.
Install the fire features on any level, flat, stable, non-combustible surface.
NOTE
: Do not place fire features directly on
grass, dirt, or rocks as this may prevent proper ventilation. Water drainage is designed into all Sanctuary Series fire
features.
Ensure not to block/plug the drains areas to prevent potential damage to your fire feature.
Any installations within 5-feet of a pool or spa will require a FG-PS30V320 power supply. See separate
manual and accessory page for details or call Technical Service department.
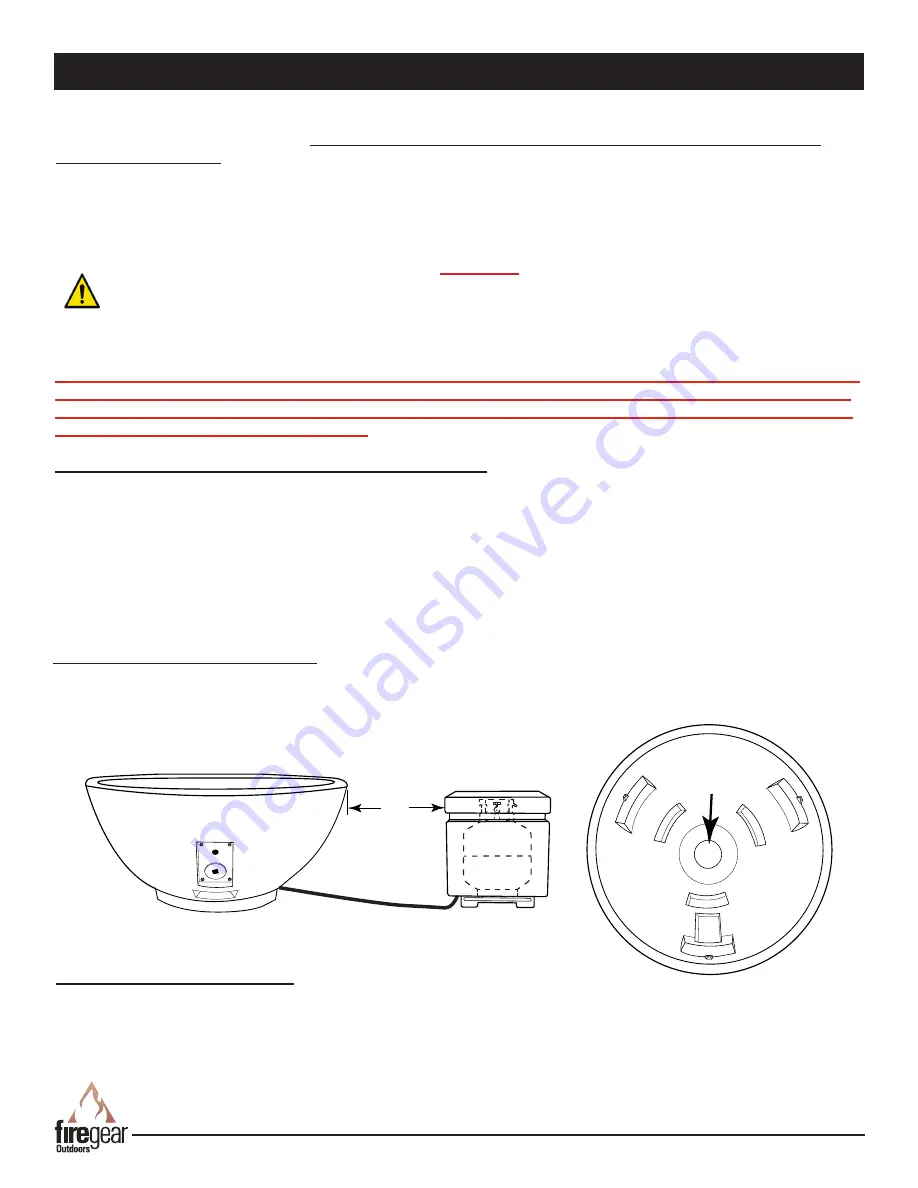
The Sanctuary 2 and 3 can be plumbed with either Natural or Propane (LP) gas. See Fig. 3. If you choose to run hard
pipe to Sanctuary models, enter through center (bottom) of the bowl; protrude pipe no higher than 6” above ground level.
N
ote: Due to space limitations, the Sanctuary 3, cannot accommodate a 120VAC (GFI box) and 1420-AOD remote
control weatherproof box inside the bowl. These components will have to be wired externally, outside the bowl.
A recommendation would be to place the Sanctuary 3 on a pedestal or base then install the GFI box and remote
control receiver inside the pedestal or base.
HARD PIPING TO FIRE FEATURE WITHOUT GAS PROXIMITY
NOTE:
Refer to the NFPA54 (National Fuel Gas Code) for proper pipe sizing. See gas line sizing chart on page 6 of this
manual as a reference.
1. Turn
OFF
gas supply system.
NOTE
: All gas connections (except for brass to brass) require the following. Clean pipe
threads using either a wire brush or steel wool. Apply pipe sealant to the fittings before making any connection.
2.
BE CAREFUL!
Ensure all gas connections are snug, but do not over tighten!
3. Consult a plumber for proper installation to ensure you are providing adequate gas supply for your application.
4.
The primary gas shut-off (not supplied) will require a ⅜” male flared fitting to enable connection of the stainless steel
flex gas line supplied with the fire feature.
NOTE:
The Sanctuary Series fire features/bowls are constructed of Glass Fiber Reinforced Concrete (GFRC). The
Sanctuary 2 weighs 166 LBS without media or the burner system installed. The Sanctuary 3 weighs 92 LBS without
media or the burner system installed.
Ensure the structure you are placing these fire features on is solid enough to
securely hold the weight. IT IS HIGHLY RECOMMENDED FOR AT LEAST 2-3 PEOPLE TO ASSIST IN MOVING THE
FIRE FEATURES INTO PLACE.
LP
Gas
Hard Pipe
Access
Top View
FG-12QDK
4”
(Min. distance
from tank)
60”
Fig 3
. Shows gas line using an LP quick disconnect or hard piped with Natural gas.
FLEXIBLE PIPING TO FIRE FEATURE
1.
Do not place an LP tank inside any fire feature enclosure. Locate all propane (LP) tanks outside the enclosure inside
an approved separate enclosure a minimum of 60” from the Sanctuary Series. Flex line can run through any vent
holes. If using Propane gas an FG-LPRK regulator (not included) must be used and a FG-12QDK quick disconnect kit
(not supplied) enables the use of a Propane (LP) gas tank connection. See Fig. 3.


