5
6
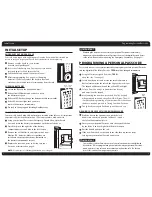
mountIng InStructIonS
location
Yo
ur First Alert
®
Wall Safe should be mounted in an obscure location such as a
bedroom or hall closet and must be installed in a 2’ x 4’ or thicker framed wall.
Be sure that no plumbing pipes or electrical wires run through the wall cutout area
where your wall safe is to be located and that there is room to swing the safe door
open without ob
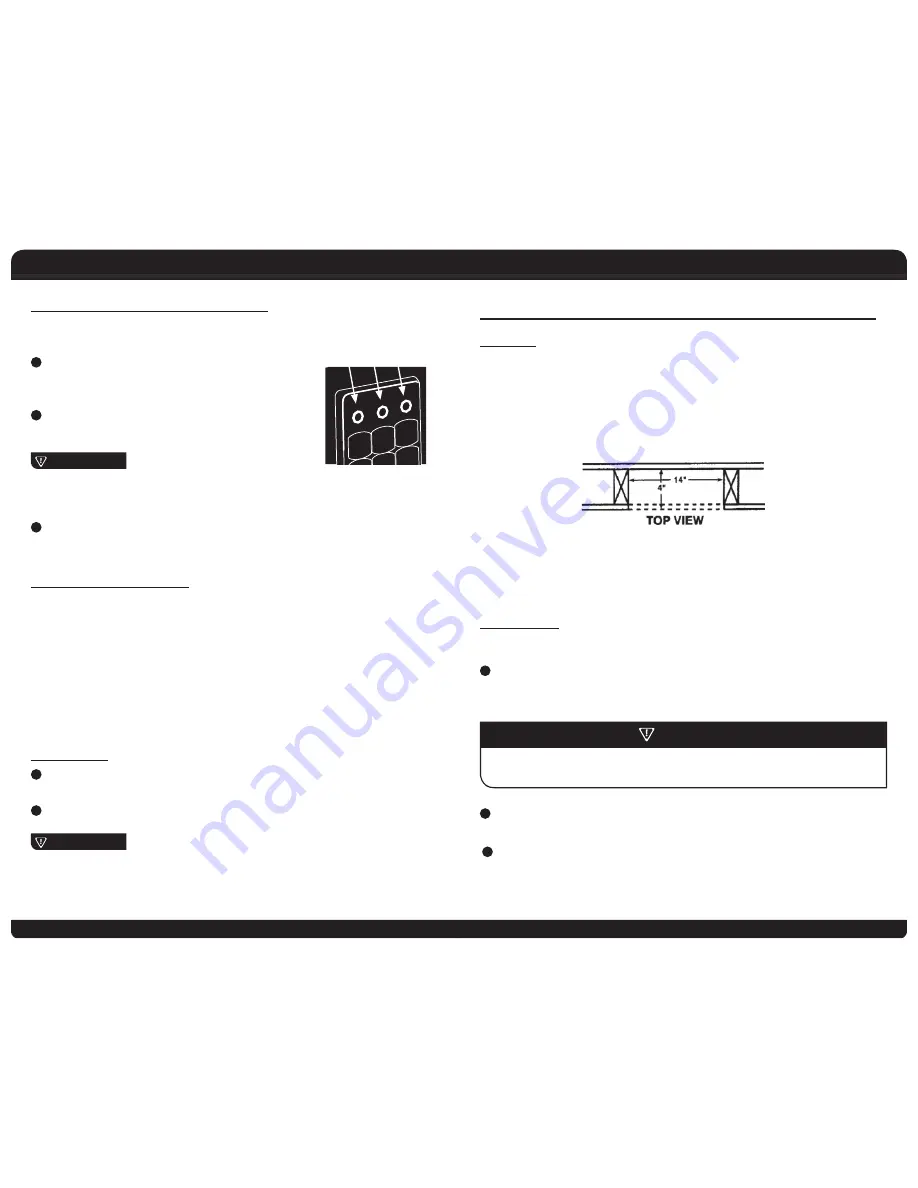
struction. The Wall Safe is 14 inches wide and designed to fit
between standard 16 inch center-to-center wall framing.
note: Most homes have wall framing construction of 2 x 4’s and/or 2 x 6’s that are located
on 16-inch centers.
Instructions shown are for wood framed wall installation. Installation for
aluminum or steel stud walls may require pre-drilling and/or alternative mounting screws.
inStallation
SteP 1 - Wall cutout
1
Determine the approximate location of the stud for the right hand side of
your Wall Safe (hinge side). Drill or cut a large enough pilot hole to determine
where the inside edge of this stud is located.
2
Using a building square, draw a vertical pencil line 21 1/8 inches long along the
inside edge of the stud. This will locate the right hand (hinged) side of the safe.
3
From the top of your scribed line, measure 14 inches to the left and make
a pencil mark. Repeat this measurement at the bottom of the vertical line.
With the building square, draw a vertical line between the pencil marks
locating the left side of the safe.
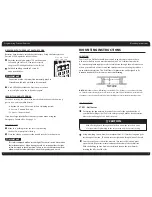
oPening With the Pre-Set factorY coDe
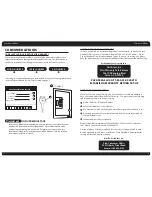
Batteries have been pre- installed at the factory. Using the factory pre-set
Passcode 159A, open the safe as follows:
1
Enter the three digit number 159 on the keypad
followed by the letter 'A'. If entered correctly,
the green LED will light and the lock will click.
2
Pull the handle open within 5 seconds
and open the door.
ImPortAnt
If no action is taken, the safe will automatically relock in
5 seconds and the code will need to be re-entered.
3
A red LED indicates that the Passcode was entered
incorrectly. Re-enter the code and try again.
SecuritY lockout PerioDS
For added security, the safe will automatically lockout entry if the wrong
passcode is entered multiple times.
• After the 3rd error: 20 second lock-out. (waiting period)
• 4-6 errors: 5 minute lock-out.
• 7+ errors: 1 hour lock-out.
If you have forgotten the Passcode, entry can be made using the
Emergency Override K
ey. (See page 3).
cloSing Safe
1
Make sure nothing inside the safe is obstructing
the door from completely closing.
2
Close the safe door and press the handle into the locked position.
ImPortAnt
This safe is equipped with an interior light. The control switch is located on
the inside door panel. When closing the safe it is important that the light
switch be turned to the off position. Failure to do so will drain the batteries
of power and the safe will not open when the digital key pad is used.
Programming Personal Passcode
Mounting Instructions
B
0
8 9
7
A
6
5
2 3
1
4
Yellow
Light
Red
Light
Green
Light
cAutIon
With a flashlight, look through the pilot hole and make sure there are no
electrical wires or plumbing in the cutout area before you start cutting.


