4
3
Closing Your Safe
1
Close the lid, making sure that the contents do not obstruct the seal. Place the
keys in a secure place away from the safe.
2
Push the latch back and down onto the lid clasp and snap the latch into the
closed position.
3
Your safe is now locked.
PROGRAMMING A PERSONAL PASSCODE
For security reasons, it is very important that you program your own personal
passcode into the digital lock. The factory code should be changed immediately.
To program your own unique four to eight (4-8) digit passcode, follow these steps:
1
Open the safe using the key or the five (5) digit
passcode followed by the
*
key.
2
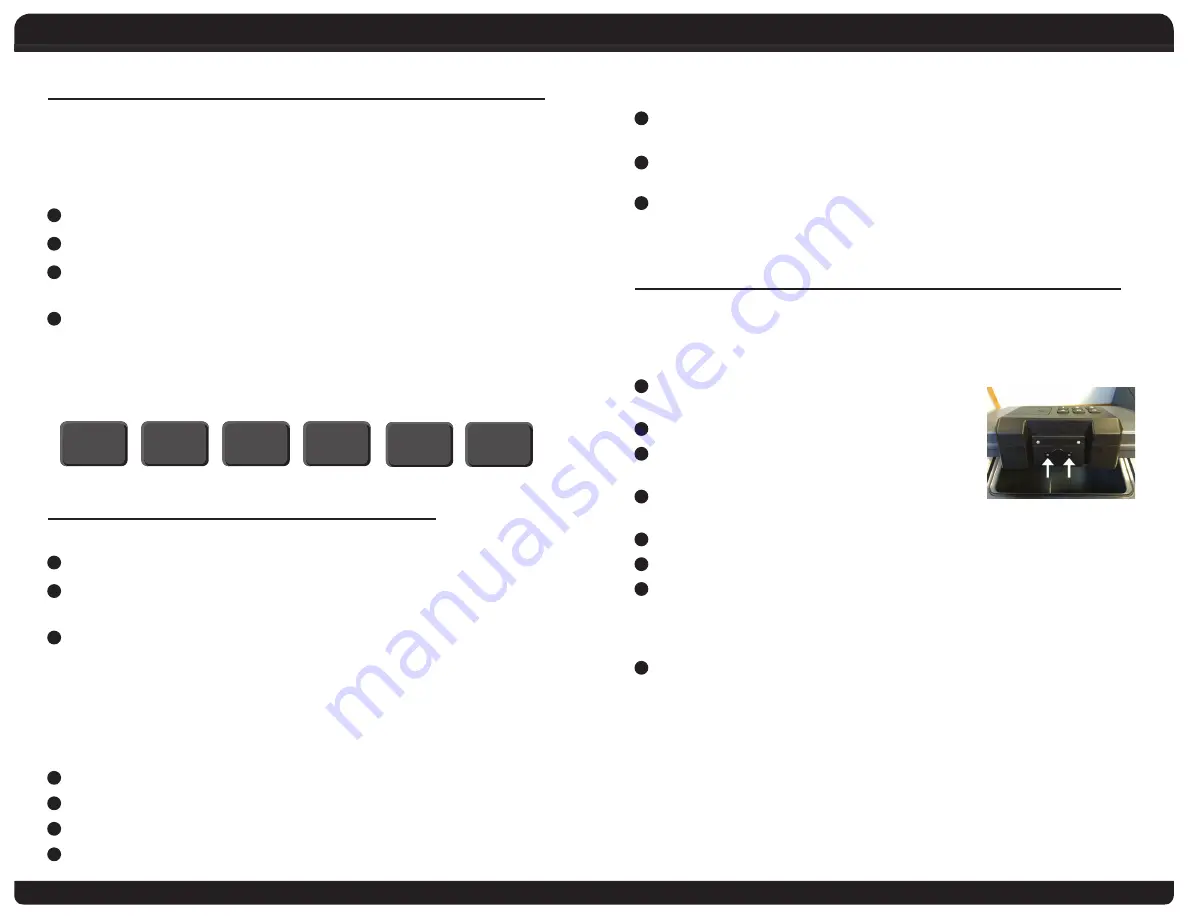
Lift the lid and locate the reset button cover.
3
Using a small Phillips screwdriver, remove the two
screws and cover.
4
Press the black reset button. The LED will flash
yellow.
5
Enter your new 4-8 digit passcode followed by the * key.
6
Reenter the new passcode again and press the * key.
7
If both entries match, the green LED will light up for 2 seconds indicating that
your new passcode has been successfully programmed. If both entries do not
match, the red LED will light up for 2 seconds and you will have to repeat steps
4-7.
8
Use a Phillips screwdriver to replace the two screws and cover.
Opening Your Safe for the First Time / Opening & Closing Your Safe
OPENING YOUR SAFE FOR THE FIRST TIME
Batteries and Keys
Remove four (4) batteries and two (2) Entry Keys. They are located in the packing
material. Remove them before discarding the box.
Installing Batteries
1
Locate the battery cover on the top of the lid.
2
Slide the cover off the battery compartment.
3
Properly insert batteries, noting the +/- directions. The LED on top of the lid
will blink red and green three (3) times.
4
Replace cover and close the lid.
NOTE: Clean the battery contacts in the battery compartment and on the
batteries before installing new batteries.
The pre-set factory code for your safe is:
OPENING & CLOSING YOUR SAFE
Opening Your Safe with the Keypad
1
Enter the factory pre-set code 1-2-3-4-5 followed by the
*
key.
2
After properly entering the entire sequence, the green light will turn on and
the locking latch will open and spring forward.
3
Lift the safe lid.
NOTE: If an incorrect code is entered
3 TIMES
in a row, the lock will automatically
shut down for
4 MINUTES
before it can be opened again using the correct code.
During this delay, the key can be used to open the safe. If an incorrect code is
entered, the red light will blink one time and you will hear 3 fast beeps.
Opening Your Safe with the Key
1
Insert the key into the lock and then turn counterclockwise (to the left).
2
The locking latch will open and spring forward.
3
Press and turn the key clockwise (to the right) to remove.
4
Lift the lid to open the safe.
Programming a Personal Passcode
*
2
1
3
4
5


