23
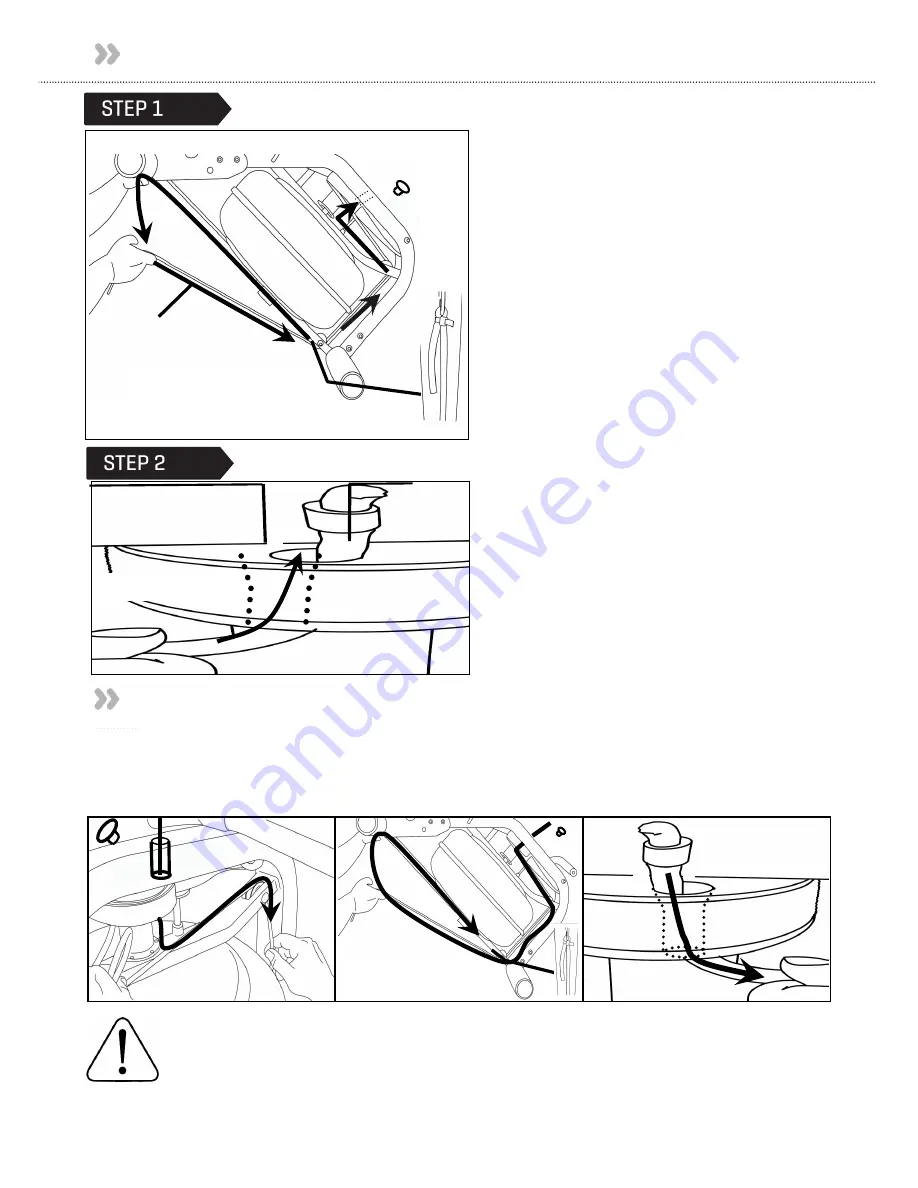
Upper Frame Plug
Bungee Shock Cord
Bungee Attachment Point
Removing the Bungee Shock Cord
Move the Rowing Handle to it’s farthest
forward point on the Mainframe, then
cut the plastic end tie and follow the
drawing above for bungee removal.
Next, remove the Upper Frame Plug to
allow the Bungee Shock Cord to be
threaded through the top of the frame.
Note: You will need to rotate the Belt/
Bungee Pulley to align the holes
properly. Should the belt drop off of
during the bungee change, please refer
to the previous pages for “Attaching/
Reattaching the Rower Belt”.
Upper Frame Hole
Belt/ Bungee Pulley
Once Bungee Cord and Upper Frame
Hole are aligned, push the Bungee Cord
up and through the frame as shown
Reinstall the Shock Cord through the Upper Frame, along the opposite side of Idle
Wheel, through the Mid Frame and Lower Bungee Pulleys and then tie off with plastic
tie wrap to correct tension. Replace Frame Plug.
Bungee
Shock
Cord
Bungee Attachment
Point
Pull Bungee
through until
seated securely
Replacing the Bungee Shock Cord
Tip: Correct bungee tension is achieved when enough recoil is present for the
Rowing Handle to easily reach the front of the Fluid Rower Pulley Belt Bracket
at the far front of the frame. If the Rowing Handle will not reach rearward to
the end of the Seat Rail, the Bungee Cord is over-tightened and will require
adjustment.
Summary of Contents for DAYTONA AR
Page 1: ...PACIFIC AR NEWPORT AR DAYTONA AR USER GUIDE...
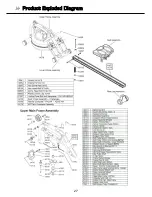
Page 27: ...27 Product Exploded Diagram...
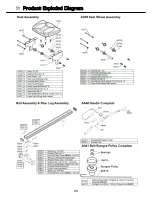
Page 28: ...28 Product Exploded Diagram...
Page 29: ...29 Product Exploded Diagram...

