will exhibit. To circumvent this, you will usually take several different images of each
type of calibration frame and average or median combine them together before using
them. A good rule of thumb is to take at least 5 of each calibration frame.
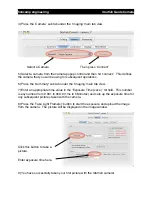
To capture the calibration frames for the Starfish camera:
1) Setup the camera for the image resolution you will use for the final picture.
Changing from full-frame to sub-frame mode or changing the size of the sub-
frame will invalidate the calibration frames.
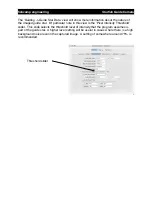
2) Go to the
‘
Imaging -> Calibration
’
tab.
3) Cover the camera lens prior to taking either the Bias or Dark calibration
frames.
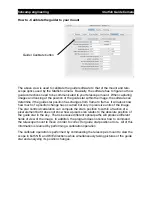
4) Take a Bias calibration frame by specifying the number of bias frames to take
and then pressing the
‘
Take Bias
’
button. The specified number of Bias frames
will be taken and then median combined into a Master Bias frame that will be
used for all subsequent image calibration operations.
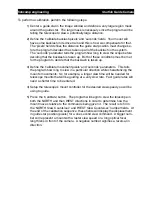
5) Take a Dark calibration frame by specifying the number of dark frames to take
and entering the exposure duration to use. Make sure to enter the same ex-
posure time that will be used to take the actual images. Complete the opera-
tion by pressing the
‘
Take Dark
’
button. The specified number of Dark frames
will be taken and then median combined into a Master Dark frame that will be
used for all subsequent image calibration operations. Since most astro-
photography picture are taken with long exposure times, this operation can
fishcamp engineering
Starfish
Guide Camera

