How to - Auto Calibrate Images
After you have acquired calibration frames for the camera
’
s picture taking session, you
can use them to calibrate the images you take with the camera. The calibration frames
are used in the following sequence:
1) Subtract the Master Bias Frame from the camera
’
s RAW image.
2) Subtract the Master Dark Frame from the image generated in step #1
3) Divide the image generated in step #2 by the Master Flat Frame.
Since you can just save any of the RAW image frames taken by the Starfish camera to
disk, you could just do the above image calibration using other third party image proc-
essing applications. There are several good programs to chose from including pro-
grams dedicated to Astro-photography as well as general purpose image processing
applications like Photoshop.
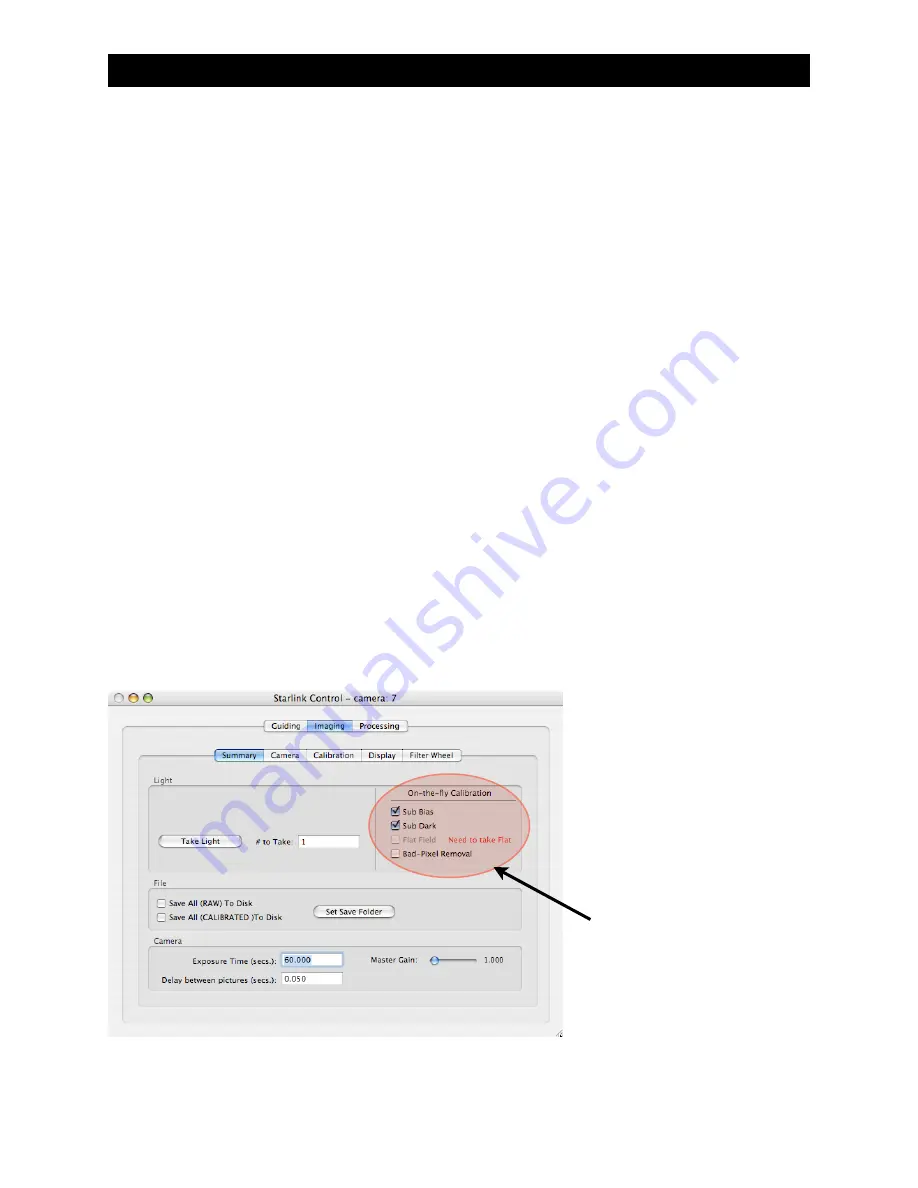
An easier way to do this is to let the StarLink program do it automatically for you as it
captures images from the camera. This is called
‘
On-the-fly Calibration
’
.
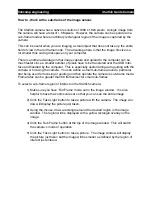
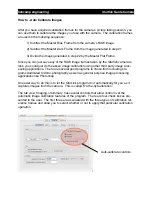
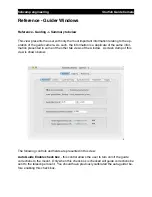
The tab view
‘
Imaging->Summary
’
has several controls that allow control over the
automatic image calibration features of the program. There are four check boxes pre-
sented to the user. The first three are associated with the three types of calibration ref-
erence frames and allow you to select whether or not to apply that particular calibration
operation.
Auto-calibrate controls.
fishcamp engineering
Starfish
Guide Camera

