How to - Acquire a Guide Star
When in guide mode of the program the first thing that needs to be done is to get the
camera taking a picture of the desired guide star and setting up to compute it
’
s location.
This should be done in full-frame mode so that you can get the widest possible field of
view with which to select the guide star. Aim you telescope at a suitable guide star and
focus the camera. Make sure you are in the guide mode of operation with the program.
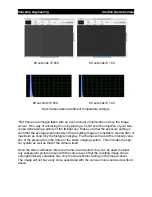
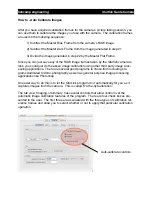
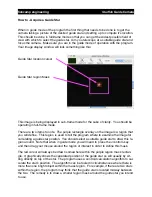
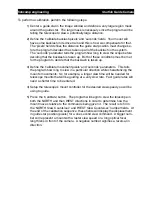
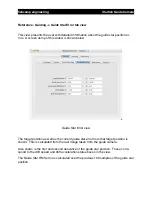
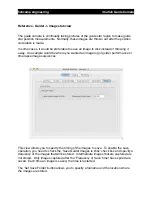
Your image display window will look something like this:
Guide Star location cursor
Guide Star region Mask
This image is being displayed in sub-frame mode for the sake of clarity. You should be
operating in full-frame mode.
There are two items to note. The purple rectangle overlay on the image is a region that
you will define. This region is used to tell the program where to examine the image for
calculating a guide star position. You should select a suitable guide star to draw this re-
gion around. Note that when in guide mode you will need to press the <control> key
and then drag your mouse around the region of interest in order to define this mask.
The red cursor will always be drawn somewhere within the purple region mask rectan-
gle. It graphically shows the calculated position of the guide star so will usually by sit-
ting directly on top of the star. The program uses a centroid calculation algorithm to cal-
culate the star
’
s position. The algorithm can be fooled in circumstances where there is
more than one bright object within the mask region. For example, if there are two stars
within the region, the program may think that the guide star is located midway between
the two. The remedy is to draw a smaller region mask around the guide star you intend
to use.
fishcamp engineering
Starfish
Guide Camera

