7
PRODUCT INFORMATION
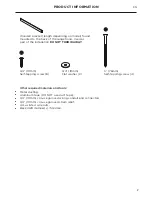
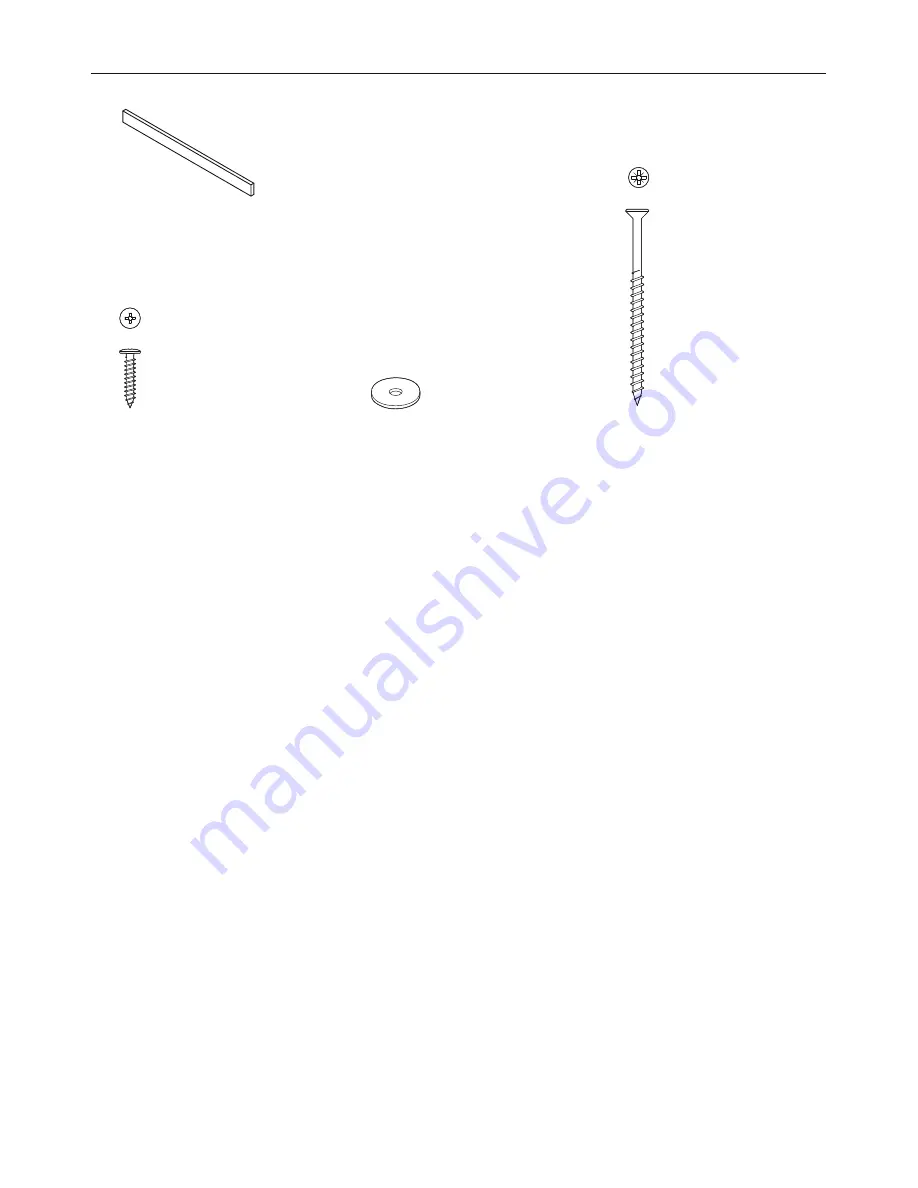
Wooden bracket (length depending on model) found
mounted to the back of the range hood. Used as
part of the installation
DO NOT THROW AWAY
3/4” (19mm)
Flat washer (2)
Other required materials and tools:
●
●
Metal ducting.
●
●
Aluminum tape (DO NOT use duct tape).
●
●
3/4” (19mm) cULus approved wiring conduit and connectors.
●
●
3/4” (19mm) cULus approved strain relief.
●
●
cULus listed wire nuts.
●
●
Back draft damper(s) if desired.
3” (76mm)
Self-tapping screw (4)
¾” OD x 3/16” ID
Flat Washer
#10-32
Pan Head
Pozi Drive
Wall Plug
#8 x 3/4”
Truss Head
Philips Drive
Self Tapping Screw
¼-20 x ½”
Pan Head
Philips Drive
Machine Screw
M4 x8
Pan Head
Torx Drive
Machine Screw
#10x 3”
Countersunk
Pozidrive
Self tapping Screw
FP Pro Hood Fasteners
3/4” (19mm)
Self-tapping screw (8)
¾” OD x 3/16” ID
Flat Washer
#10-32
Pan Head
Pozi Drive
Wall Plug
#8 x 3/4”
Truss Head
Philips Drive
Self Tapping Screw
¼-20 x ½”
Pan Head
Philips Drive
Machine Screw
M4 x8
Pan Head
Torx Drive
Machine Screw
#10x 3”
Countersunk
Pozidrive
Self tapping Screw
FP Pro Hood Fasteners
¾” OD x 3/16” ID
Flat Washer
#10-32
Pan Head
Pozi Drive
Wall Plug
#8 x 3/4”
Truss Head
Philips Drive
Self Tapping Screw
¼-20 x ½”
Pan Head
Philips Drive
Machine Screw
M4 x8
Pan Head
Torx Drive
Machine Screw
#10x 3”
Countersunk
Pozidrive
Self tapping Screw
FP Pro Hood Fasteners
EN
Summary of Contents for HC36 Shell
Page 2: ...English Page 1 29 Français Page 31 59 ...
Page 4: ......
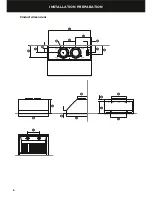
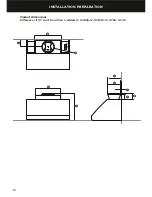
Page 10: ...8 INSTALLATION PREPARATION Product dimensions P O Q A B I C D S R K T E F M N G L J H ...
Page 25: ...23 INSTALLATION INSTRUCTIONS Wiring diagram EN ...
Page 32: ......
Page 34: ......
Page 55: ...53 Schéma de câblage INSTRUCTIONS D INSTALLATION FR ...
Page 62: ......
Page 63: ......


