321037
55
11.4.15
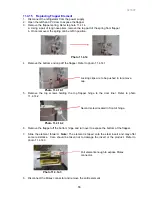
Replacing Flapper Element
1. Disconnect the refrigerator from the power supply.
2. Open the left hand PC door to expose the flapper.
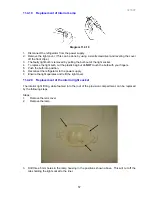
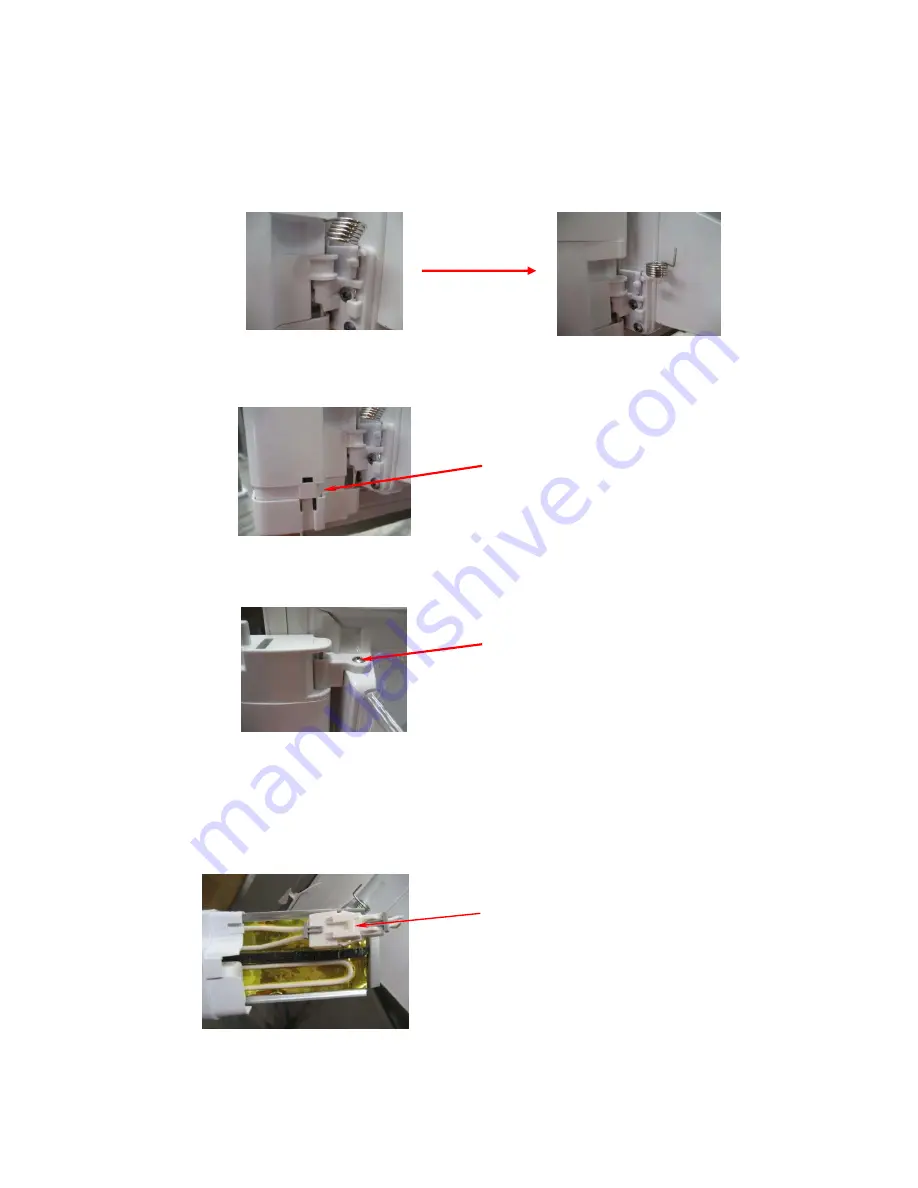
3. Remove the flapper spring. Refer to photo 11.4.14.
a. Using a pair of long nose pliers, remove the top part of the spring from flapper.
b. Once removed, the spring can be left in position.
Photo 11.4.14
4. Remove the bottom end cap off the flapper. Refer to photo 11.4.14.1
Locking clips are to be pushed in to remove
cap.
Photo 11.4.14.1
5. Remove the top screws holding the top flapper hinge to the door liner. Refer to photo
11.4.14.2
Second screw located in front of hinge.
Photo 11.4.14.2
6. Remove the flapper off the bottom hinge and turn over to expose the bottom of the flapper.
7. Slide the element forward.
Note:
The element is taped onto the steel insert and may offer
some resistance. Care should be taken not to damage the insert or the product. Refer to
photo 11.4.14.3
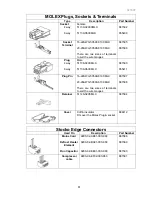
Pull element enough to expose Molex
connector.
Photo 11.4.14.3
8. Disconnect the Molex connector and remove the entire element.
Summary of Contents for RF175W
Page 1: ...321037 Service Manual Active Smart Refrigerator Freezer Models RF195A RF175W...
Page 19: ...321037 19 5 4 5 Condenser Mullion Layout Diagram 5 4 5...
Page 77: ...321037 77 15 WIRING DIAGRAM 15 1 RF175 Wiring Diagram...
Page 78: ...321037 78 15 2 RF175 Control Module Wiring Diagram...
Page 79: ...321037 79 15 3 RF175 Ice Water Wiring Diagram...
Page 80: ...321037 80 15 4 RF175 Ice Water Control Module Wiring Diagram...
Page 81: ...321037 81 15 5 RF195A Ice Water Wiring Diagram...
Page 82: ...321037 82 15 6 RF195A Ice Water Control Module Wiring Diagram...

