20
!0
CONNECT TO WATER AND ELECTRICAL SUPPLY
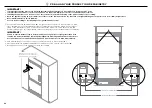
IMPORTANT!
●
●
The water connection instructions below are intended only for the professional installer.
●
●
DO NOT use with water that is microbiologically unsafe or of unknown quality.
●
●
WARNING – connect to potable drinkable water supply only.
●
●
DO NOT install on line pressure above 120psi (827kPa) or below 22psi (150kPa).
●
●
DO NOT use on hot water supply (100°F [38°C max.]).
●
●
AVOID contamination of pipes during installation.
●
●
Old water fittings (hose-sets) should not be reused.
●
●
The standard appliance includes a stainless braided water line hose. 1/4” copper tubing is compatible with the system, it needs to be purchased separately and must comply with local
regulations.
●
●
The shut off valve should be accessible.
1
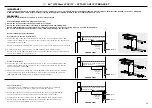
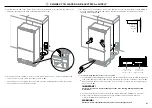
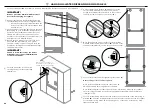
Ensure the refrigerator is NOT plugged into a power supply. Locate isolating faucet for
water connection – cold water supply only. Tee and faucet fittings are not supplied.
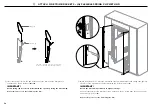
Position the appliance 1.5 – 2ft. (450 – 600mm) in front of the finished enclosure. This
will allow access behind the appliance for power and water connections.
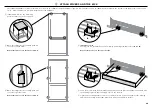
2
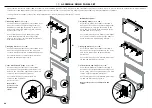
At the front of the appliance, fasten
the adaptor onto one end of the
braided water line hose.
Note: the adaptor is not required for
installation, if 1/4” PEX plastic tubing
is used.
3
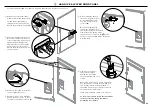
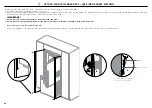
Firmly insert the tube end of the adaptor into the PLV, until the end is no longer visible.
Once inserted, pull gently on tubing to ensure it is locked in (refer to
A
).
Note: dislodge the PLV if required.
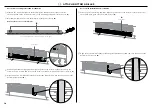
4
Secure connection by attaching the locking key in between the PLV and tube end of the
adaptor (refer to
B
).
Note: if PLV was dislodged for installation (
3
), mount PLV back into clip.
B
1.5 – 2ft.
(450 – 600mm)
A
PLV

