2
Battery
Replacement
Protect the environment by not
•
disposing of this product with
household waste (2002/96/EC).
Check your local authority for
recycling advice and facilities
(Europe only).
For best performance, we recommend
replacing the batteries that came with
this toy with three, new “AA” (LR6)
alkaline batteries.
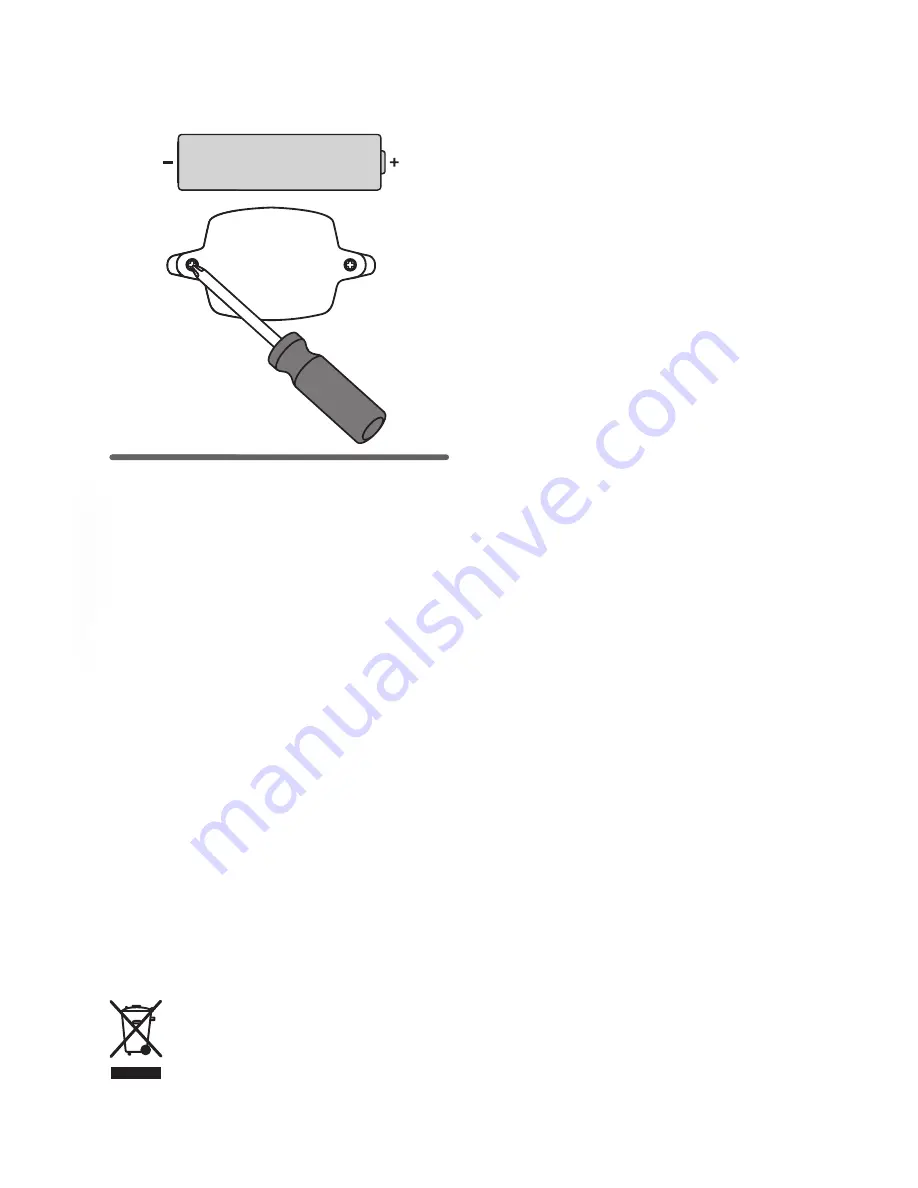
Locate the battery compartment on the
•
back of the toy.
Loosen the screws in the battery
•
compartment door and remove the door.
Remove the exhausted batteries and throw
•
them away.
Insert three, new “AA” (LR6)
•
alkaline
batteries.
Hint:
We recommend
alkaline
batteries for
longer battery life.
Replace the battery compartment door and
•
tighten the screws.
If this product begins to operate erratically,
•
you may need to reset the electronics.
Slide the power/volume switch off then
back on.
When sounds from this toy become faint
•
or stop, it’s time for an adult to change
the batteries.
In exceptional circumstances, batteries may
leak fluids that can cause a chemical burn
injury or ruin your product. To avoid
battery leakage:
Do not mix old and new batteries or
•
batteries of different types: alkaline,
standard (carbon-zinc) or rechargeable
(nickel-cadmium).
Insert batteries as indicated inside the
•
battery compartment.
Remove batteries during long periods
•
of non-use. Always remove exhausted
batteries from the product. Dispose of
batteries safely. Do not dispose of this
product in a fire. The batteries inside
may explode or leak.
Never short-circuit the battery terminals.
•
Use only batteries of the same or
•
equivalent type, as recommended.
Do not charge non-rechargeable batteries.
•
Remove rechargeable batteries from the
•
product before charging.
If removable, rechargeable batteries are
•
used, they are only to be charged under
adult supervision
Battery Safety
Information
1,5V x 3
“AA” (LR6)
Rep
For best perform
rreplacing the ba
tthis toy with thre
a
alkaline batterie
Locate the batte
•
back of the toy.
Loosen the scre
••
compartment d
Remove the exh
•
them away.
Insert three, new
•
alkaline
batterie
Hint:
We recomm
longer battery life
Replace the bat
•
tighten the scre
If this product b
•
you may need t
Slide the power
back on.
When sounds fr
•


