6
The Gold Bug™-2 comes to you just about ready to use. There are
only three steps required: sliding the lower stem into the upper stem,
connecting the loop coil to the control housing and adjusting the angle
of the searchcoil. Take a look at page 3 and familiarize yourself with the
parts of the Gold Bug™-2 before proceeding.
1
. Unpack your new Gold Bug™-2 carefully. Save the carton
and inserts – they may come in handy for future storage or
shipment.
2
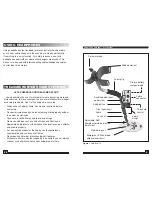
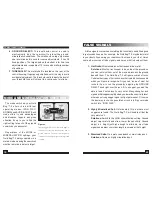
. Slip the lower stem into the upper stem
(see pg. 5 Figure 1).
3
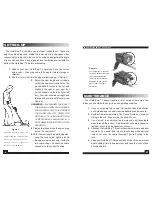
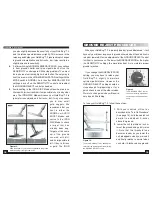
. Adjust the stem length and coil angle
so that the searchcoil rests flat on the
ground about 6-inches in front of, and
slightly to the right of, your right foot
(for left handers, to the left of your left
foot). Your arm should be straight and
relaxed with your grip held loosely
(see
Figure 2).
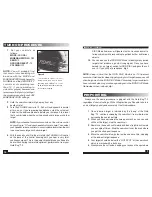
REMEMBER: THE LONGER THE SHAFT,
THE MORE YOU WILL HAVE TO BEND
YOUR ELBOW AND THE SOONER
YOUR ARM WILL GET TIRED. THE
GOLD BUG™-2 IS BALANCED FOR
COMFORTABLE SEARCHING IN A
TIGHT SEMICIRCLE IN FRONT OF THE
OPERATOR.
4
. Tighten the lock nut and the nylon wing
nut on the searchcoil.
5
. With the stem length properly adjusted,
wrap the loop cable tightly around
the upper stem and secure it with the
two velcro straps. Connect the cable
connector to the control housing.
27
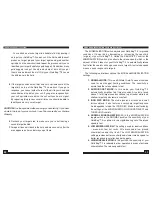
Your Gold Bug™-2 doesn’t require a lot of care but there are a few
things you should do to keep it in peak operating condition.
1
. If you’re not going to be using it for awhile, take the batteries
out. Acid damage cause by leaking batteries can be severe.
2
. Avoid extreme temperatures. Don’t leave it inside a closed car
sitting in the sun. Even worse, the trunk of a car.
3
. If you “scrub” the searchcoil on the ground, you’ll eventually
wear through the bottom. Replacement coils are expensive.
Instead, invest in an inexpensive coil cover.
4
. Although the Gold Bug™-2 control housing is moisture and dust
resistant, it’s a good idea to put a plastic bag or the optional
“rain cover” over the control housing if you’re hunting in the
rain.
5
. Keep your Gold Bug™-2 dry and clean. Wipe off the lower stem
before sliding it into the upper stem, and keep the lock nut free
of sand and dirt.
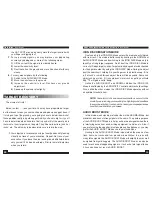
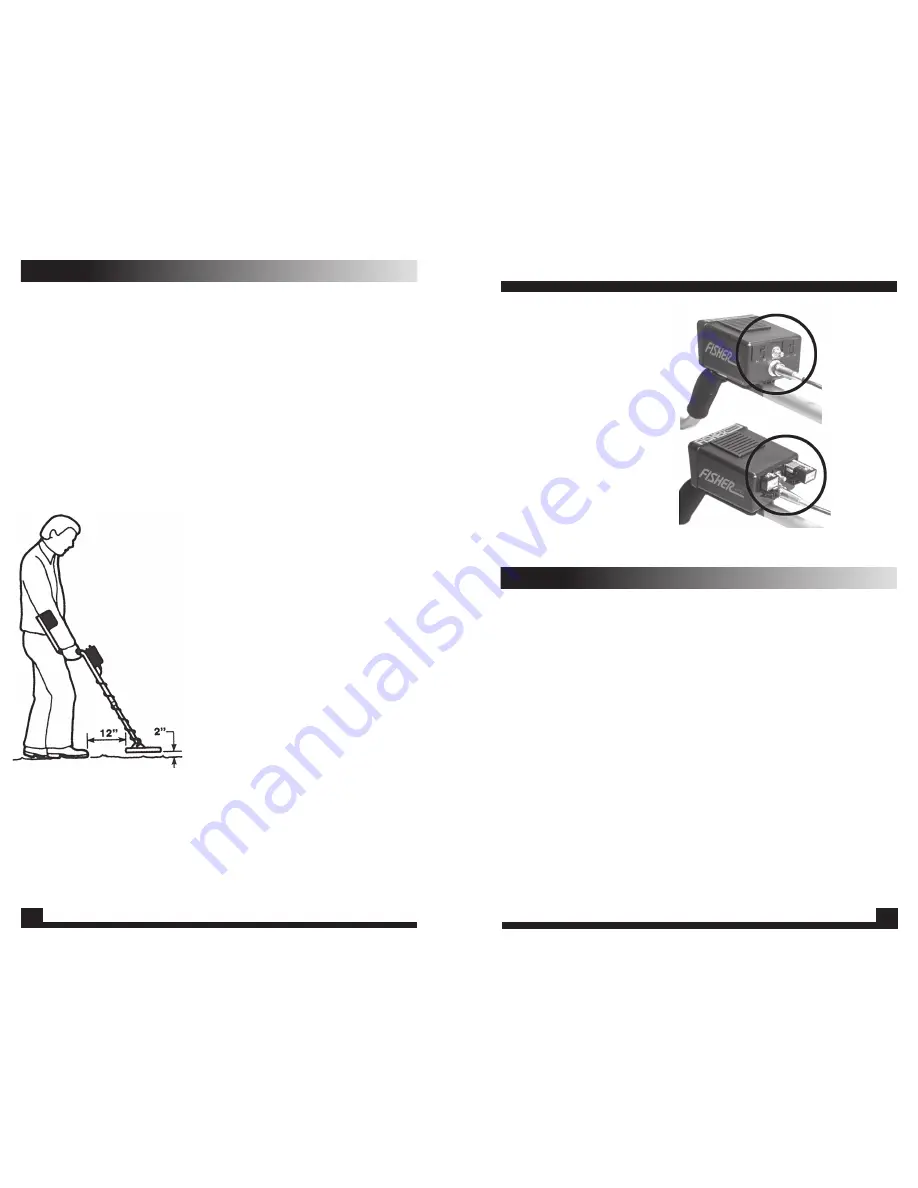
Your Gold Bug™-2 operates
on two 9V batteries that drop
into compartments at the
rear of the control housing.
Snapping the door latch in
place makes the battery
connection.
Figure 13.
Figure 2.
Adjust the stem length and coil
angle resting the searchcoil flat
on the ground and about 6-
inches in front of your right foot
(left foot for left-handers).
BATTERY REPLACEMENT (
continued)
seTTInG UP
MaInTenanCe


