www.eu.fishersci.com/fisherbrand
33
Attention!
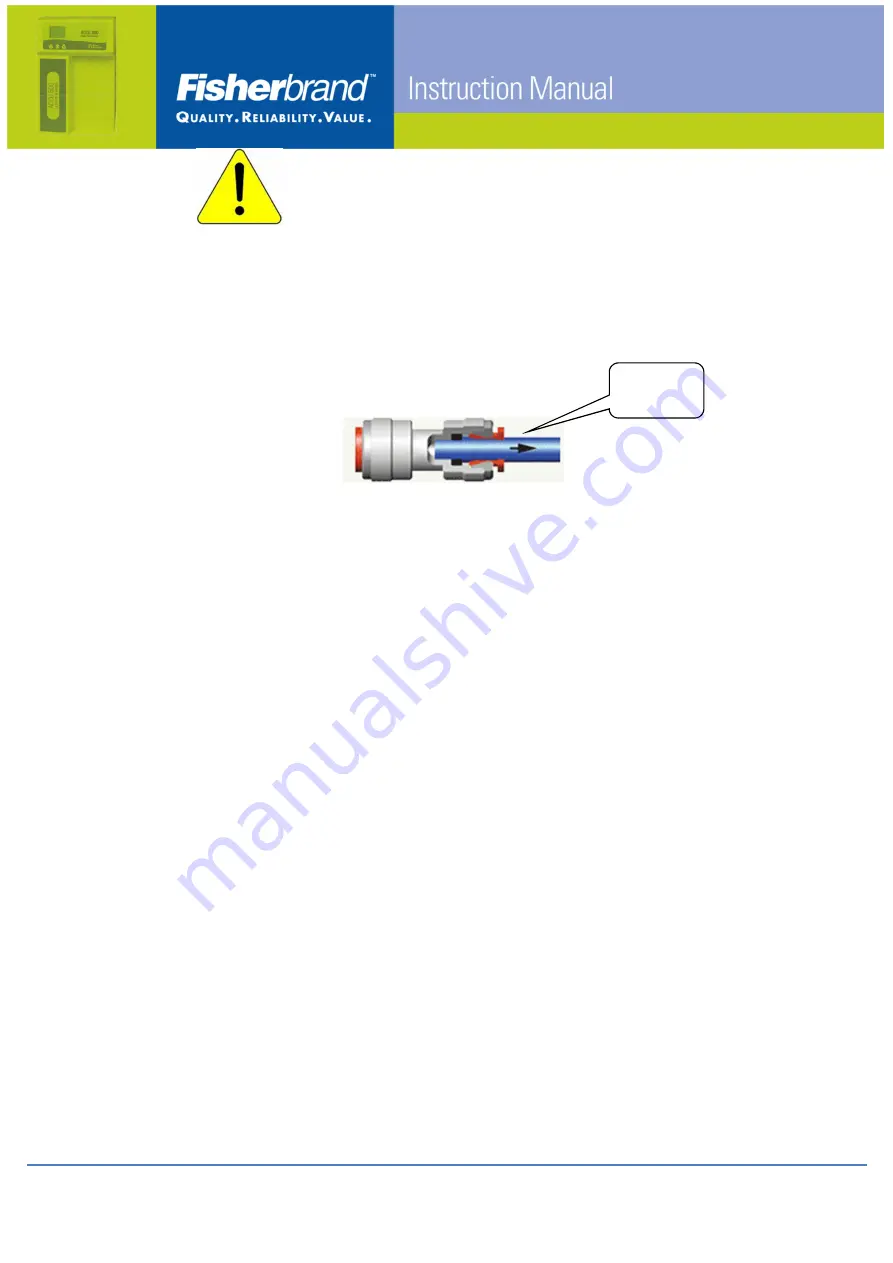
DO NOT attempt to pull the tubing out from the RO housing without
unlocking the connector first or use excessive force to pull the tubing out
as this will damage the connector, and render it useless.
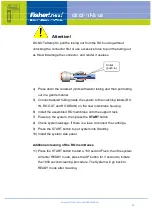
4) Press down the collets at joints with water tubing and then pull tubing
out in a gentle manner.
5) Connect labeled tubing inside the system to the matching labels (RO
IN, RO OUT and RO DRAIN) on the new membrane housing
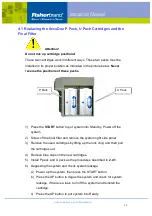
6) Install the assembled RO membrane onto the support rack.
7) Power up the system, then press the START button.
8) Check system leakage. If there is a leak, reconnect the cartridge.
9) Press the START button to put system into Standby.
10) Install the system side panel.
Additional cleaning of the RO membranes
11) Press the START button to start a 180 second Flush, then the system
will enter READY mode, press the UP button for 3 second to initiate
the 1800 second cleaning procedure. The System will go back to
READY mode after cleaning.
Collet
(push in)

