- 20 -
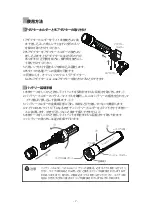
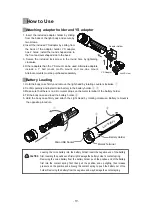
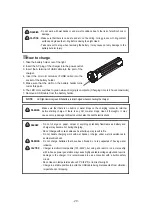
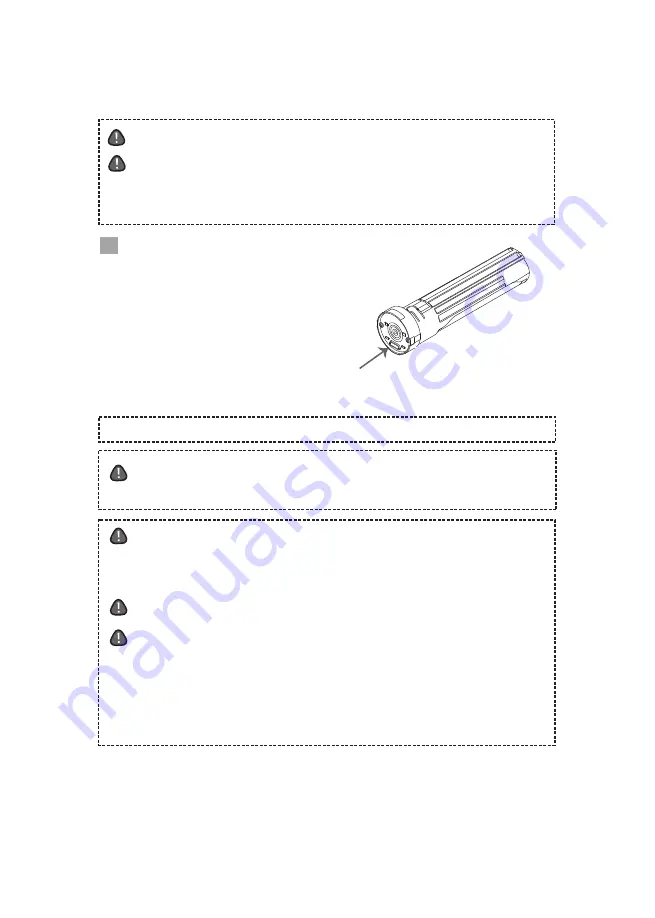
1. Take the battery holder out of the light.
2. Insert the AC plug of the charger into the power outlet.
3. Insert the A terminal of USB cable into the port of the
charger.
4. Insert the micro B terminal of USB cable into the
socket of the battery holder.
5. Make sure that the LED on the battery holder turns
red at this point.
6. The LED color switches to green when charging is complete. (Charging time is 4 hours maximum)
7. Remove a USB cable from the battery holder.
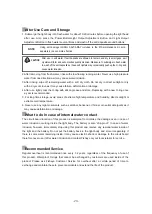
- Do not work with wet hands or under wet conditions due to the risk of electric shock or
damage.
- Make sure that there is no dust, sand etc. on the O-ring, O-ring groove or O-ring contact
surface and grease the O-ring before closing the Light Head.
- Take care not to drop when removing the battery. It may cause not only damage to the
battery but also injury.
CAUTION
WARNING
DANGER
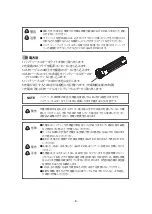
- Do not charge on paper, carpet or anything potentially flammable as battery and
charger may become hot during charging.
- Do not charge with coiled cables as heat build-up may result in fire.
- Do not handle charging work with wet hands or charge under wet circumstances to
avoid electric shock.
- Do not charge batteries that have been flooded, or are suspected of having water
intrusion.
- Charger is multi-volt compatible (100‒240V), but using at a resort or on a cruise ship
with in-house power generation may cause highly unstable voltage output and result in
damage to the charger. It is recommended to use a converter with a built-in safety
circuit.
- Do not leave in temperatures above 30°C (86°F) or in direct sunlight.
- Charge in a stable position to avoid the USB cable being disconnected from vibration,
impact shock or dropping.
WARNING
CAUTION
Make sure that there is no debris or water drops on the charging connector terminal
before starting charge. If there is any dirt or water drops, clean it thoroughly. It may
cause not only damage to this product but also the riskof electric shock.
WARNING
How to charge
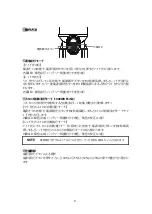
LED light remains green if the battery is fully charged when connecting the charger.
NOTE
Summary of Contents for FIX NEO Mini 1000 WR FS
Page 1: ...NEO Mini 1000WR FS user manual...
Page 2: ...2 O 3 5 6 7 7 8 9 10 10 11 12 13 28...
Page 3: ...3 FIX NEO Mini...
Page 4: ...4 100m O...
Page 6: ...6 LED LED LED...
Page 7: ...7 1 2 2 YS YS 2 3 4 YS GoPro Loc Line YS YS Li ion USB Li ion 1 2 Li ion 3 4 USB 5...
Page 8: ...8 O O O O LED 1 2 AC 3 USB A 4 USB B USB 5 LED 6 LED 4 7 USB 100 240V 30 USB NOTE...
Page 9: ...9 1000WR FS LED 1 1 LED 1 1 LED NOTE 1 2 LED 2 LED 100 75 50 25...
Page 10: ...10 OFF ON 100 NOTE 4 NOTE 60 20 OFF 45 25 20 LCD 10 1 2...
Page 11: ...11 O O O O O O O O O O O O O O O O FIX NEO Mini O O 1 2 O...
Page 12: ...12 1 10 20 2 3 4 O O 1 5 6 O 1 2 O FIX NOTE Tel 03 5988 0191...
Page 13: ...13 1 2 3 4 5 6 7 8...
Page 26: ...26 Memo...
Page 27: ...27 Memo...

