


- 8 -
充電方法
●濡れた手や、濡れた環境での作業は感電や破損のおそれがありますので、絶対
に行わないでください。
●ライトヘッドを閉める前には、必ずOリングやOリング溝、Oリング当たり面にゴミ
や砂などの付着がないことを確認し、Oリングのグリスアップを行ってください。
●バッテリー/バッテリーホルダーを取り出す際、落下にご注意ください。バッテ
リーの破損だけでなく、ケガなどにつながるおそれがあります。
注意
警告
バッテリーが満充電の場合、充電器を接続してもLED点灯は緑色のままです。
バッテリーホルダーをライト本体に装填したまま充電することも可能です。
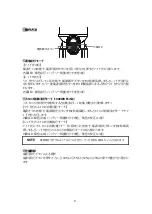
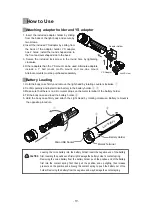
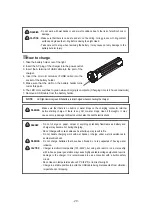
1.バッテリーホルダーをライト本体から取り出します。
2.充電器のACプラグを電源コンセントに差し込みます。
3.USBケーブルのA端子を充電器のポートに差し込みます。
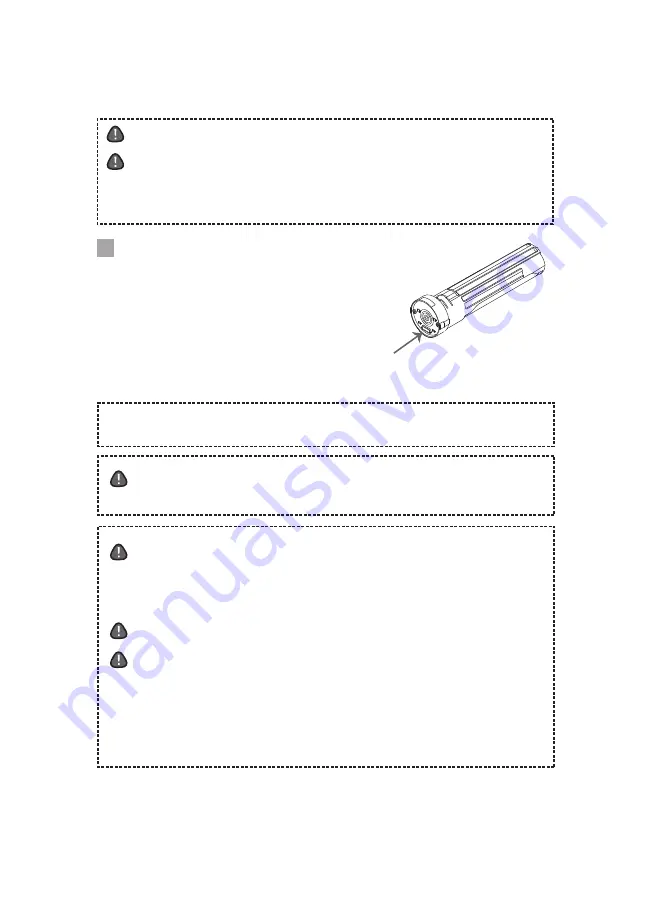
4.USBケーブルのマイクロB端子をバッテリーホルダーのマ
イクロUSBソケットに差し込みます。
5.バッテリーホルダーのLEDが赤色に点灯します。
6.充電が完了するとLED点灯は緑色に切り替わります。
(充電時間は最大4時間)
7.充電完了後、USBケーブルをバッテリーホルダーから取り外します。
●充電中はバッテリーや充電器が熱を持つことがありますので、絶対に紙や絨毯
など燃えやすい物の上で充電しないでください。
●ケーブルを束ねた状態で充電すると発熱で発火の原因になるおそれがあります
ので絶対にしないでください。
●濡れた手、濡れた環境での充電は感電するおそれがありますので絶対に行わな
いでください。
●水没した、あるいは水没しているおそれのあるバッテリーを絶対に充電しないで
ください。
●充電器は、マルチボルト(100〜240V)対応になっていますが、自家発電のリゾー
トやクルーズ船などでご使用の場合は電圧が非常に不安定なため、異常な高電
圧により本充電器を破損させてしまうおそれがあります。安全回路内蔵の変圧器
を併用されることをお薦めします。
●30℃以上の高温になる所や直射日光の当たる所では放置しないでください。
●振動や衝撃、落下などで充電器からUSBケーブルがはずれたりしないよう安定し
た場所で充電してください。
危険
警告
警告
注意
NOTE
充電を開始する前に必ずコネクター端子部に汚れや水滴が付着していないか確
認してください。もし汚れや水滴が付着していた場合は十分に清掃してください。
本製品の故障だけではなく、感電の危険性があります。
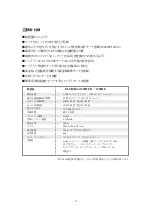
Summary of Contents for FIX NEO Mini 1000 WR FS
Page 1: ...NEO Mini 1000WR FS user manual...
Page 2: ...2 O 3 5 6 7 7 8 9 10 10 11 12 13 28...
Page 3: ...3 FIX NEO Mini...
Page 4: ...4 100m O...
Page 6: ...6 LED LED LED...
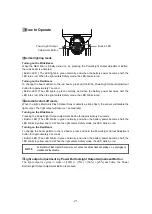
Page 7: ...7 1 2 2 YS YS 2 3 4 YS GoPro Loc Line YS YS Li ion USB Li ion 1 2 Li ion 3 4 USB 5...
Page 8: ...8 O O O O LED 1 2 AC 3 USB A 4 USB B USB 5 LED 6 LED 4 7 USB 100 240V 30 USB NOTE...
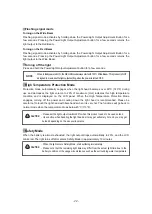
Page 9: ...9 1000WR FS LED 1 1 LED 1 1 LED NOTE 1 2 LED 2 LED 100 75 50 25...
Page 10: ...10 OFF ON 100 NOTE 4 NOTE 60 20 OFF 45 25 20 LCD 10 1 2...
Page 11: ...11 O O O O O O O O O O O O O O O O FIX NEO Mini O O 1 2 O...
Page 12: ...12 1 10 20 2 3 4 O O 1 5 6 O 1 2 O FIX NOTE Tel 03 5988 0191...
Page 13: ...13 1 2 3 4 5 6 7 8...
Page 26: ...26 Memo...
Page 27: ...27 Memo...