Roofmaster STEC non-insulated version - Installation and maintenance
10
FläktGroup DC_10082GB_20180213_R1
Specifications are subject to alteration without notice
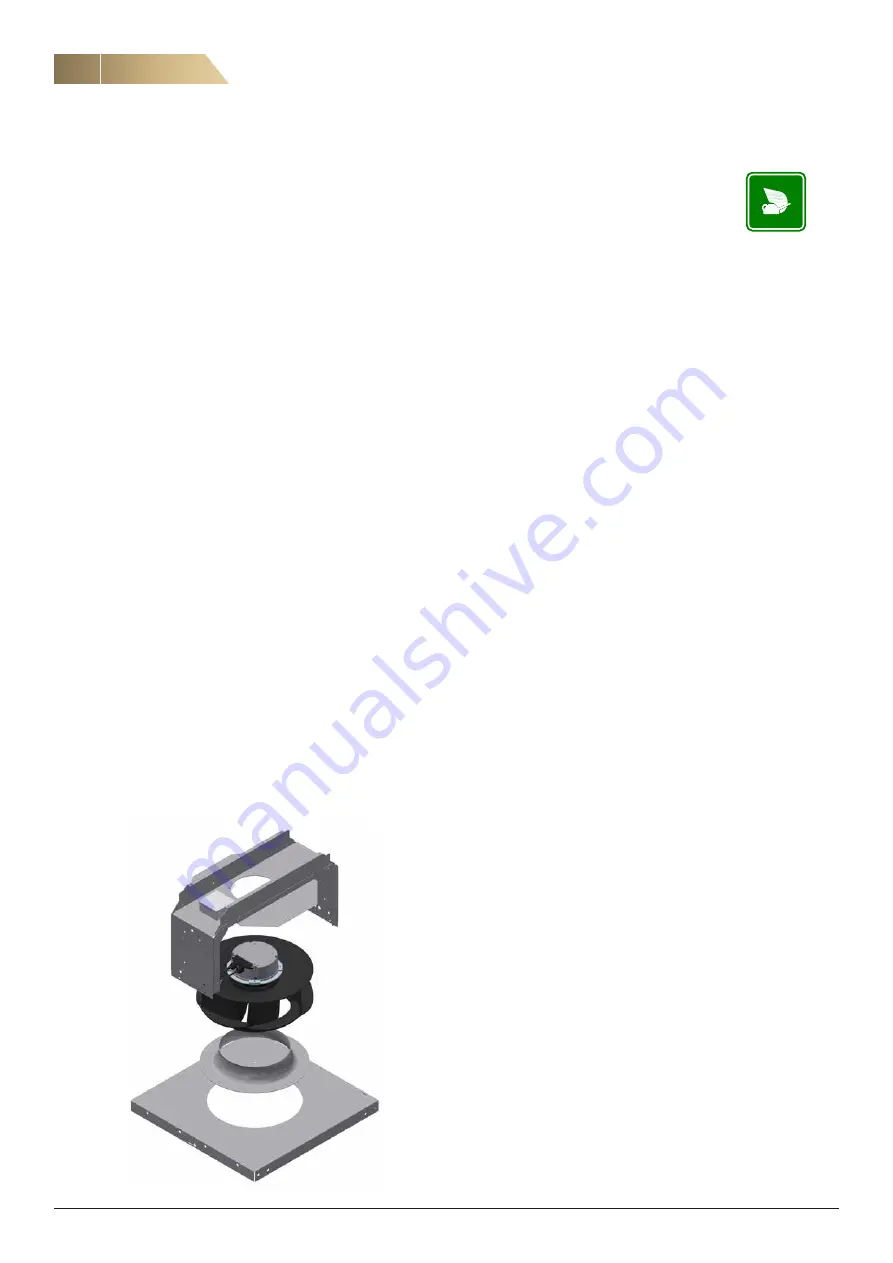
7.2.3 MOTOR REPLACEMENT
NOTE!
Motor and impeller (motorized impeller) shall always be replaced
as a package. This package is available for size 400 and bigger.
In case of smaller fans the complete unit has to be replaced.
Open ducting below the roof fan shall be covered to prevent tools
and other small parts from falling in.
1. Switch off the fan from the isolator and wait 5 minutes before
starting the maintenance work.
2. Remove the middle roof panel, see 7.2.1.
3. Disconnect the cables.
4. Remove the casing and the roof (fixed together), see 7.2.1.
5. Detach the motor bracket by opening the M6 bolts.
6. Lift the motor bracket with the motorized impeller away from
the base frame.
7. Remove the motor bolts (if necessary, protect motorized impel-
ler from dropping down) and lift the motor bracket away.
8. Remove the inlet cone (fastened with pop-rivets and sealing
compound). If the inlet cone is not damaged, it is not neces-
sary to change it.
9. Install the new inlet cone (remember to renew the sealing).
10. Install the new motorized impeller to the motor bracket.
11. When re-installing the motor bracket, check again that the im-
peller can rotate without problems before installing the casing.
12. Reconnect the cables.
Start the fan. Check that the rotational direction is correct and the
impeller rotates freely and there are no abnormal noises coming
from the fan.
7.3 SCRAPPING
1. Inside the fan there is an electrical motor and potentially other
electrical components. All these shall be removed from service
according to the instructions given to these components.
2. Steel material is recyclable.
3. Inside the fan there are also small plastic components made
of recyclable material.


