VESDA-E VEU-A10 Product Guide
www.xtralis.com
83
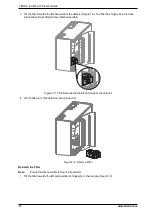
Figure 7-5: Engage hinge pins
3. Tilt the filter to the right.
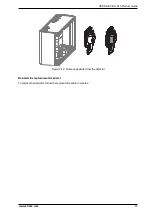
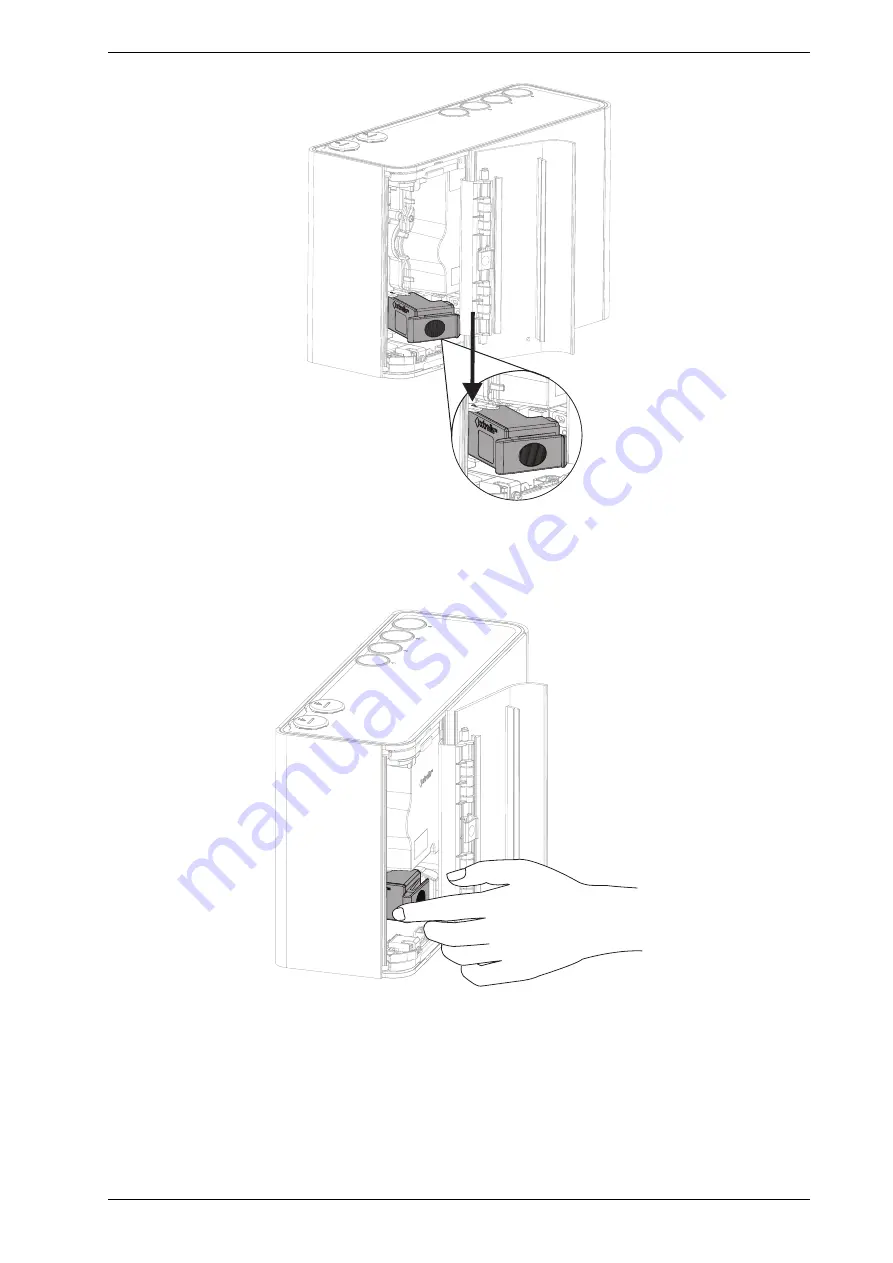
4. Firmly press, as shown in Figure 7-6, until the filter makes a distinct clicking sound and no additional
movement is possible.
Figure 7-6: Reinstall the Filter
Summary of Contents for VESDA-E VEU-A10
Page 1: ...VESDA E VEU A10 Product Guide November 2018 Document 22077_12 Part Number 30334 ...
Page 2: ......
Page 10: ...VESDA E VEU A10 Product Guide 4 www xtralis com This page is intentionally left blank ...
Page 22: ...VESDA E VEU A10 Product Guide 16 www xtralis com This page is intentionally left blank ...
Page 54: ...VESDA E VEU A10 Product Guide 48 www xtralis com This page is intentionally left blank ...
Page 82: ...VESDA E VEU A10 Product Guide 76 www xtralis com This page is intentionally left blank ...
Page 106: ...VESDA E VEU A10 Product Guide 100 www xtralis com This page is intentionally left blank ...
Page 110: ...VESDA E VEU A10 Product Guide 104 www xtralis com This page is intentionally left blank ...
Page 116: ...VESDA E VEU A10 Product Guide 110 www xtralis com Z zone 59 61 79 105 ...


