20 |
P a g e
FIREPLACE ASSEMBLY
Step 1:
Unpack the accessories ( Power adapter & wall switch). The gas valve, receiver, control module must remain
wrapped until first fire up of unit.
Do Not Connect any screw that is not mentioned in this guide even if
there is a hole for it.
The Fireplace ability to contract and move during fire up and cool down depends on proper
assembly
Step 2: Preparation for Assembly
•
Assemble units on a
perfectly leveled
area only.
•
Assemble Flare Fireplaces large units in the
final installation location
, on the pre made
platform. It is not possible to move the assembled fireplace once units are connected.
•
Fireplace platform under the fireplace should be covered with noncombustible material
(cement board or type X drywall. Large Flare Fireplaces do not have telescopic legs and
depend on the platform to adjust height.
•
Make sure the fireplace chase is framed with metal studs or covered (With
noncombustible) prior to the assembly and positioning of the fireplace. Make sure there
are
no exposed combustible
materials in the fireplace chase. See clearances section for
more details.
Step 3
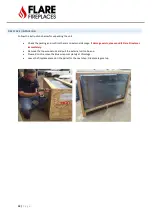
: unpack
Left-Side Box
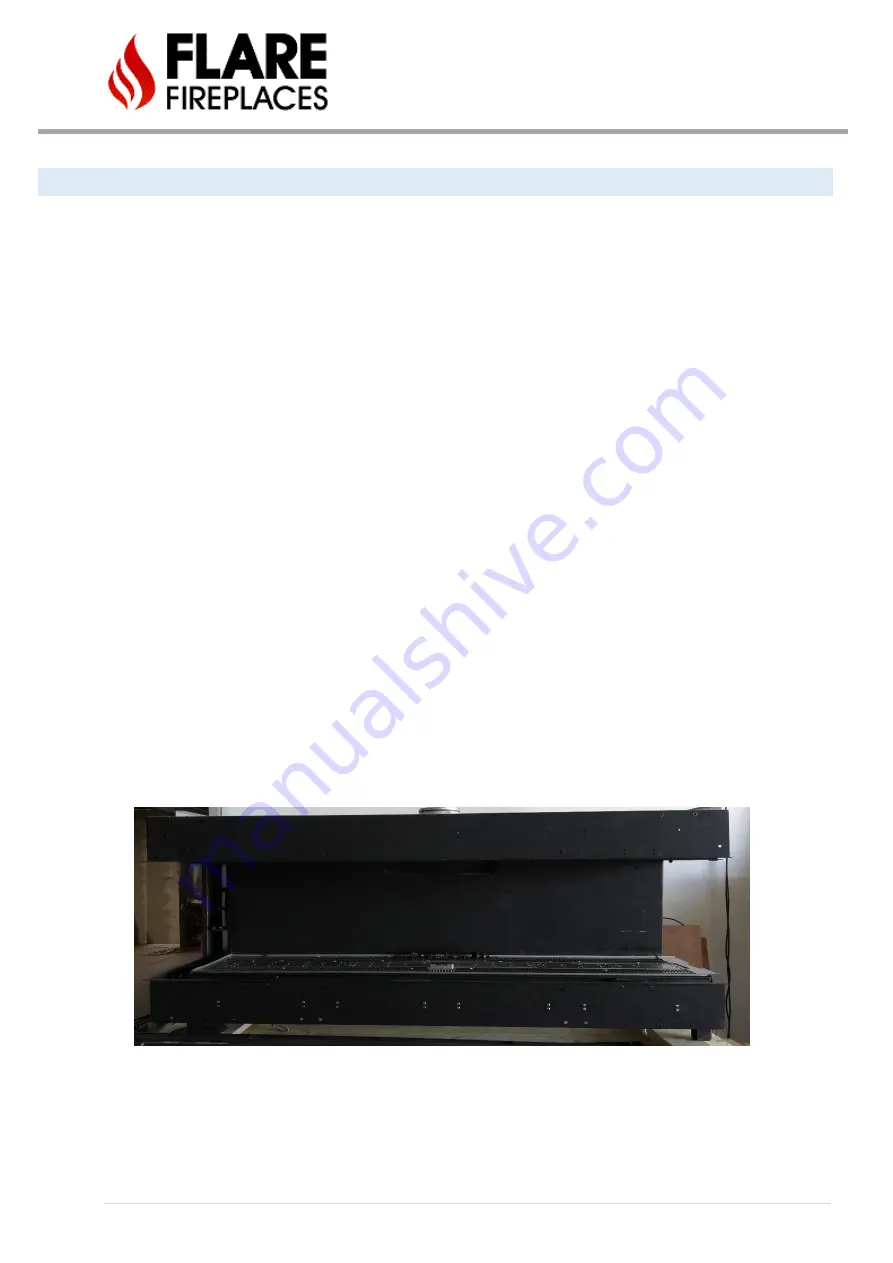
leave the Fireplace placed on the pallet in order to help you to connect
them together as shown in the picture bellow:
Summary of Contents for Corner Right & Left 120
Page 65: ...65 P a g e COMBUSTIBLE FINISHING MATERIAL CLEARANCES ...
Page 71: ...71 P a g e EXAMPLES OF HEAT RELEASES ...
Page 77: ...77 P a g e ELECTRIC AND CONTROL ELECTRIC DIAGRAM SCREEN MV MV PV PV ...
Page 78: ...78 P a g e ELECTRIC DIAGRAM DOUBLE GLASS OR PV Double Glass Fan Plug No use MV MV PV PV ...
Page 80: ...80 P a g e ELECTRIC DIAGRAM PV SYSTEM Ports 49 47 are connected to J6 on fireplace main board ...


