27
ZAPEX 3502 en
Operating instructions 10/2017
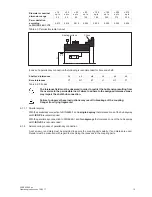
S
Ruler
Ruler
Caliper gauge
Dial gauge
ZWH, ZWHD
With small distances "S", a ruler and caliper gauge can be used instead of a micrometer and tape measure.
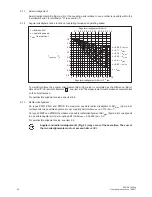
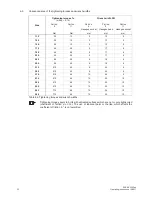
The max. permissible misalignments depend upon the duty factor, axialbacklash
limitation and coupling speed. If the speed changes, a check must imperatively be
carried out. Since misalignments (expansion due to heat, shaft deflection, settling of
foundations, etc.) can occur during operation, a misalignment of 0.1° must be aimed
for when aligning. Misalignments during alignment must, however, be no less
than 0.05°. For alignment values, see item 6.8.
6.7
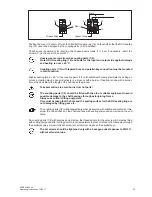
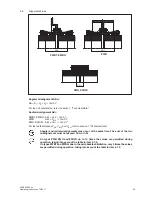
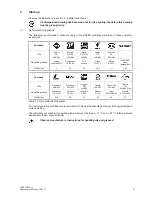
Possible misalignments
Axial misalignment
Fig. 6.4
Radial misalignment
Fig. 6.6
Angular misalignment
Fig. 6.5
Δ Ka
Δ Kw
Δ Kr
Axial, radial and angular
misalignment Fig. 6.7
Δ Ka
Δ S = S
1
- S
2
S
1
S
2
Misalignments of the coupling parts in relation to one another can be caused by inaccurate alignment
during assembly, but also by actual operation of the equipment (expansion due to heat, shaft deflection,
insufficiently rigid machine frames, etc.).
The following maximum permissible misalignments must by no means be exceeded
during operation.
Summary of Contents for Zapex ZWB
Page 2: ......

