Installation
7
10.
Assembling the Right Leg and the Rear Horizontal Brace
Parts Needed:
Frame Parts
Qty.
Hardware
See Pg 2
Tools Needed
Right Leg Bottom
(Page 1 - #4)
2
2
2
M8 x 80mm Socket Cap Screw
M8 Flat Washer
M8 Hex Lock Nut
U
O
R
6mm Hex Key
Rear Horizontal Brace
(Page 1 - #6)
1
2
1
M8 x 50mm Button Head Screw
M8 Flat Washer
M8 Hex Lock Nut
Q
O
R
13mm Wrench
1.
Locate the Right Leg top-mounted on the Vertical Track Assembly.
2.
Open the Leg
by pulling it to the left.
¾
Tip: Place the Leg on a box for better support.
3.
Slide the Right Leg Bottom onto the bottom of the opened
Right Leg Top.
4.
Position and align the Rear Horizontal Brace over the
lowest available hole on the Left Leg, and the middle hole
on the Right Leg.
5.
Attach the Legs to the Rear Horizontal Brace using two (2)
M8 x 80mm Socket Cap Screws, four (4) Flat Washers (one
on each side), and two (2) Hex Lock Nuts. Tighten with a
6mm Hex Key and 13mm Wrench.
♦
Note: Remember to insert the screws from the front of
the machine.
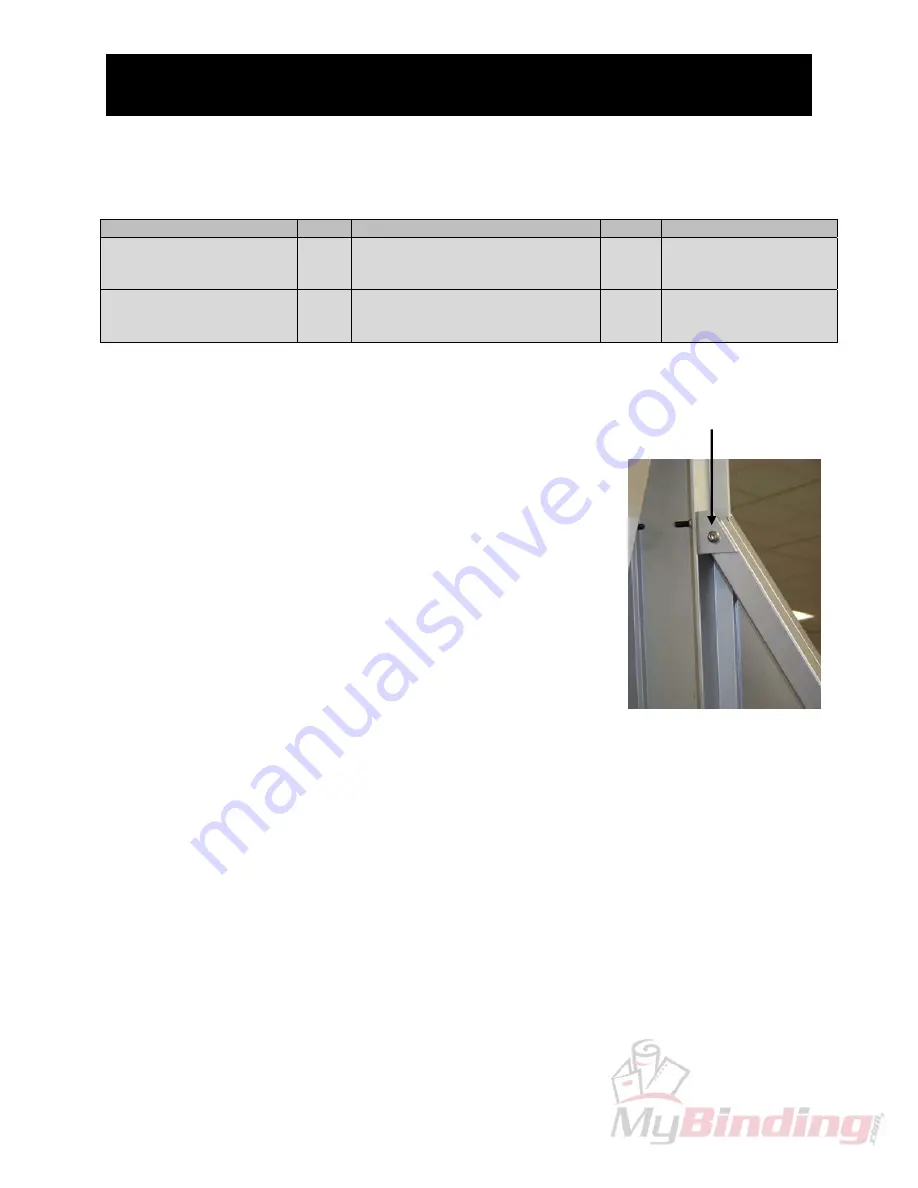
6.
Locate the Leg Mounting Brackets positioned at the top of
each leg.
7.
Tighten the Screws on the Mounting Bracket using a 5mm
Hex Hey and 13mm Wrench.
8.
Install one (1) M8 x 50mm Button Head Screw, two (2) Flat Washers (one on each side), and
one (1) Hex Lock Nut through the hole on the Right Leg under the Rear Horizontal Brace.
9.
Tighten the Screw using a 5mm Hex Key and 13mm Wrench.
♦
Note: For Wall-Mounting, skip to “Preparing the FSC for Wall-Mounting” - Section
13 on page 9.
Leg
Mounting
Brackets


